9-3.
9-2.
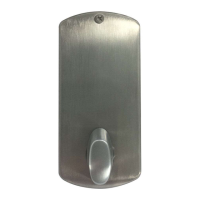
7) If the latch does not fully retract, loosen
the two thru-bolts of the inside thumbturn
assembly. Move the inside thumbturn
assembly upward or downward to properly
center the inside thumbturn assembly with
the tailpiece, (figure 9-2) then tighten
the thru-bolts, and repeat Steps 1 to 5.
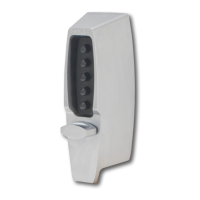
8) If the latch (figure 9-2) still does not fully
retract after repeating Step 7, loosen the
two thru-bolts of the inside thumbturn
assembly A and combination change
assembly B, (figure 9-2). Move the lock
upward or downward to properly align both
tailpieces of the inside thumbturn assembly
and combination change assembly. Tighten
the four thru-bolts and repeat Steps
1 to 5 to ensure proper operation.
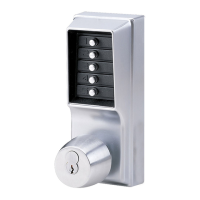
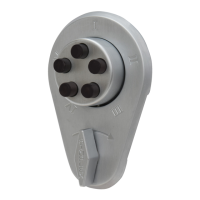
Verify the Combination Change Assembly
1) Insert the tip of a Phillips-head screwdriver
into the combination change assembly B,
figure 9-3.
2) Turn the central piece to the right
(clockwise) until it stops, DO NOT
FORCE, (approximately 30˚ degrees).
3) Remove the screwdriver; the central
piece should automatically return
to its initial position.
4) If the central piece jams and does not
return to its initial position, loosen the two
thru-bolts and push the combination
change assembly B upward, tighten the
two thru-bolts, and repeat Steps 1 to 3.

 Loading...