#.$+0&'-#%0.$+/#%+?/
:9?49@,.4M9
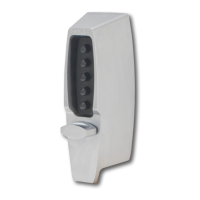
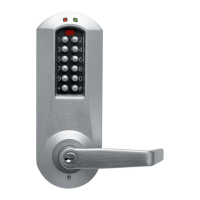
7. Mueva la manija del lado de afuera
hasta la posición tope; manténgala en
esa posición y asegúrese de que el
pestillo está replegado (A). (Véase el
cuadro 14-5). Suelte la manija.
8.
Mueva otra vez la manija hasta la posi-
ción tope. En este punto, el pestillo no
debería replegarse a menos que usted
coloque la combinación nueva (véase la
ilustración 14-6).
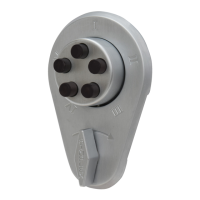
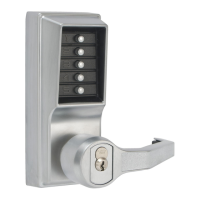
9. Vuelva a colocar el cilindro para cam-
biar la combinación atornillándolo hacia
la derecha con la llave DF-59 -— no
ajuste demasiado (véase la ilustración
14-7). Saque la llave y guárdela en un
lugar seguro con estas instrucciones y
la llave de arco.
3,92492?30.:8-49,?4:9
:9?49@0/
7. Turn the outside lever once, all the way,
until it stops, hold in position and make
sure the latch is retracted fully (A). (See
figure 14-5). Release the lever.
8. Turn the lever again to the stop posi-
tion. At this point, the latch should not
retract unless you enter the new combi-
nation (see figure 14-6).
9. Resecure the combination change plug
assembly by screwing it in clockwise
with the DF-59 key — do not overtight-
en (see figure 14-7). Remove the key
and store it in a secure area with these
instructions and the spanner wrench.
')+4530&'%0.$+/#%+0/'4
:8-49,?4:9>0??492=0.:=/
Combination # Date
________________________
________________________
________________________
________________________
________________________
________________________
________________________
________________________
________________________
________________________
________________________
Combinación # Fecha
________________________
________________________
________________________
________________________
________________________
________________________
________________________
________________________
________________________
________________________
________________________