'34>>?0;4>A0=D48;:=?,9?,>4?B477
600;?307:.61=:8-049249,/A0=?09?7D
1:=.0/:@?:1?48492
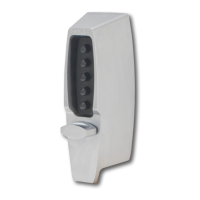
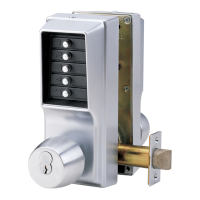
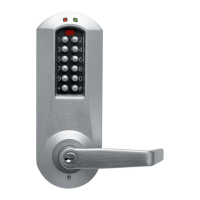
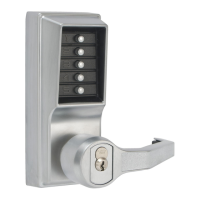
1. Locate the drive pins/actuators found in
the key override slot of the outside
lever.
":?0 These vary depending on the key
override selected. For Best, Corbin, or
Sargent, use figure 13-1, for Schlage, use
figure 13-2, and for Medeco/ASSA/Yale
use figure 13-3.
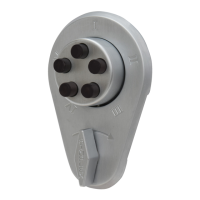
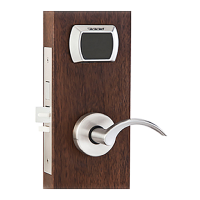
2. Notice the rear of the cylinder that will
be installed. The profile and receiver
area on the rear of that cylinder should
be able to receive the pins/actuators
found inside the lever.
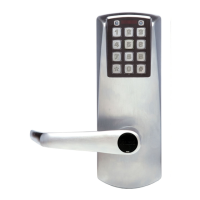
3. The drive pins/actuators must be
aligned to easily receive the cylinder
when installed. The lever does not
need to be turned partially or otherwise
to insert the cylinder. If this is done, it
will cause the drive shaft to be turned
and the timing will be off.
4. If the drive pins/actuators will not align,
use a flat black screwdriver or needle
nose pliers to turn the pins/actuator
approximately 180
o
. Then repeat Step 3.
5. Once the cylinder is inserted and
locked into place, rotate the key and
the latch should retract flush. If so,
release and remove the key. If not,
repeat Step 4.
6. Turn the outside lever. The latch should
not move. If it does, the timing is off.
Remove the cylinder and repeat Step 4.
7. Enter the combination, assuring it
works as intended. The latch should
retract flush.
45'1#40'4.69+.1035#/5'16'4
)6#3<-#%'33#&63#+/#&7'35+&#.'/5'
&'4'3(03:#&0(6'3#&'-#4+/
%30/+:#%+?/
1. Localice los pernos de impulsión/los
actuadores encontrados en la ranura
dominante de la invalidación de la
palanca exterior.
05# Éstos varían dependiendo de la
invalidación de llave seleccionada. Para
el mejor, Corbin, o Sargent, utiliza el
cuadro 13-1, para Schlage, el cuadro 13-2
del uso, y para el cuadro 13-3 del uso de
Medeco/ASSA/Yale.
2. Note la parte posterior del cilindro que
será instalado. El perfil y el área del
receptor en la parte posterior de ese
cilindro deben poder recibir los
pernos/los actuadores encontrados den-
tro de la palanca.
3. Les clavettes/déclencheurs doivent être
alignés pour recevoir facilement le cylin-
dre une fois installés. Le levier n'a pas
besoin d'être tourné partiellement ou d'in-
sérer autrement le cylindre. Si ceci est
fait, il causera l'arbre d'entraînement
d'être tourné et la synchronisation sera
éteinte.
4. Si los pernos de impulsión/los actu-
adores no alinean, utilice un destornil-
lador del negro plano o los alicates de
nariz de aguja para dar vuelta a los per-
nos/actuador aproximadamente 180o.
Entonces repita el paso 3.
5. Una vez que el cilindro se inserta y se
traba en lugar, gire la llave y el cierre
debe contraer a ras. Si es así lance y
quite la llave. Si no, repita el paso 4.
6. Dé vuelta a la palanca exterior. El
cierre no debe moverse. Si hace, la
sincronización está apagada. Quite el
cilindro y repita el paso 4.
7. Incorpore la combinación, asegurándolo
que trabaja según lo previsto. El cierre
debe contraer a ras.
/45#-#%+?/&'-%+-+/&30&0.+/#/5'&'-#
+/7#-+&#%+?/
9>?,77492?3060D:A0==4/0.D749/0=