7 8
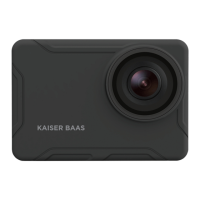
Using your X1 Camera
Charging the battery
Before using the X1 for the first time,
the battery must be fully charged.
Connect the X1 to an electronic device
using the USB cable provided.
If using a wall charger, ensure that it is a
certified product for your region. AC Input:
100-240VAC 50/60Hz. DC Output: 5VDC
0.5A/1A/2.1A. Only use a USB charger
with suitable approval and certification.
Do not charge in conditions outside of the
10°C-50°C range.
Whilst the X1 is charging, the camera
will turn On and the status indicator will
turn Pink. Turning off the camera while
charging will turn the status indicator Red.
A completely flat battery will take
approximately 4 hours to fully charge.
Insert the Micro SD Card (A Class-6 or
Class-10 Micro SD Card up to 32GB is
recommended).
There is only one correct way to insert
the Micro SD card into the slot. Do not
force the card into the card slot as it may
damage both the X1 and the card.
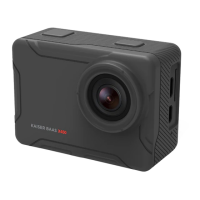
Set up your X1 Camera
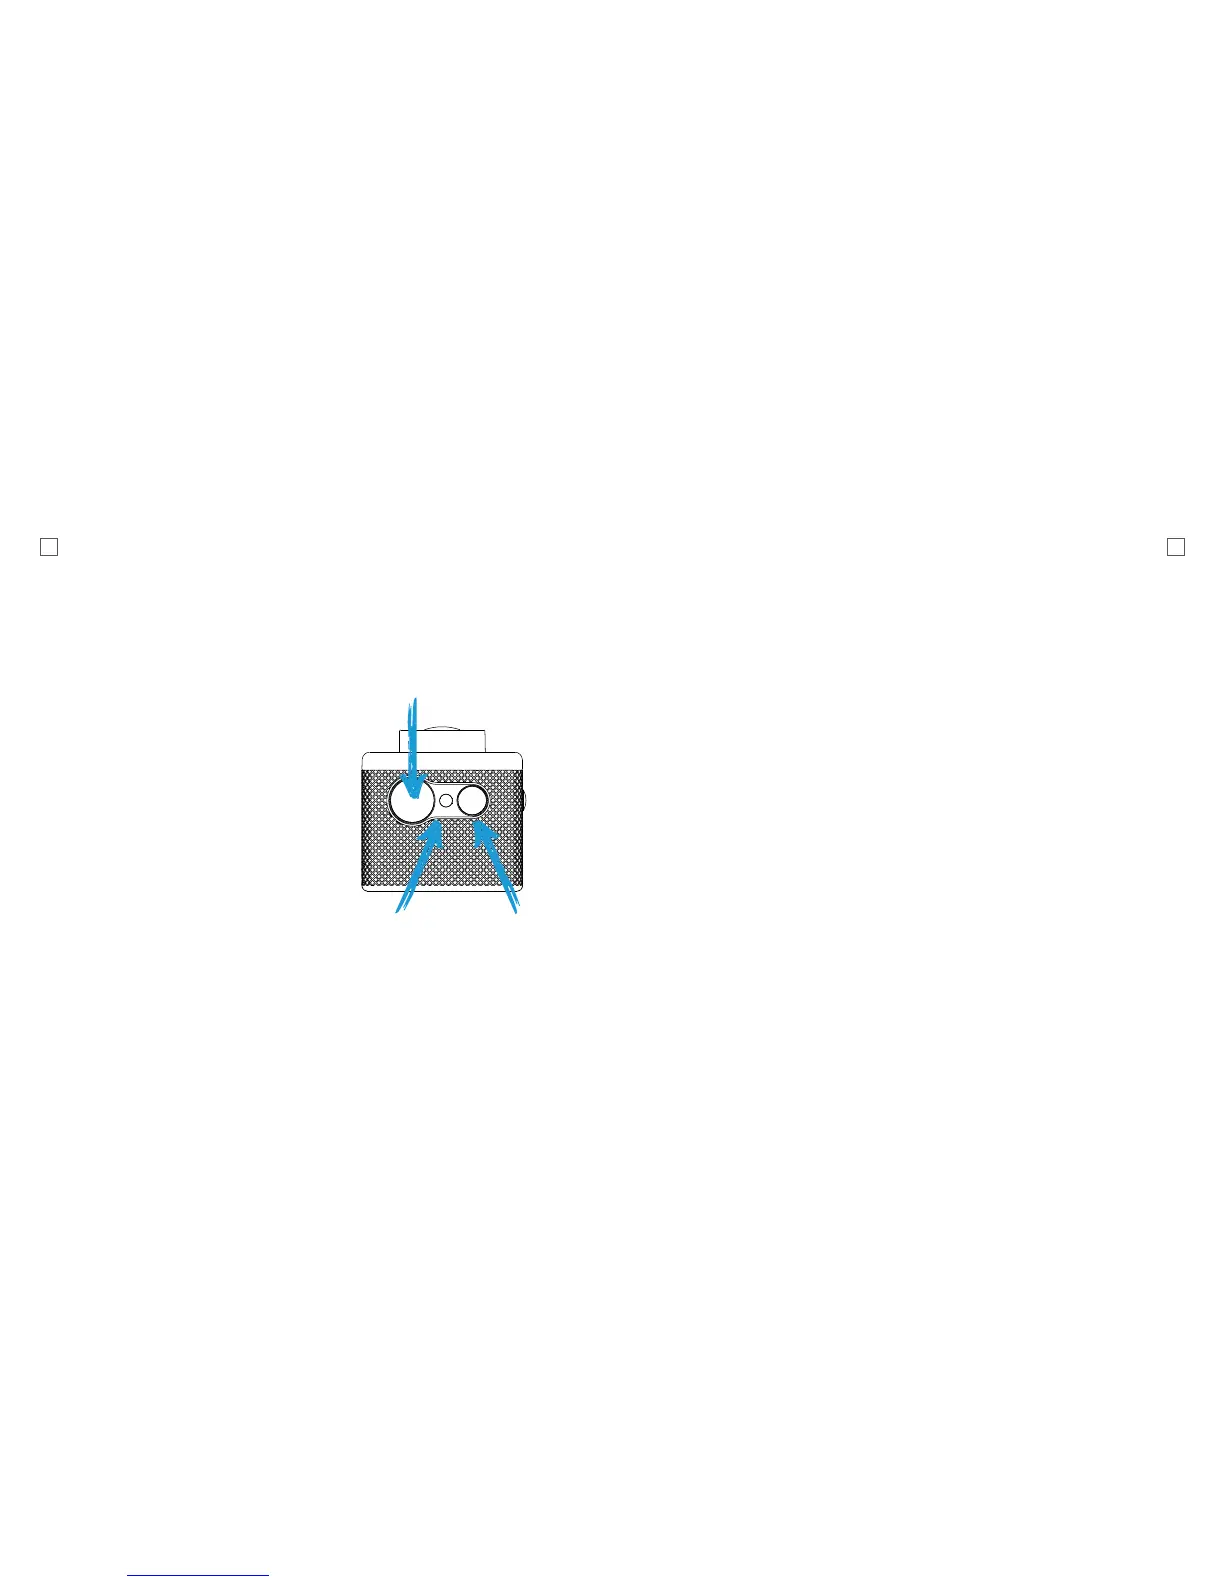
To Power On:
Press and Hold the Power button for
three seconds.
The camera status indicator (blue) will
glow and the startup logo will appear on
the screen. When the live view is up on
the X1 screen, your camera is on and it
is in Video Mode.
Insert a Micro SD Card
(A Class-6 or Class-10 Micro SD Card up
to 32GB is recommended).
Press the Record Button to start recording
video.
To Power Off:
Press and Hold the Power button for
a few seconds.
Hold Three Seconds
Camera Status
Indicator
Record Button