4.6 Pelvic Belt (Option)
4.6.1 How to assemble and disassemble the pelvic belt
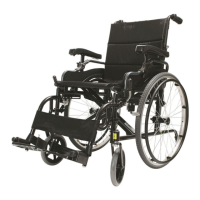
4.6.1.1 Loosen the fourth and fifth screws of both side of seat upholstery and
insert the pelvic belt in between the fourth and fifth screw holes. (Figure
4.35)
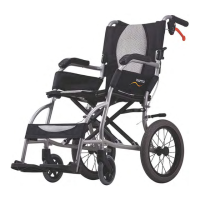
4.6.1.2 Keep the pelvic belt in 45 deg for comfortable usage. (Figure 4.36)
4.6.1.3Put the seat upholstery back and tighten screws.
4.6.2 Adjusting length of seat belt
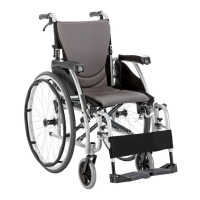
4.6.2.1 Identify the require length of the belt. (Figure 4.37)
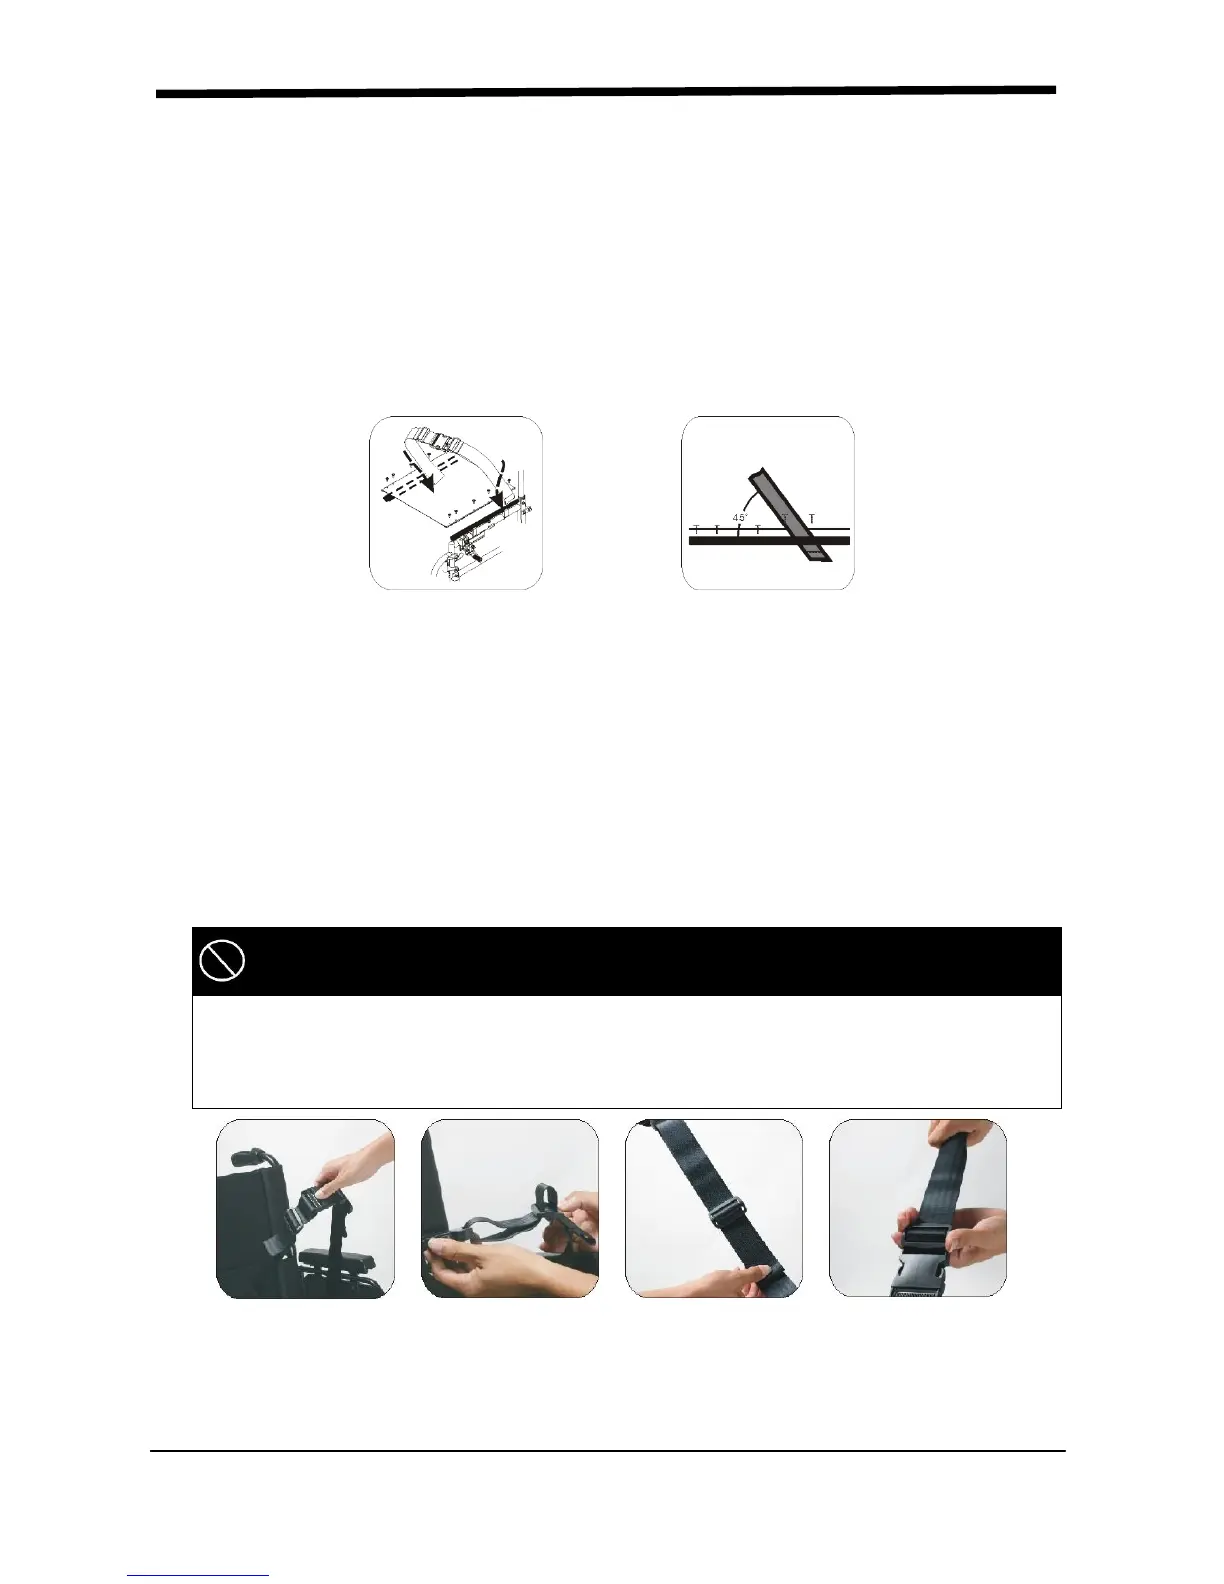
4.6.2.2 Push the two part of belt through buckle to make the belt longer or shorter.
(Figure 4.38)
4.6.2.3 Pull the two part of belt tight. (Figure 4.39)
4.6.2.4 Push buckle up to the plastic clip so that the belt cannot slip out of position.
Please check that there is no gap between the clip and buckle. (Figure 4.40)
● We recommend that the belt is fitted quite tightly around the pelvis. Please
tighten until you can just get your fingers between user and seat belt. Please
check that the belt is fastened correctly as recommended. If this is not
possible please consult your supplier..
 Loading...