CONNECTING A PRINTER
Parallel
Printer
Your KAYPRO computer comes equipped with a Centronics-type connector on
the back panel, labeled: J2 PRINTER OUTPUT. If you have a printer with a similar
36pin connector, then all you need is a standard parallel printer cable (available
from your dealer) to connect the two units. If you have a non-standard connector
on your printer or cannot find a suitable cable already assembled, then the
following pin assignments should prove useful to the person who fabricates
your cable.
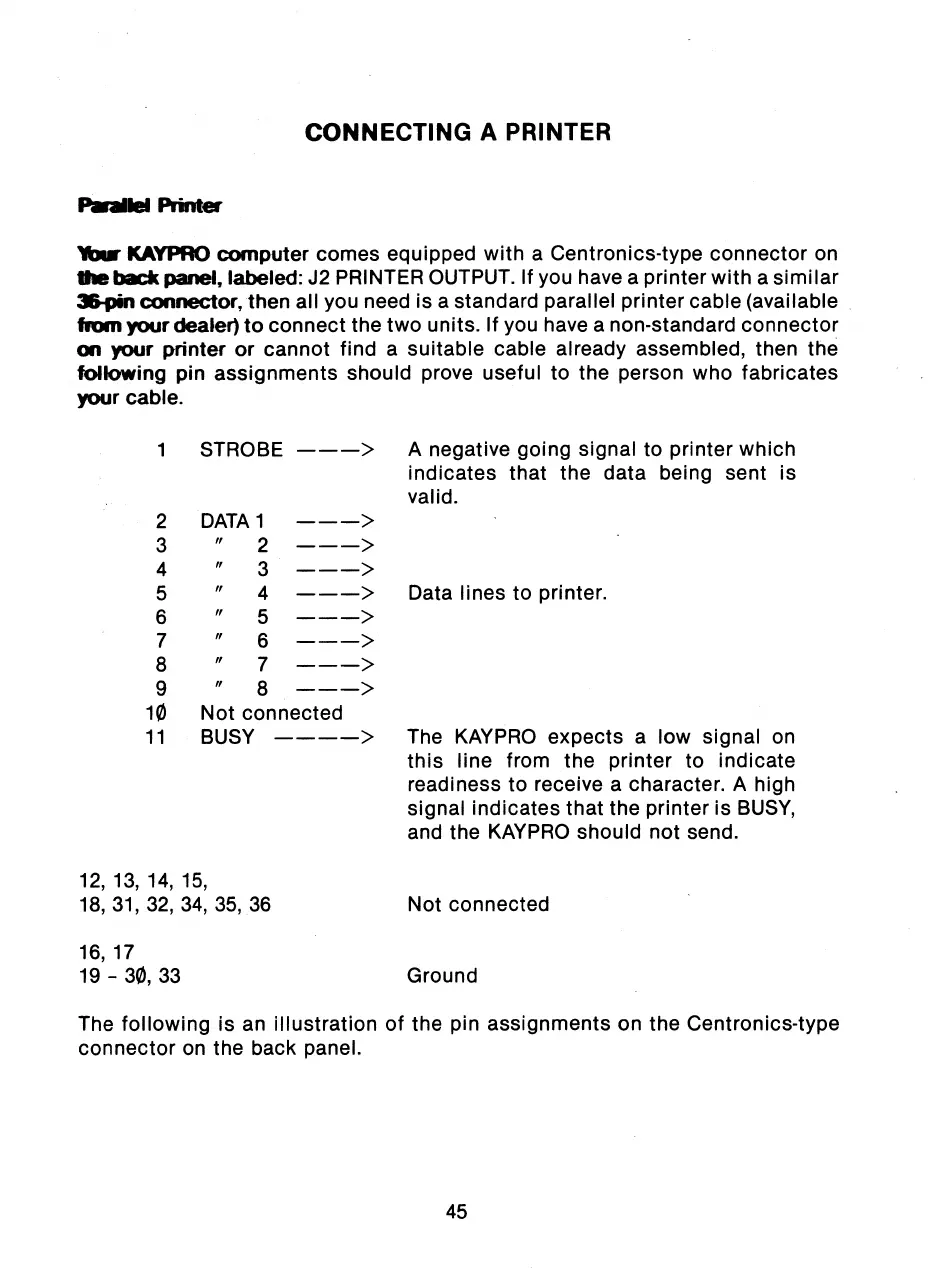
1 STROBE ---> A negative going signal to printer which
indicates that the data being sent is
valid.
2 DATA 1 — — —>
3 " 2 — — —>
4
3
5
4 ---> Data lines to printer.
6
5
7
ff
6
- - ->
8
7 --->
9
If
8 ""- ->
1
0 Not connected
11 BUSY ----> The KAYPRO expects a low signal on
this line from the printer to indicate
readiness to receive a character. A high
signal indicates that the printer is BUSY,
and the KAYPRO should not send.
12, 13, 14, 15,
18, 31, 32, 34, 35, 36
Not connected
16, 17
19 - 30, 33
Ground
The following is an illustration of the pin assignments on the Centronics-type
connector on the back panel.
45