Connect the Dell R-Series
Copyright © 2002 - 2016 KEMP Technologies, Inc. All Rights Reserved. 6
2 Connect the Dell R-Series
To connect the Dell R-Series, follow the steps below:
1. Install the Dell R-Series into a 19 inch rack or another safe location.
2. Connect Ethernet cables to the ports on the Dell R-Series. Please use the worksheet
included in the pack to determine which ports to connect. For single-arm setups, the
switch only needs to be connected to port 0 (or eth0).
3. Connect the monitor and keyboard to the Dell R-Series (or just a serial cable).
4. Connect the power cable to the Dell R-Series.
5. Turn on power to the unit.
2.1 Install the LoadMaster
To install the LoadMaster, follow the steps below:
1. Insert the CD into the CD-ROM drive.
2. Boot the server.
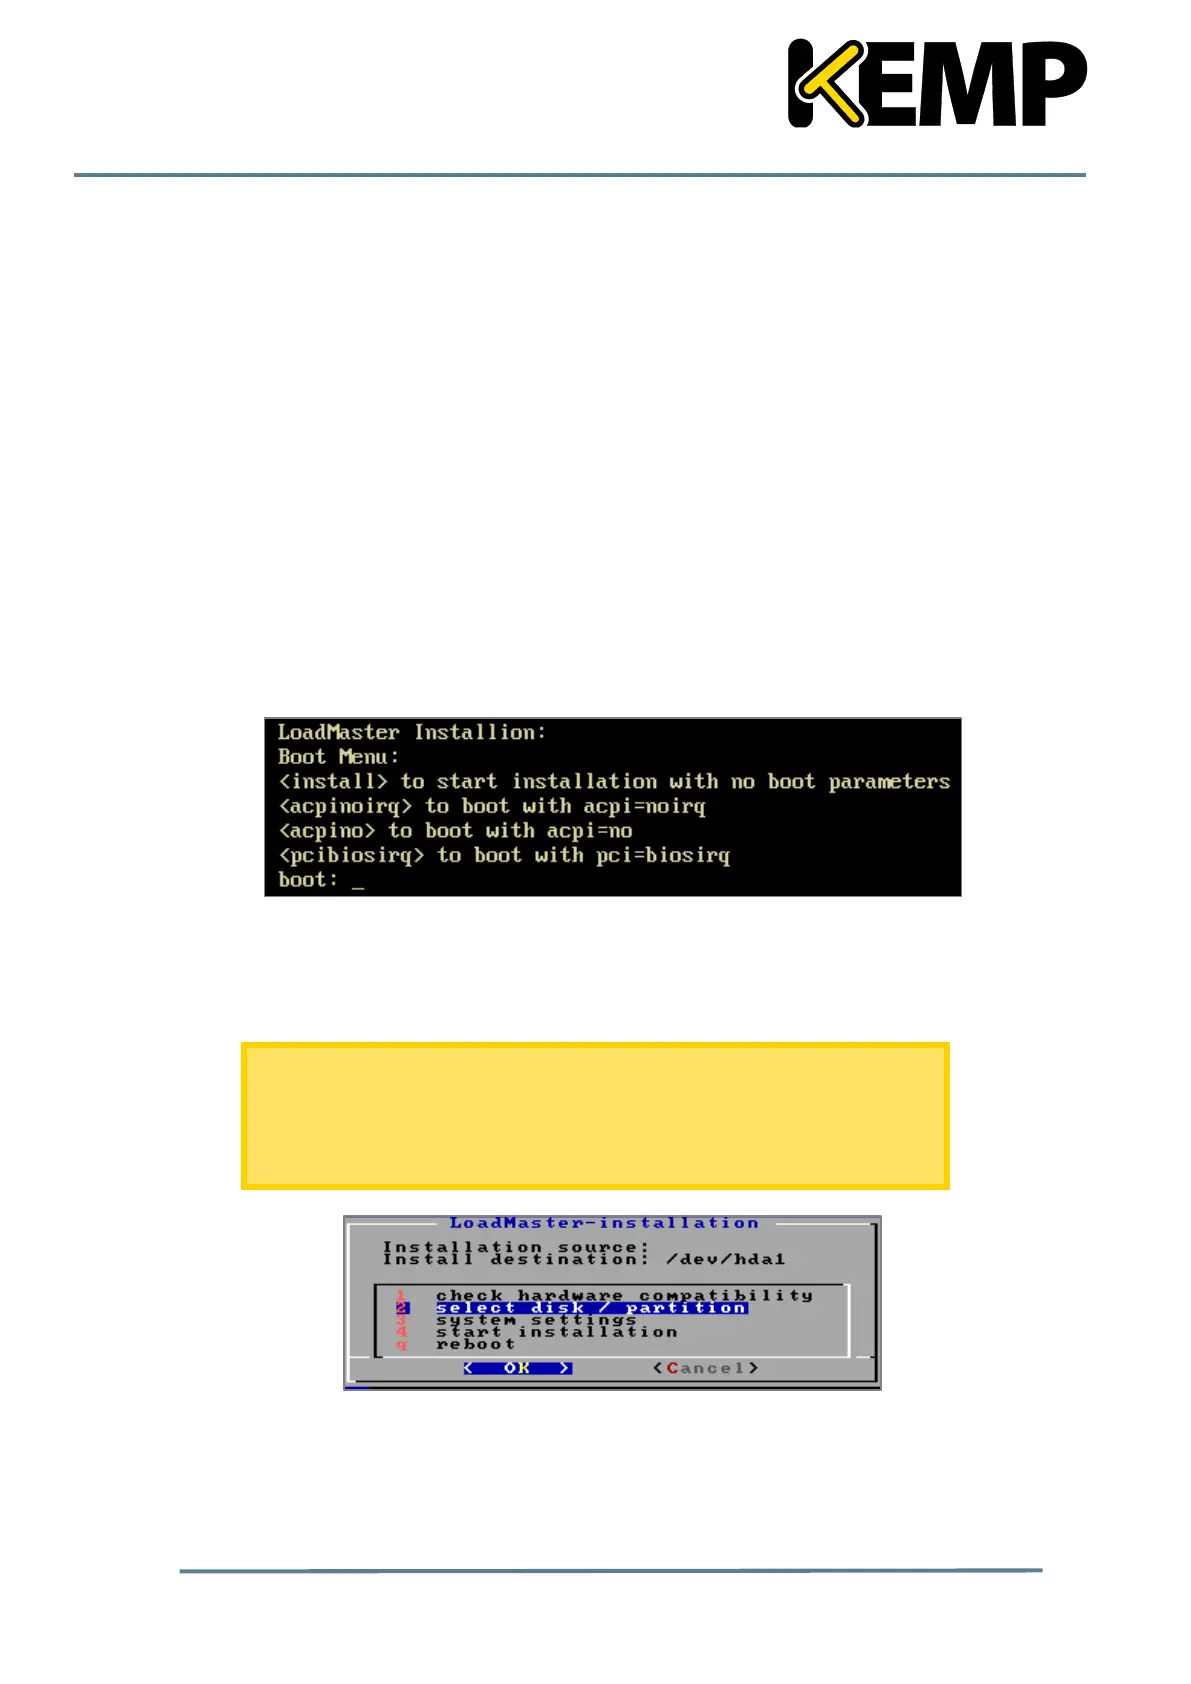
Figure 2-1: LoadMaster Installation
3. Once the server boots from the CD, the LoadMaster installation begins automatically
with no parameters if no boot parameters are entered.
For further information on the different boot options that are available,
refer to the Bare Metal Boot Options, Technical Note.
The serial number should be automatically pulled from the LoadMaster. If
it is not, please enter it when prompted.
Figure 2-2: Select disk/partition
4. Select select disk/partition and press OK.