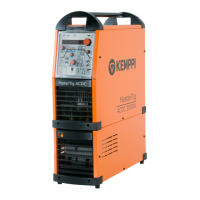
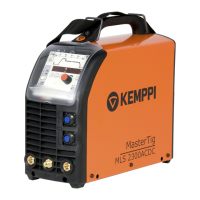
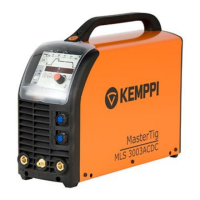
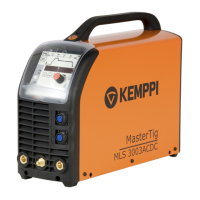
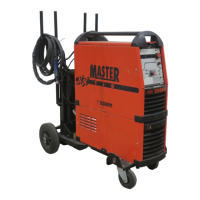
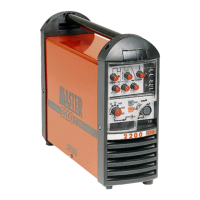
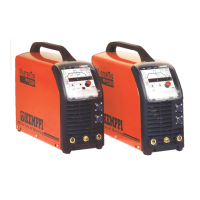
TECHNICAL SERVICE MANUAL FOR MASTERTIG ACDC
SELECTION OF REMOTE CONTROL UNIT
1. Turn off the machine.
2. Press the REMOTE key and at the same time turn the machine on; the display
will show the text rEn 01. The machine is now selected to use for hand held
remote control units (C 100C, C 100D, or C 100AC).
3. Turn the current adjustment knob so that the display shows rEn 02.
The machine is now selected to use foot controlled remote unit (C 100F).
4. Press the REMOTE key so that the setting is saved in the memory.
CALIBRATION OF THE PANEL
It is possible to calibrate the current meter of the Mastertig ACDC in DC -
and DC + at two different points, 10 A and 100A. If you want to calibrate the
current setting of the machine you will need a shunt resistor, loading bench
and multimeter to monitor real current value.
1. First set machine polarity to DC - and note the meter readings when set
value is 10 A and 100 A. Repeat this process for DC + polarities
2. Turn off the machine.
3. Press the POST GAS key and at the same time turn the machine on.
4. Press the BROKEN ARC key; display will show text CU1 010. Now you
can feed in, by the current adjustment knob, the real measured value for
DC - 10 A.
5. By pressing the REMOTE next time display will show text CU2 100, you can
now feed in the measured DC -100 A value.
6. Repeat same with DC +, CU3 010 is for DC + 10 A and CU4 100 is for
DC + 100 A.
7. Press the POST GAS key so that the calibration setting is saved in the
memory.
8. Check the corrected values from the panel display.
 Loading...
