3. INSTALLATION
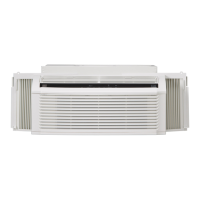
- MODEL: 79053/79056
• HOW TO INSTALL
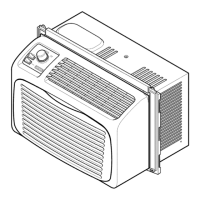
1. Insert the sliding panels (ITEM H) into the guides
of the air conditioner. Fasten the curtains to the
unit with screws (ITEM B), as shown in Figure 73.
ITEM B
Figure 73
ITEM S
2. Cut the adhesive-backed seal strip (ITEM E) to
the window width.
Remove the backing from the seal strip and attach
the seal strip to the underside of the bottom win-
dow. (See Figure 74)
Figure 74
3. location of unit in window
• Open the window and mark center line on the
center of the INNER SILL as shown in Figure 75.
Figure 75
ROOM SIDE
4. Attach L bracket
• The units install L bracket (ITEM G) center in
back of inner window sill, with short side of
bracket to the outside. Use the 2 screws (ITEM
A) provided.
• Bracket helps to hold unit securely in place. Be
sure to place bracket edge flush against back of
inner sill. (See Figure 76)
5. INSTALL THE AIR CONDITIONER IN THE WIN-
DOW
• Carefully liftthe air conditionerand slideitintothe
openwindow.Make sure the bottomguide ofthe
airconditioner dropsinto the L bracket.
• When the air conditionerdrops intothe L bracket,
theair conditionerwill be centered in window
openingas shownin Figure 77.
• While steadyingthe air conditioner,carefullybdng
the window sash downbehindthe upperguide of
.the air conditioner,as shownin Figure 78.
INNER SILL
ITEM A
OUTER SILL
OUTSIDE
Figure 76
Figure 77
_, INSIDE
CENTER LINE
CENTER LINE