5
Assembly
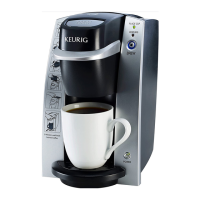
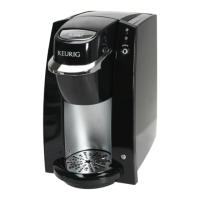
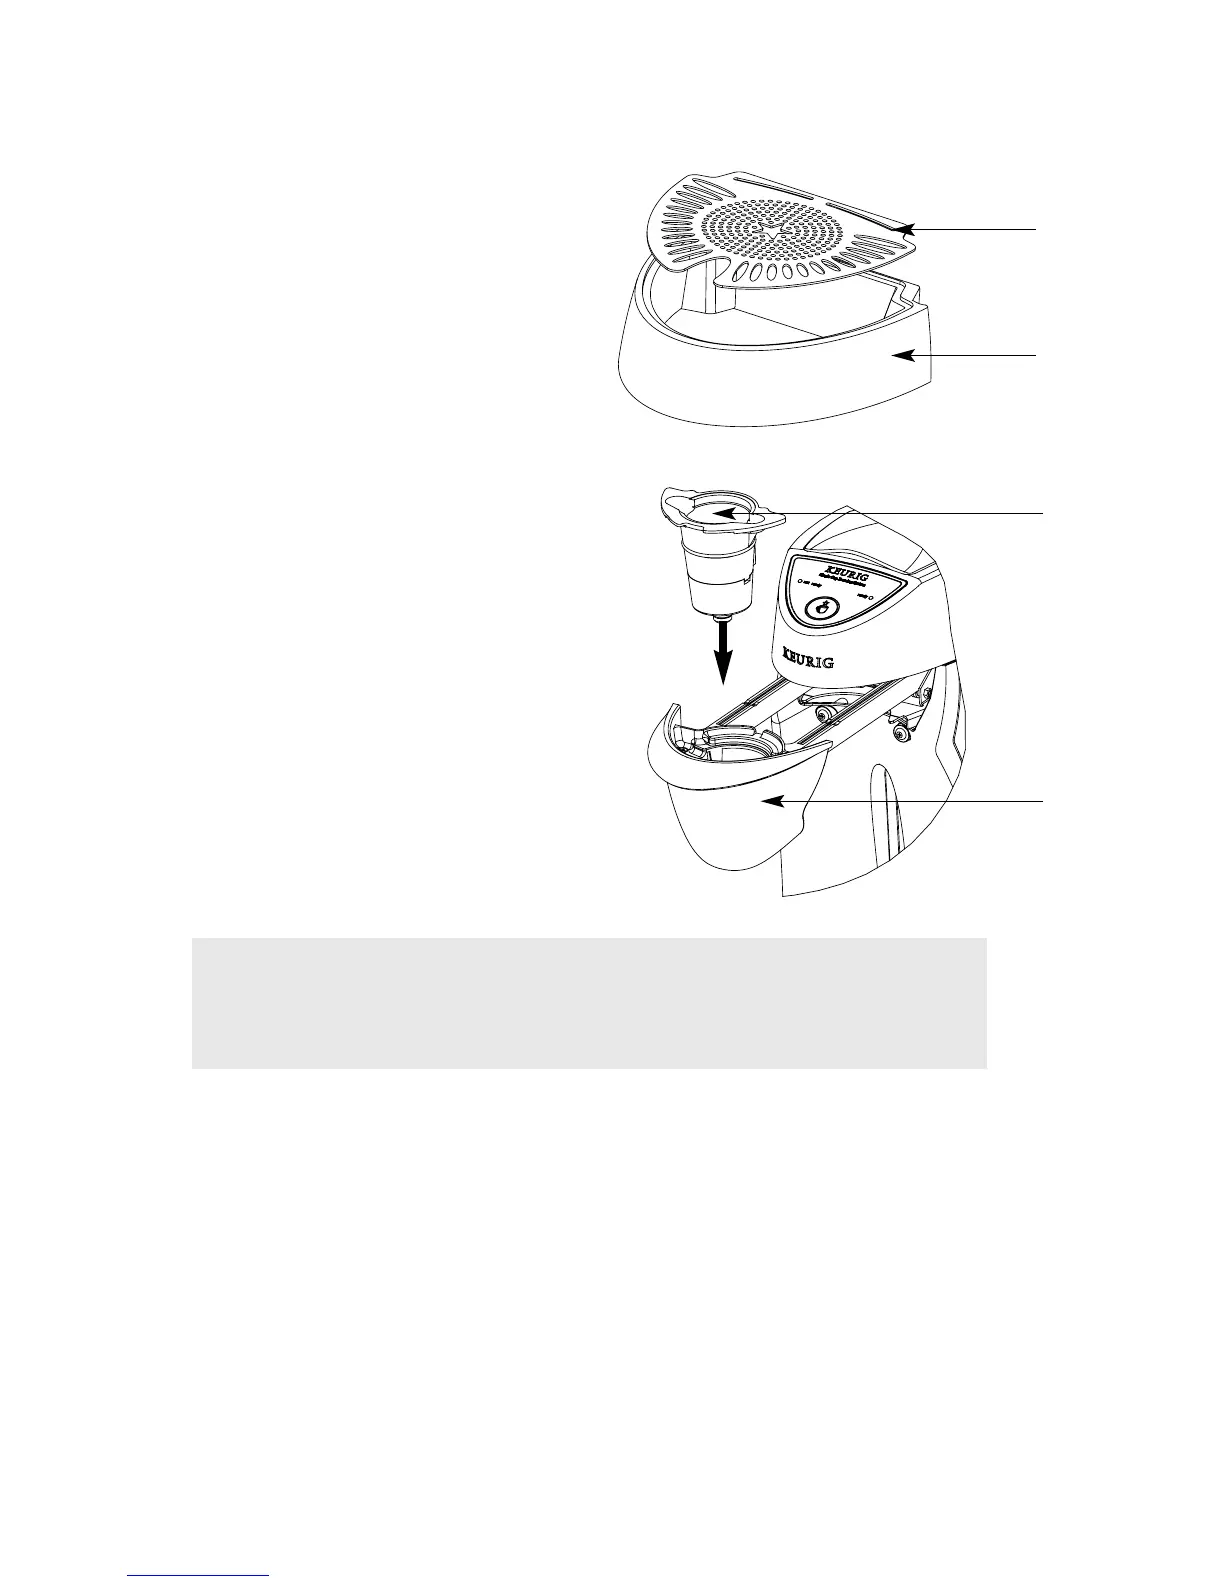
1. Drip Tray Assembly
a. Ensure that Drip Tray Plate rests on
Drip Tray.
b. Place Drip Tray Assembly at the front
base of the Brewer.
2. K-Cup Holder Assembly
a. Open the Brew Drawer.
b. Insert K-Cup Holder Assembly into the
Brew Drawer and press down until
the K-Cup Holder Assembly snaps firmly
in place.
NOTE: The K-Cup Holder and Funnel can become separated during shipping. To
reassemble, line up the notch in the Funnel (lower section) with the tabs in the
K-Cup Holder (top section). Position one post from the Funnel into the square hole on
the underside of the K-Cup Holder. Snap the other post into place.
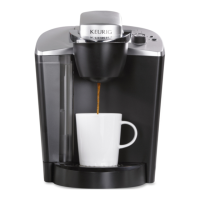
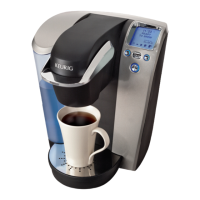
Set-Up & First Brew
1. Power
a. Plug Brewer in.
b. Turn power switch found on rear of Brewer to “ON” setting.
c. The Red “Not Ready” Light on the Brewer Control Panel will come on and the
blue light behind the Water Level Indicator will flash on and off.This indicates the
Brewer needs water.
Drip Tray Plate
Drip Tray
Brew Drawer
K-Cup Holder Assembly
 Loading...