14
(at least 3 test bleeps) When this happens release the test but-
ton by turning it anti-clockwise and turn the function dial back
to the continuity position. Whilst still shorting the test leads
press the test button and ensure the display reads zero before
proceeding. A flashing Ω symbol on the display indicates that
Autonull is on. Remember the auto null procedure has to be
repeated if the tester function dial is switched to OFF or is
rotated past the OFF position.
9.3 Connect the test leads to the circuit under test. Ensure the
circuit is not live by checking that the live circuit bleeper does
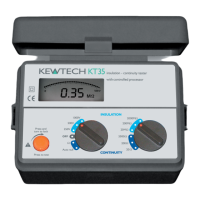
not sound. The KT35 will indicate the value of external AC
voltage (see section 8.3).
Note: On the 20Ω range the end of test bleep has a
lower tone for resistances less than approx. 5Ω.
10 General
If at any time the display shows OR this means that the value
being measured is greater than the range selected. Switch to a
higher range in this case. The test button can be locked down
for ease of use. Do not forget to release the test button first
before disconnecting the test leads from the system otherwise
the circuit may be left in a charged state. Each Time the tester
makes a measurement and updates the display end of test
bleep will sound.
11 Battery and Fuse Replacement
Caution: Always disconnect the test leads from the
instrument before attempting battery or fuse replace-
ment.
11.1 Battery Replacement
When the LCD shows the low battery flag, the batteries need