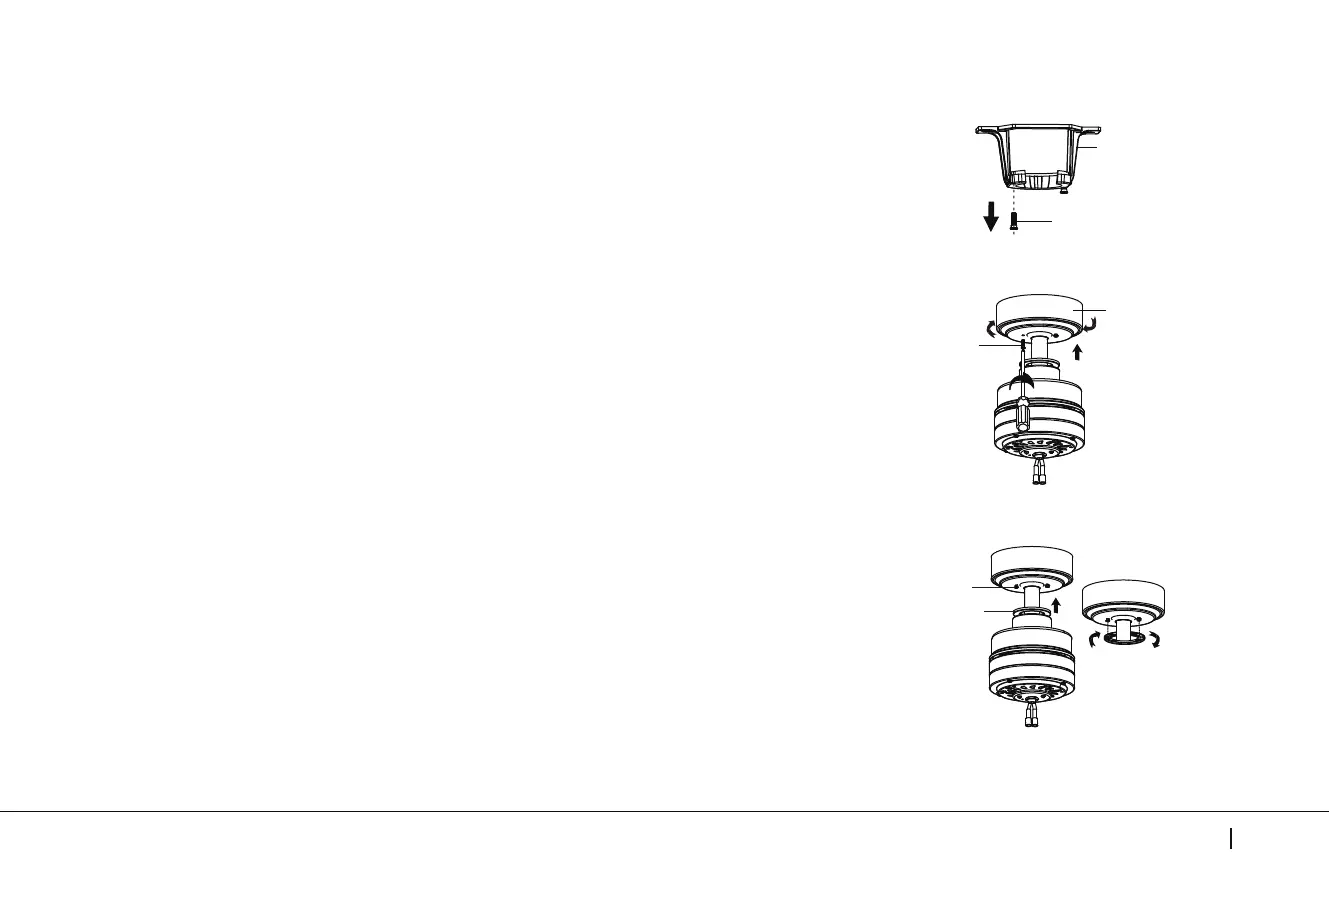
NOTE: Before continuing , make sure the power is disconnected by turning
o the circuit breaker of removing the fuse at the circuit box.
Step 1. Remove one of the two shoulder screws in the mounting bracket. Loosen
the second shoulder screw without fully removing it. (Fig. 13)
Step 2. Assemble canopy by rotating key slot in canopy over shoulder screw
in mounting bracket. Reinstall the shoulder screw that was previously removed,
then retighten two shoulder screws securely.(Fig.14)
FINISHING THE INSTALLATION
Step 3. Securely attach and tighten the canopy hole cover over the shoulder
screws in the mounting bracket utilizing the keyslot twist-lock feature. (Fig. 15)
Fig. 13
Fig. 15
Fig. 14
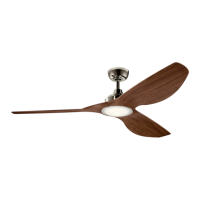
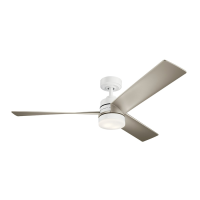
52" Spyn LED
11
Mounting Bracket
Shoulder Screw
Canopy
Shoulder Screw
Shoulder Screw
Canopy Hole Cover