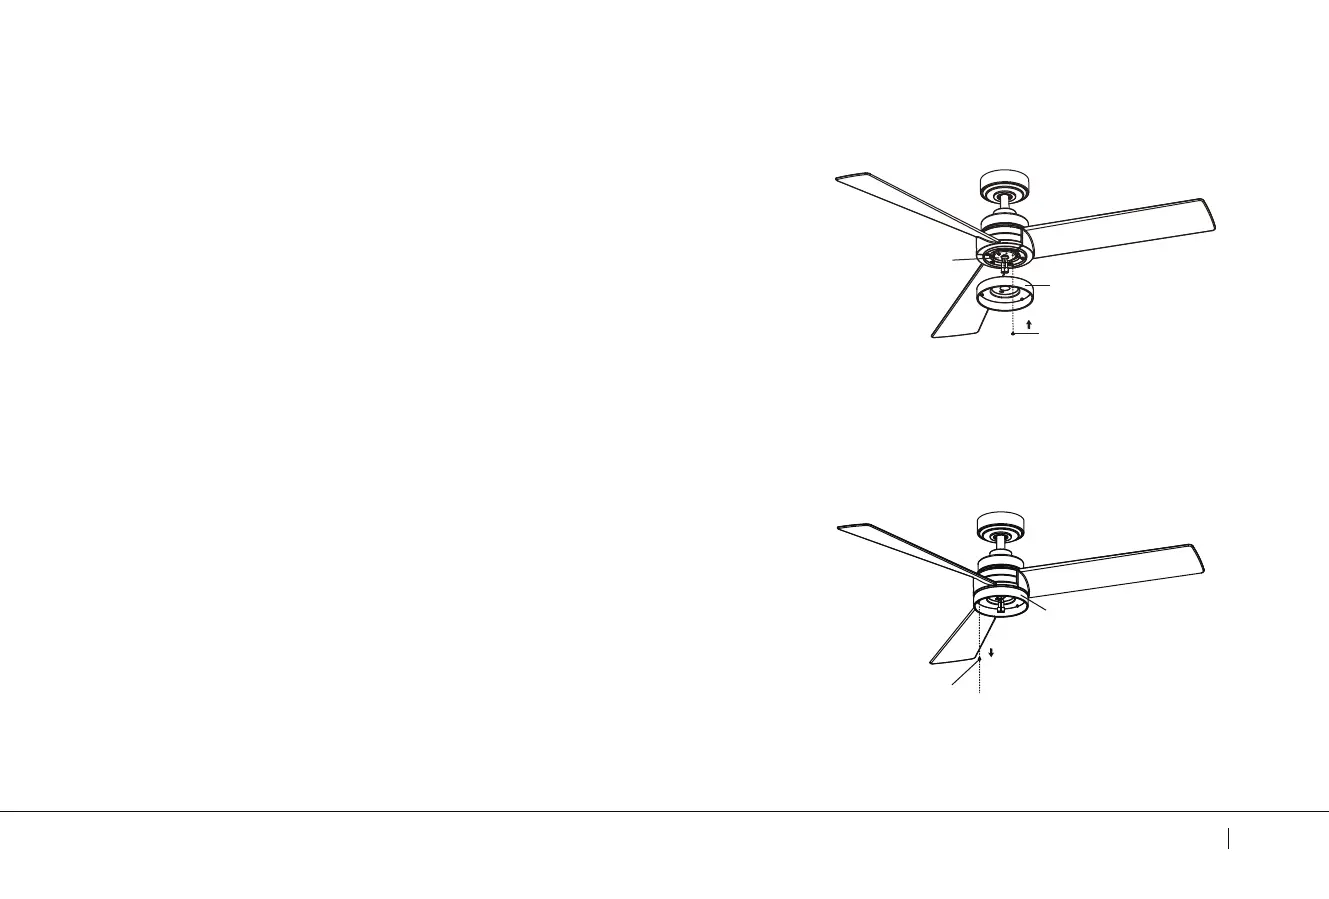
Step 2. Place the two slot holes on the switch housing over the 2 screws
previously loosened from the mounting plate. Rotate the switch housing
until it locks in place at the narrow end of the key holes. Secure by tightening
the 2 screws previously loosened and the one previously removed. (Fig. 18)
Step 1. Remove one of the three screws pre-installed on the outer edge side
of the switch housing and save for later use. Loosen the other two (do not
removed. (Fig. 19)
Fig. 18
Fig. 19
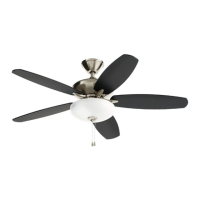
52" Spyn LED
13
NOTE: Before continuing installation, confirm that the power is still turned
o at the main circuit breaker or by removing the circuit fuse. Turning the
power o using a wall switch is not sucient to prevent electrical stock.
INSTALLING THE LIGHT KIT
INSTALLING THE SWITCH HOUSING
Mounting Plate
Swith Housing
Screw
Swith Housing
Screw