14
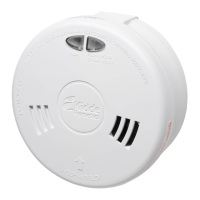
8. Installation and Activation
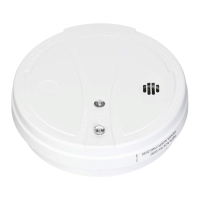
NOTE: A dust cover has been installed on the
alarm. Keep the dust cover on until all construc-
tion has been completed for at least 24 hours
(drywall, painting, varnishing, mounting plate
install, etc). Construction dust and chemicals can
cause contamination and false alarms.
WARNING: DUST COVER MUST BE REMOVED
FOR ALARM TO OPERATE. (see Figure 8-F)
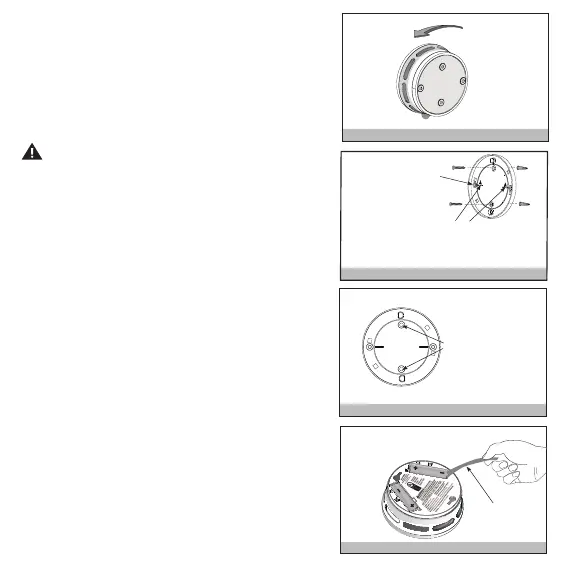
Step 1: After selecting the proper location for
your alarm, remove the mounting bracket from
the back of the unit by rotating it counterclock-
wise. (see Figure 8-A) Attach the mounting
bracket to the wall or ceiling. To ensure aesthetic
alignment of the alarm with the hallway, or wall,
the “A” line on the mounting bracket should be
parallel with the hallway when ceiling mounted,
or horizontal when wall mounted. (see Figures
8-B and 8-C)
NOTE: If needed, you can knock out the thin
plastic centers of one or both of the knockout
areas to give alternate hole locations for wall
anchors. (see Figure 8-B)
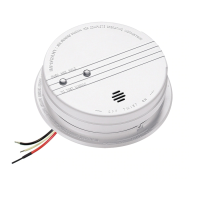
Step 2: Pull out the battery pull tab to activate
the batteries (see Figure 8-D). Battery activation
is confirmed with a beep. If the beep does not
occur when the battery pull tab is removed,
remove the batteries and reinstall them. Confirm
the battery activation beep.
NOTE: If either battery compartment is empty,
the alarm cannot mount on the mounting bracket.
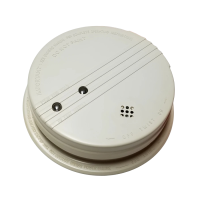
Figure 8-B
When mounting in a hallway,
the "A" line should be parallel with
the hallway. When wall mounting,
the "A" line should be horizontal.
If needed, knockout
the plastic in these
two holes for alternate
screw/anchor positions
Figure 8-C
Mark and drill
two 3/16" (5mm)
holes for wall
anchors.
Figure 8-E
Remove
Install
A A
A A
Figure 8-A
Remove Pull tab
Figure 8-D
Remove