15
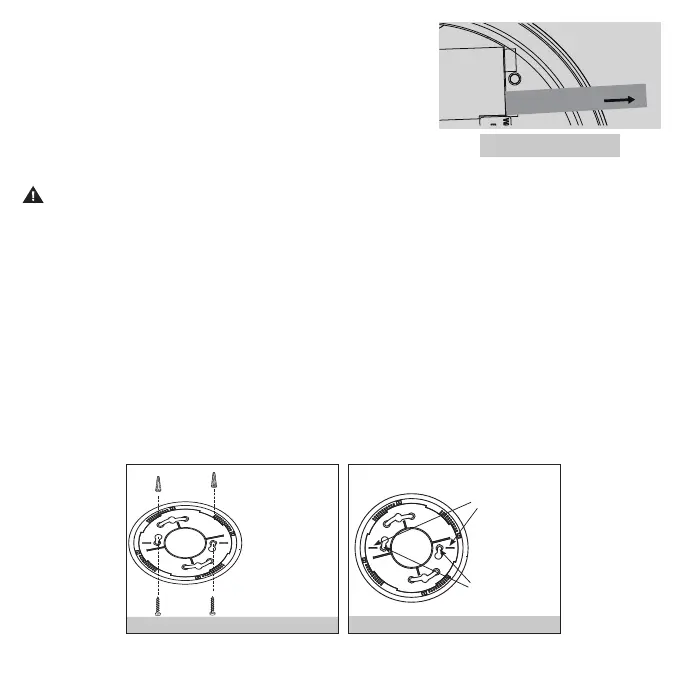
Figure 9 -A
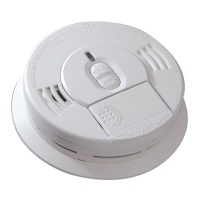
PULL OUT TAB TO ACTIVATE
BATTERIES.
9. Installation and Activation
NOTE: A dust cover has been installed on the alarm. Keep the dust
cover on until all construction has been completed for at least 24
hours (drywall, painting, varnishing, mounting plate install, etc).
Retain the dust cover and re-install it to protect the alarm during
future construction projects. Construction dust and chemicals can
cause contamination and false alarms.
WARNING: DUST COVER MUST BE REMOVED FOR ALARM TO OPERATE.
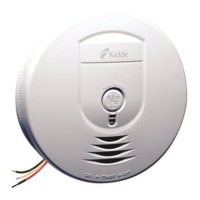
NOTE: Pull out the battery pull tab first to activate the batteries (see Figure 9-A). Battery activation is
confirmed with a beep. If the beep does not occur when the battery pull tab is removed, remove the batteries
and reinstall them. Confirm the battery activation beep.
• Kidde alarms are not designed, agency tested or certified for recessed mounting and should not be installed in
this manner. Recessed mounting impedes smoke entry into the smoke chamber, which may prevent the alarm
from sounding in a timely manner. This could endanger the lives of occupants in the residence. Kidde alarms
are designed, tested and certified for wall (if applicable) and ceiling surface mount only.
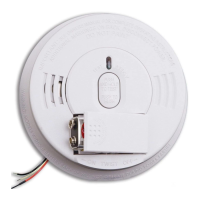
• After selecting the proper location for your alarm, attach the mounting bracket to the wall or ceiling.
To ensure aesthetic alignment of the alarm with the hallway, or wall, the “A” line on the mounting
bracket should be parallel with the hallway when ceiling mounted, or horizontal when wall mounted
(Figures 9-B and 9-C).
PULL OUT TAB TO ACTIVATE BATTERIES.
SAQUE LA LENGÜETA PARA
ACTIVAR LAS BATERÍAS.
Figure 9-B
When mounting
in a hallway,
the "A" line should
be parallel with the
hallway. When wall
mounting, the "A"
line should be
horizontal.
Alignment Marks
(”A” Line) on
Mounting
Bracket
Figure 9-C
Mark and drill
two 3/16" (5mm)
holes for wall
anchors.
AA
AA