15
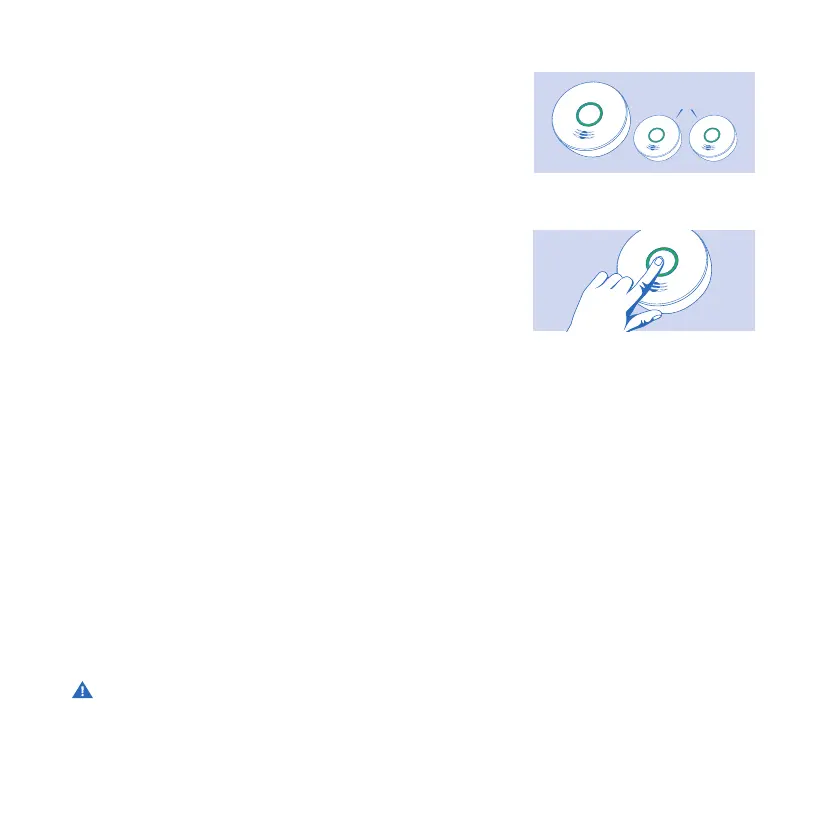
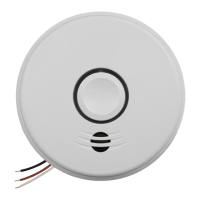
D. RELAX AND WAIT
Wait until all devices have connected to network. Once connected, each
device will speak, “Success now connected!”
• Once connected, the lights will glow green.
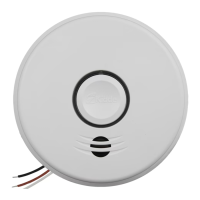
E. PICK ONE DEVICE
Press and hold the button on only ONE device until you hear 2 beeps.
Release button. “Sonar” ping will stop.
• Device will announce that setup is complete and the number of connect-
ed devices.
F. WIRELESS SETUP COMPLETE!
If all devices flash green and “Sonar” ping has stopped, the devices are now connected. Congratulations!
G. SELECT LOCATION AND INSTALL ALARM
After selecting the proper location for your alarm, attach the mounting bracket to the wall or ceiling. To ensure aesthetic
alignment of the alarm with the hallway, or wall, the “A” line on the mounting bracket must be parallel with the hallway
when ceiling mounted, or horizontal when wall mounted.
• Install the alarm fully on the mounting bracket by rotating the alarm in a clockwise direction.
NOTE: The alarm will mount to the bracket in 4 positions (every 90 degrees).
The alarm is now activated! After installation / activation, test your alarm as described in Operation and Testing section.
WARNING: FAILURE TO PROPERLY INSTALL AND ACTIVATE THIS ALARM WILL PREVENT PROPER
OPERATION OF THIS ALARM AND WILL PREVENT ITS RESPONSE TO FIRE HAZARDS.
Figure 9.1-D
“Success, now
connected!”
Figure 9.1-E
Hold for
5 seconds