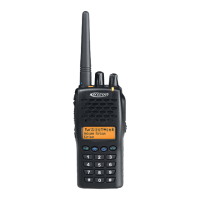
4
3
INSTALLING /REMOVING THE BATTERY PACK
*
Notes:
Do not cause short-circuit or throw the battery to the fire.
Do not disassemble the battery by yourself.
*
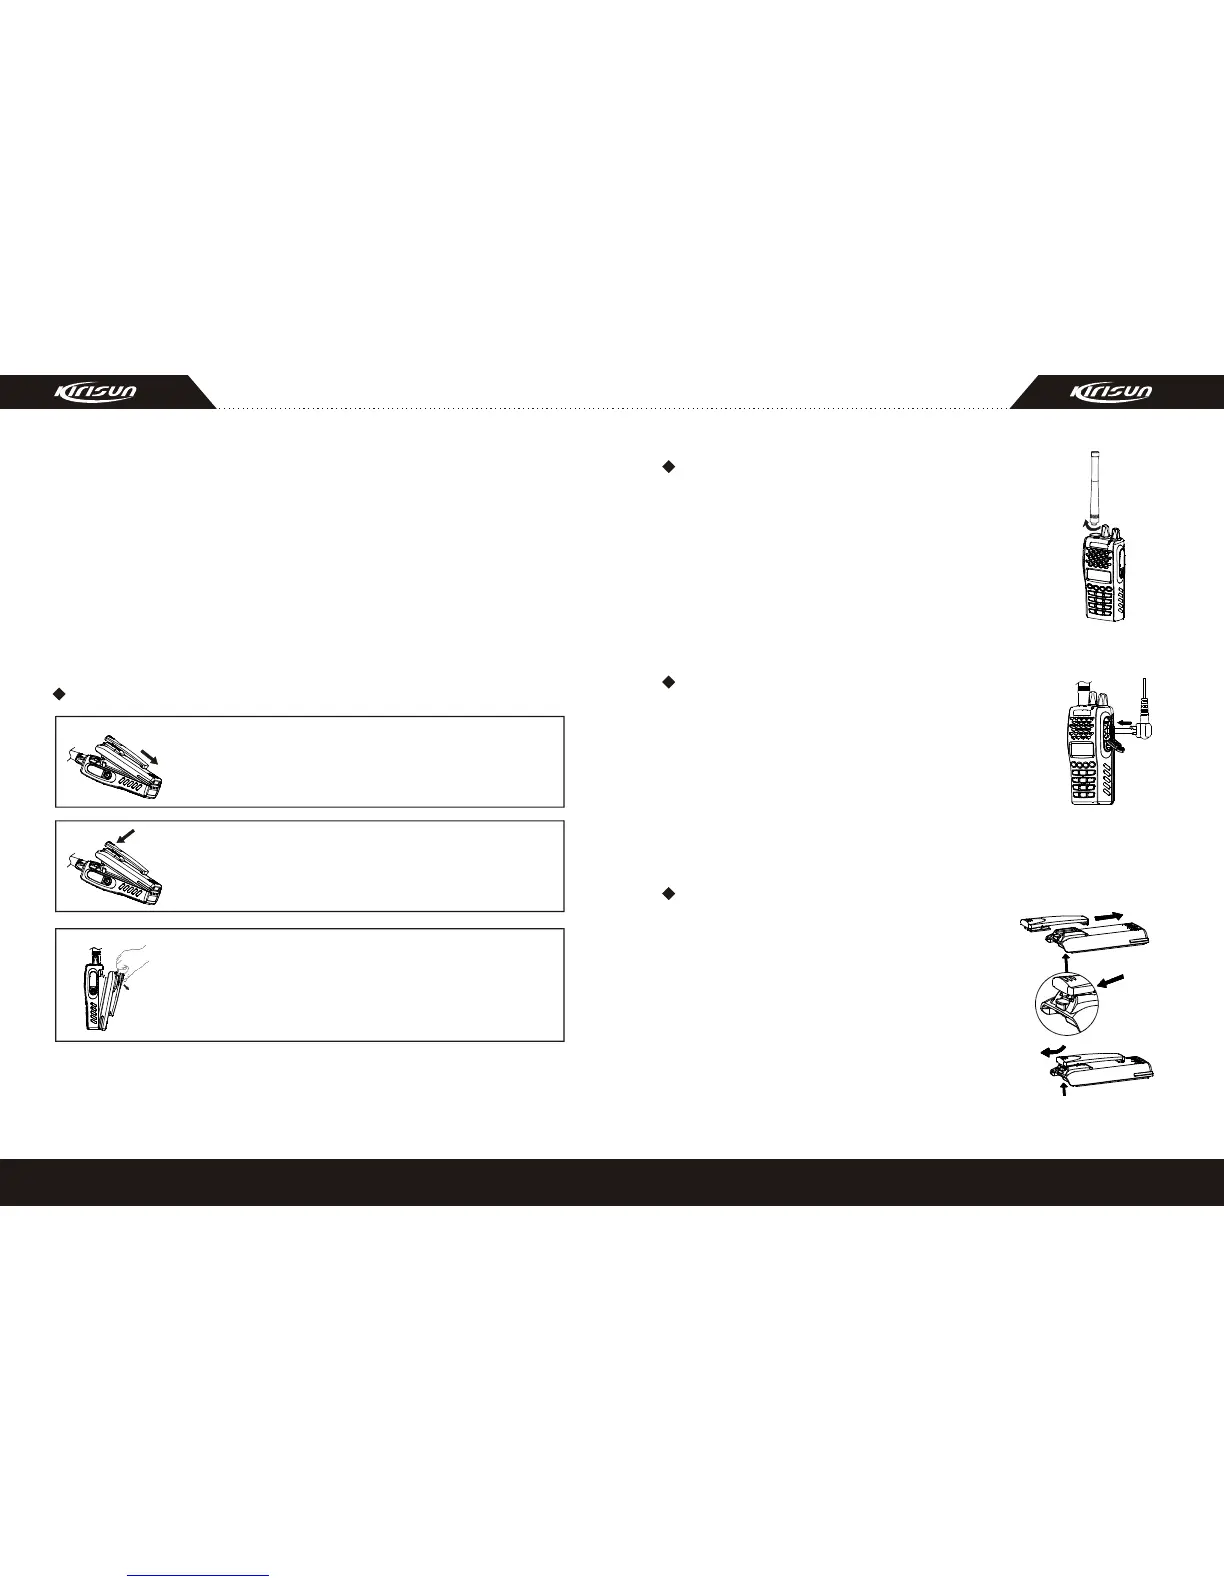
Installing the Battery Pack
Match the 3 bulges of the battery pack with the
corresponding slots at the rear bottom of the radio.
Installing the Battery Pack
Then firmly press the battery pack downwards to
lock it in place until a click is heard.
Removing the Battery Pack
To remove the battery pack, use your thumb to
press the belt clip, one side of your index finger to
press the release button and then pull the battery
away from the radio.
(2 months), several times of charging is needed. Make sure the
battery is charged at least once every three months.
* Do not charge the battery again if it is charged fully or not in the low-
pressure warning mode, otherwise, it will have bad effects on its life
and performance. Remove the battery from the charger after charging.
* When you use the KB-36A battery, and the transceiver is in the low-
power warning mode, recharge the battery before use. Do not start up
by force; otherwise, it will have bad effects on its life and performance.
* There is a protection circuit in KB-36C battery, so the power will be
cut off at too low power.
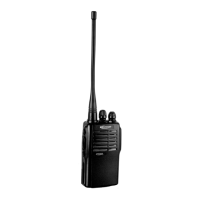
INSTALLING THE ANTENNA
Screw the antenna into the connector at
the top of the transceiver by holding the
Button of the antenna and turn it
clockwise until secure.
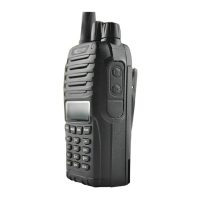
INSTALLING THE OPTIONAL
SPEAKER/ MICROPHONE
Insert the speaker/microphone plug into
the jacks of the versatile connector.
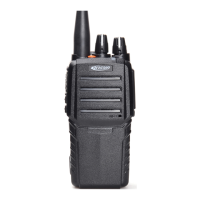
INSTALLING THE BELT CLIP
Match the grooves of the belt clip with
those on the rear of the battery. Then
press belt clip downwards to lock it in
place. Push the card by inserting your
nail or tool into the groove at the upper
part of the clip to remove the belt clip.
 Loading...