INSTALLATION REQUIREMENTS
Tools and Parts
Gather these required tools and parts before starting installation.
Read and follow the instructions provided with any tools listed
Location Requirements
here.
Tools needed
Phillip screwdriver
Wrench or pliers
Pipe wrench
Scissors or cutting pliers
(to remove tiedowns)
Noncorrosive leak-
Parts Supplied
Gas pressure regulator/hose assembly set for 11” WCP
LP gas
Right side shelf with sear burner
Left side shelf
Searing side burner control knob
“AA” Battery (1)
Warming rack
Cooking grid
Searing side burner cooking grid
Natural gas orifice for searing side burner
Parts Needed
20 lb LP gas fuel tank-approximately 18” (45.7cm) height.
Parts Needed for Conversion to Natural Gas
Natural gas conversion kit Part Number 710-0003. See
“Assistance” section to order. The conversion kit includes:
Natural gas regulator 4" W.C. (marked “Natural Gas
Regulator”)
10 ft (3.0 m) Natural gas hose with quick connector
5.9" (150 mm) Natural gas regulator hose
Select a location that provides minimum exposure to wind and
traffic paths. The location should be away from strong draft
6 mm nut drive
6 mm wrench
Hex key
Gas line shutoff valve
1/2" male pipe thread nipple for connection to pressure
regulator.
LP gas-resistant pipe-joint compound
CSA design-certified outdoor flexible stainless steel
-
-
1 5 m]) or rigid gas supply
.
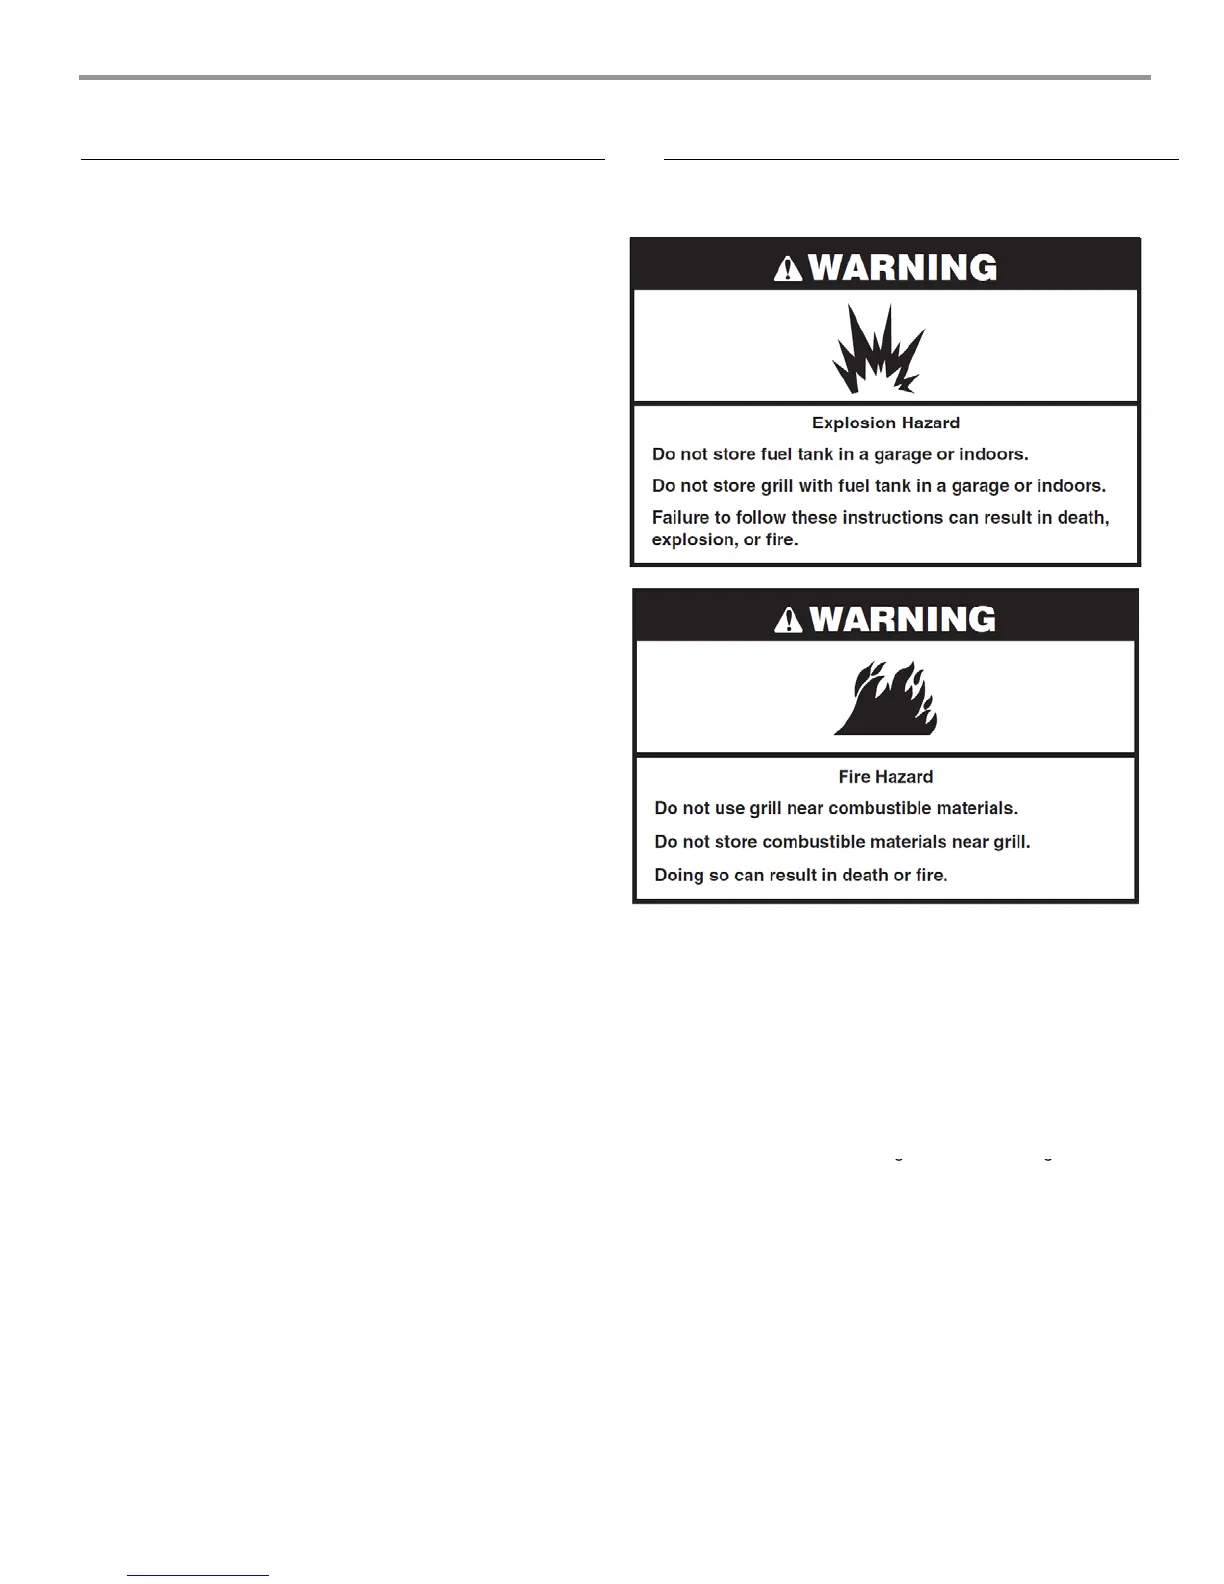
Do not obstruct flow of combustion and ventilation air.
Clearance to combustible construction for grill:
A minimum of 24” (61 cm) must be maintained between
the front of the grill hood, sides and back of the grill
and any combustible construction.
A 24” (61 cm) minimum clearance must also be
maintained below the cookin
surface, and the
rill
.
.
line as needed.
shall not be used under overhead combustible
construction.
Rotisserie (accessory)*
If you equip your grill with a rotisserie, a 6" (15.2 cm) minimum
clearance is needed for the rotisserie motor.
A grounded, 3-prong outlet located to the left of the grill is
required.
*See “Assistance” section to order.
5