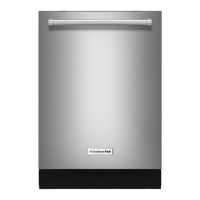
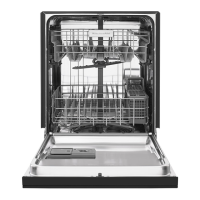
0
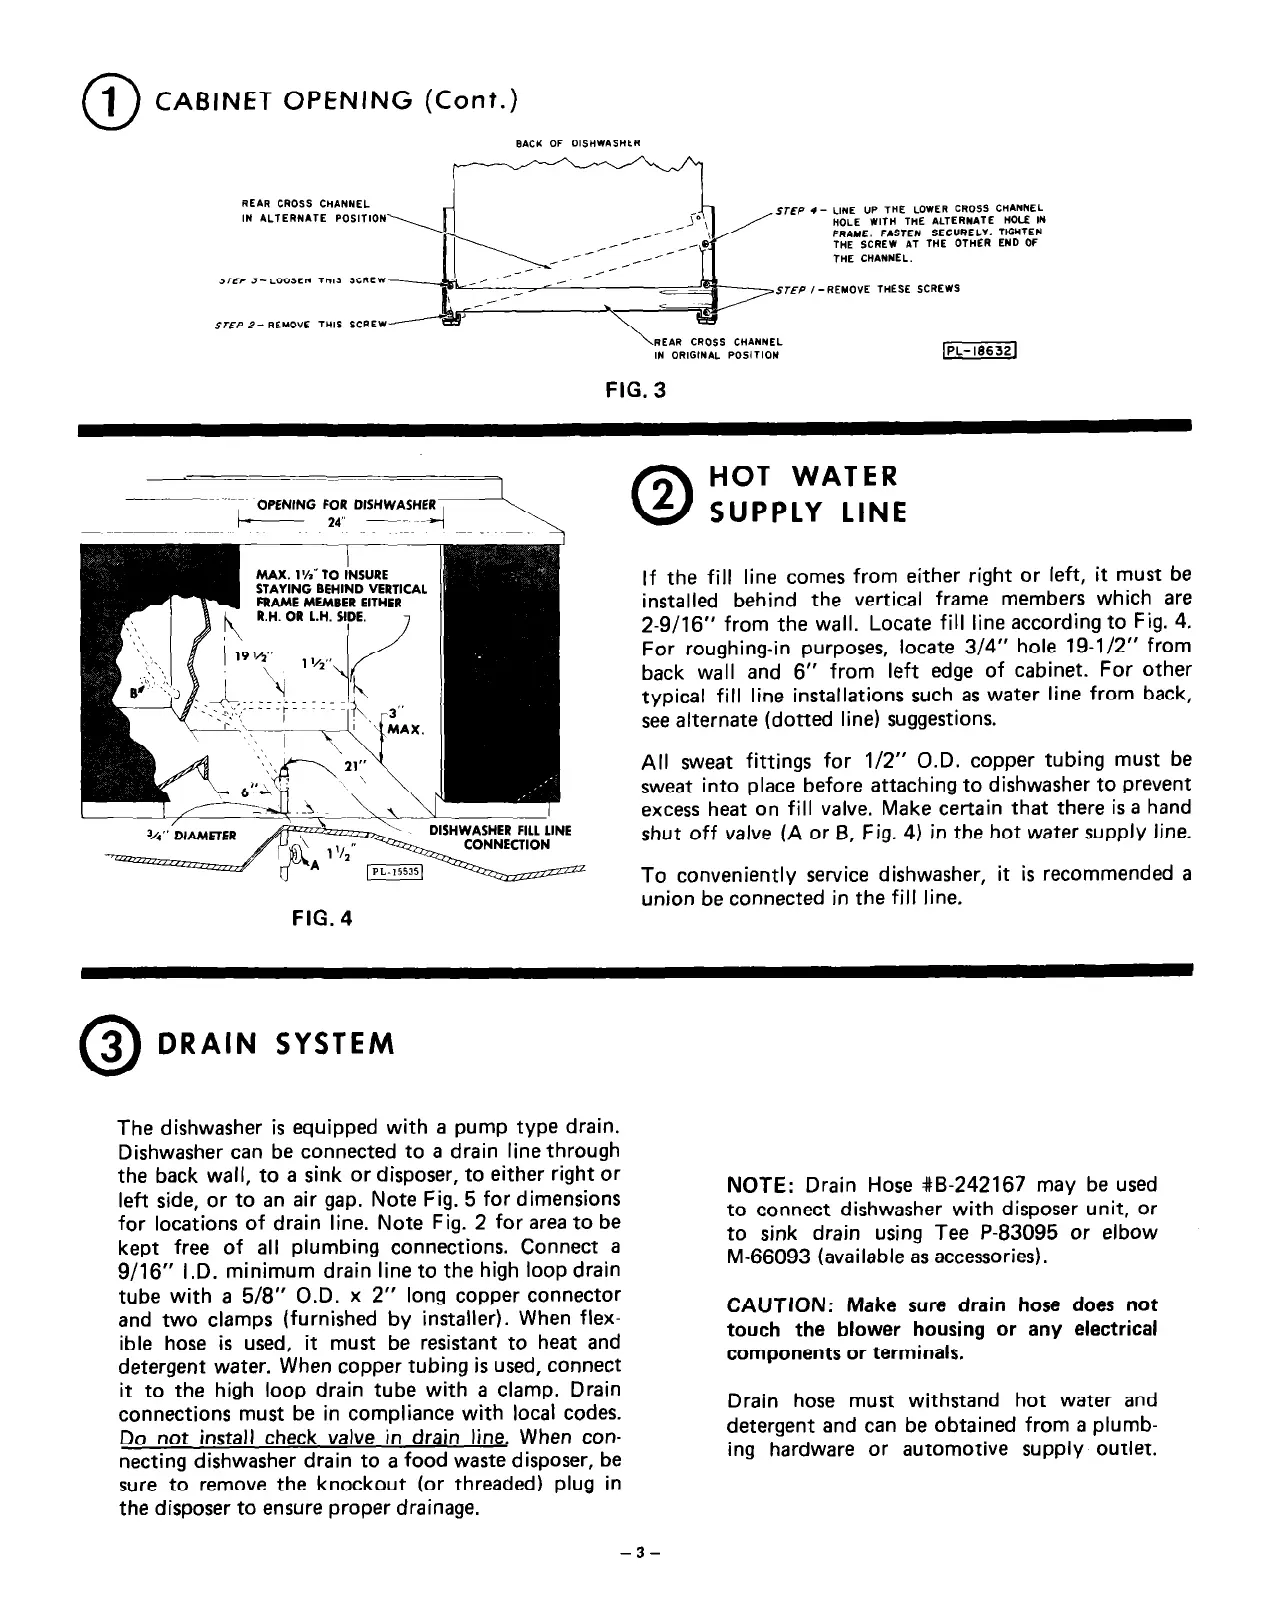
1 CABINET OPENING (Cont.)
REAR CROSS CWNNE,.
IN ALTERRhTE POSITION
STEP
STEP 2- REMOVE THIS
SCREW
REAR CROSS CHANNEL
IN ORIGIN*L POSITION
FIG. 3
I- L,NE UP THE LOWER CROSS CWNNEL
HOLE WIT,, T”E ALTERNATE HOLE IN
FRAME. FISTEN SECURELY. TIGHTEN
T”E SCREW PIT THE OTHER END OF
THE CHANNEL.
/-REMOVE THESE SCREWS
SHWASHER FILL LINE
FIG. 4
0
2
HOT WATER
SUPPLY LINE
If the fill line comes from either right or left, it must be
installed behind the vertical frame members which are
2-g/16” from the wall. Locate fill line according to Fig. 4.
For roughing-in purposes, locate 3/4” hole 19-l/2” from
back wall and 6” from left edge of cabinet. For other
typical fill line installations such as water line from back,
see alternate (dotted line) suggestions.
All sweat fittings for l/2” O.D. copper tubing must be
sweat into place before attaching to dishwasher to prevent
excess heat on fill valve. Make certain that there is a hand
shut off valve (A or B, Fig. 4) in the hot water supply line.
To conveniently service dishwasher, it is recommended a
union be connected in the fill line.
0
3
DRAIN SYSTEM
The dishwasher is equipped with a pump type drain.
Dishwasher can be connected to a drain line through
the back wall, to a sink or disposer, to either right or
left side, or to an air gap. Note Fig. 5 for dimensions
for locations of drain line. Note Fig. 2 for area to be
kept free of all plumbing connections. Connect a
g/16” I.D. minimum drain line to the high loop drain
tube with a 5/8” O.D. x 2” long copper connector
and two clamps (furnished by installer). When flex-
ible hose is used, it must be resistant to heat and
detergent water. When copper tubing is used, connect
it to the high loop drain tube with a clamp. Drain
connections must be in compliance with local codes.
Do not install check valve in drain line. When con-
necting dishwasher drain to a food waste disposer, be
sure to remove the knockout (or threaded) plug in
the disposer to ensure proper drainage.
NOTE: Drain Hose #B-242167 may be used
to connect dishwasher with disposer unit, or
to sink drain using Tee P-83095 or elbow
M-66093 (available as accessories).
CAUTION: Make sure drain hose does
not
touch the blower housing or any electrical
components or terminals.
Drain hose must withstand hot water and
detergent and can be obtained from a plumb-
ing hardware or automotive supply outlet.
-3-