KEYPAD FEATURE INSTRUCTIONS
WARMING Warming drawer 1. Press WARMING DRAWER ON to select the Warming Drawer function at the Low setting.
DRAWER (on some 2. To select a higher temperature setting, press WARMING DRAWER ON a second time for the
ON/OFF models) Medium setting and a third tim e for the High setting.
3. Press START to begin preheating the warming drawer.
4. Allow the warming drawer to preheat for 15 minutes.
5. Place the cooked food(s) in the warming drawer
6. Press WARMING DRAWER OFF to turn offthe heating element.
Refer to the "Warming Drawer" section for information.
WARMING Slow cook 1. Press WARMING DRAWER SLOW COOK to select the Slow Cook function at the Low
DRAWER drawer (on setting.
SLOW COOK/OFF some models) 2. To select a higher temperature setting, press WARMING DRAWER SLOW COOK a second
time for the High setting.
3. Place the food(s) in the warming drawer.
4. Press START to begin heating the warming drawer.
5. Press WARMING DRAWER OFF to turn off the heating element.
Refer to the "Warming Drawer" section for information.
CONTROL LOCK Oven control No keypads will function with the controls locked.
hold 3 sec. to lock lockout 1. Check that the oven and the Timer are off.
2. Press and hold the "0" keypad for 3 seconds.
3. If enabled, a tone will sound, and "CONTROL LOCKED" will be displayed.
4. Repeat to unlock.
OPTION S ore n use Enabies You to perso na!izeth e audible tones and 0yen opeiat!o nto suit your needs i see the
functions !!Oven Use,! section,
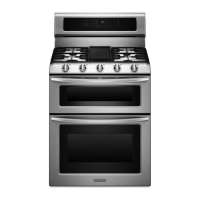
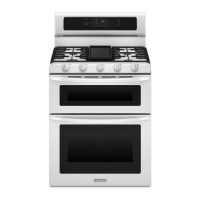
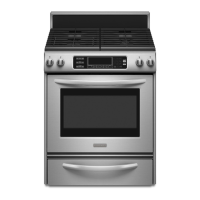
COOKTOP USE
Fire Hazard
Do not let the burner flame extend beyond the edge of
the pan.
Turn off all controls when not cooking.
Failure to follow these instructions can result in death
or fire.
Electric igniters automatically light the surface burners when
control knobs are turned to LITE.
Before setting a control knob, place filled cookware on the grate.
Do not operate a burner using empty cookware or without
cookware on the grate.
The flame should be adjusted so it does not extend beyond the
edge of the pan.
To Set:
1. Push in and turn knob counterclockwise to LITE.
2.
I
All surface burners will click. Only the burner with the control
knob turned to LITE will produce a flame.
Turn knob to anywhere between HIGH and LOW.
REMEMBER: When range is in use, the entire cooktop area
may become hot.
I
Ultra Power TM burner Feature
The left front burner is designed to give maximum power when fully
on. It can be used to rapidly bring liquid to a boil and to cook large
quantities of food.
Simmer Burner Feature
The Simmer feature allows for more precise simmering and low
temperature cooking. It is the right rear burner.
Power Failure
In case of prolonged power failure, the surface burners can be lit
manually. Hold a lit match near a burner and turn knob
counterclockwise to LITE. After burner lights, turn knob to desired
setting.