Do you have a question about the Klein Tools KLEIN OPENER and is the answer not in the manual?
Read instructions carefully before assembly and installation. Use caution due to metal edges, avoid misuse.
Instructions on taking the adapter and intermediate tubes and sliding the intermediate tube into the adapter tube.
Details placing the mounting bracket on the dumpster top rail, ensuring it's flat and positioned correctly relative to the back rail.
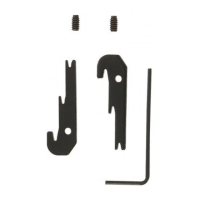
Instructions on hand-tightening mounting bolts, applying threadlocker, and tightening with a socket until snug.
Guides on pulling tubes to adjust arm length and spacing them evenly for proper operation.
Instructions on raising the arm slightly and using a 7/16 in. socket to tighten clamp bolts until the gap closes.
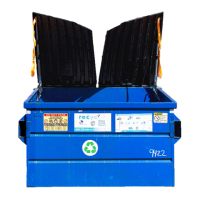
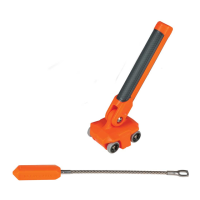
The Kleen Opener is a device designed to assist in the opening and closing of dumpster lids, aiming to improve user convenience and safety. It is primarily intended for use with various types of dumpsters, including those with metal angled, metal flat, plastic flat, and plastic lip top rails. The system utilizes a gas spring mechanism to facilitate the lifting and lowering of the lid, reducing the physical effort required from the user.
The core function of the Kleen Opener is to provide an assisted opening and closing mechanism for dumpster lids. Once installed, the device uses a gas spring to help lift the lid when initiated by pulling an orange strap. To close the lid, the user pulls down on the strap until the lid is fully closed, at which point it will remain shut. This mechanism is designed to prevent the lid from slamming shut unexpectedly and to hold it open for easier waste disposal. The installation process involves assembling an arm composed of an adapter tube, an intermediate tube, and an end tube with an eyelet bolt, which then attaches to a mounting bracket on the dumpster's top rail. The arm's length is adjustable to accommodate different dumpster sizes and lid configurations.
While specific dimensions and weight capacities are not explicitly detailed, the manual highlights several key components and their roles:
The manual does not explicitly detail ongoing maintenance features but emphasizes proper installation for long-term functionality. The use of threadlocker on mounting bolts suggests a design intended for secure, long-lasting attachment, minimizing the need for frequent re-tightening. The robust construction with metal components implies durability. Users are advised to handle the product with caution during unpacking and installation due to metal edges, which could be considered a safety aspect related to handling and potential wear. The instructions for tightening bolts until "FIRM and SNUG" and until "the gap closes" are critical for ensuring the stability and longevity of the installation, thereby reducing the likelihood of premature wear or failure. The inclusion of extra pull-down straps suggests that these components might be subject to wear over time and are easily replaceable.
| Brand | Klein Tools |
|---|---|
| Model | KLEIN OPENER |
| Category | Tools |
| Language | English |