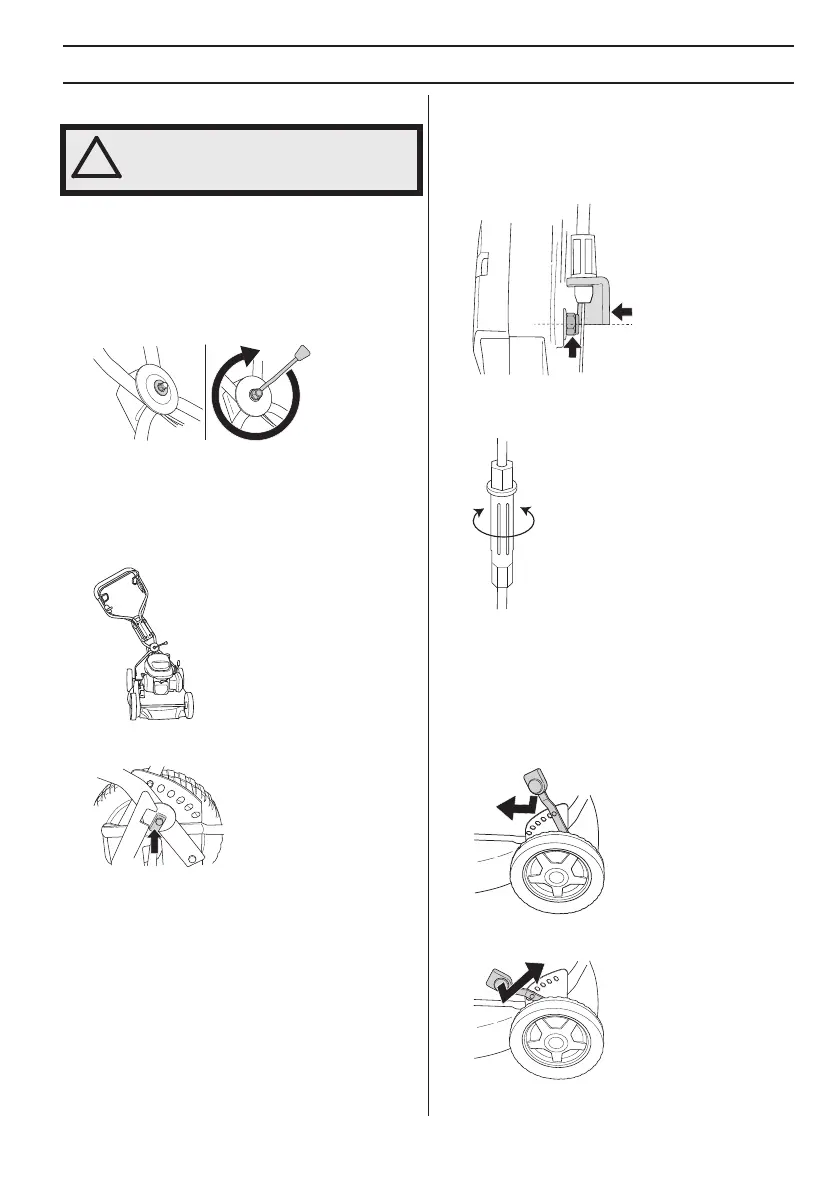
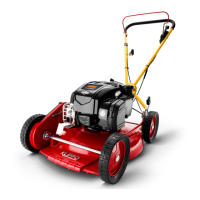
ASSEMBLING AND ADJUSTMENTS
English – 7
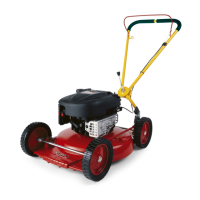
General
Handle
Assembly
• Assemble the upper handle using the handle nut on
the guide plate. Don’t forget the washer between the
plate and the handle nut. No tools are needed for the
assembly.
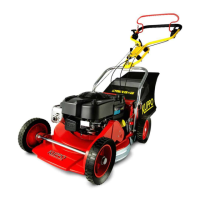
Settings
• If necessary, the handle can be turned slightly
sideways with the handle joint. The handle can be set
to different positions to achieve the best driving
position, e.g. when mowing next to hedges or house
walls.
• The handle can also be adjusted vertically by turning
the wheels by the attachment fitting on the chassis
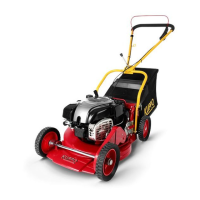
Adjusting the clutch wire
The clutch wire must be adjusted after the first 8 hours of
operation and subsequently when necessary.
The wire is properly adjusted when the wire bracket is
aligned with the nut.
• Adjust the wire using the adjuster screw. Unscrew the
screw clockwise or counter clockwise to extend or
shorten the wire.
Cutting height
CAUTION! Do not set the cutting height too low as there
is a risk that the cutters might hit ground with unevenness.
The cutting height adjustment is spring assisted. The
cutting height can be adjusted in 6 different steps.
• To raise the cutting height move the lever to the left
and then forward.
• To lower the cutting height move the lever to the left
and then backward.
IMPORTANT! Prevent unintentional
starting by removing the ignition cable
from the spark plug.