10
11
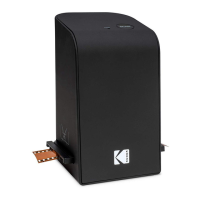
Before using your ilm scanner, you should either insert an SD
™
card (not included) as device memory is very limited, or make
sure there is enough room in the very limited device memory to
hold the pictures you want to scan.
Inserting an SD
™
card while the device is in operation will cause
the ilm scanner to restart and you will lose any edits being made
to the image, so if you have a memory card, insert the card prior
to use.
Locate the correct adapter for your ilm or slide, if applicable, and
place it in the correct ilm or slide tray before you load the tray.
Directions for loading the trays into the scanner can be found in
the subsequent sections titled “Loading Negatives” and “Loading
Slides”. These directions also apply to B&W ilm as well. Adapters
and trays are all clearly marked.
NOTE: Always handle slide or ilm
negatives with care to avoid getting
scratches or ingerprints on them. We
recommend using cotton gloves to
handle negatives, and using compressed
cotton (q-tips, cotton balls, etc.) to
remove any dust that might be present
before scanning them.
Always make sure that your ilm negatives
are not warped or bent before inserting
them in the scanner. Warped or creased
negatives will not produce clear or
correct images.
1. Hold the negative up to the light, with the right side facing you.
2. Take the ilm negative holder out (with the correct sized
adapter if necessary) and hold it with the latch facing away
from you so that the loading arrow ◄ points left. Open the
latch; place the negative into the recessed area; and then
close the latch, making sure to press down around the edges
so that it locks into place.
3. Load the negative holder into the slot on the right side of the
ilm scanner.
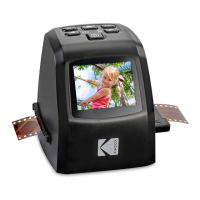
7. PREPARING MEDIA TO SCAN 8. LOADING NEGATIVES
Flip up the top cover of
the adapter. Place insert
with your slide or ilm into
adapter.
 Loading...