A-61627 November 2008 2-7
Getting familiar with
the touch screen
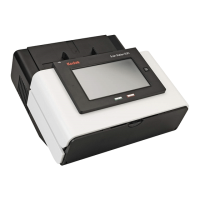
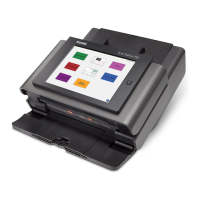
The Kodak Scan Station 500 provides a touch screen for easy access
and operation.
When you use the Scan Station, default settings are displayed that
have been configured by your administrator. These settings can be
changed by touching the Settings button on the bottom of the screen. If
you change these settings, they will be enabled only for the current
session.
The touch screen has two main screens. The Settings/Exit button, in
the lower left-hand corner, toggles between the Destination screen
and the Settings screen.
Destination screen The Destination screen displays the available destination types that
have been configured by your administrator. Available destination types
are: Task, Email, My Flash Drive, Network Folder, FTP, Printer, and
Fax. Use the right and left arrows to scroll and display the available
destination group(s).
When you select a destination type, the middle portion of the screen will
be filled in with the defined destinations for that group. For example, if
you select an Email icon, all of the email addresses associated with this
Email group will be displayed. From this list, you can select as many
addresses as desired. If an email address is not in the list, select
Custom. A keyboard will be displayed allowing you to enter the desired
email address(es).
The icons to the right of the Settings button at the bottom of the
Destination screen represent the current scan settings that will be used
the next time a document is scanned. If you want to change any of
these settings (i.e., to send your document in black and white instead of
color), touch the Settings button to go to the Settings screen or select
the desired icon to quickly change that setting.
NOTE: For information about the Search option, see the section
entitled, “Using the Search function” later in this chapter.
 Loading...