SV3000, SV4000 Saybolt Viscosity Bath
Operation and Instruction Manual
- 4 -
3.2. Unpacking
Carefully unpack and place the instrument and accessories in a secure location. Ensure that all parts listed on the packing list are
present. Inspect the unit and all accessories for damage. If any damage is found, keep all packing materials and immediately
report the damage to the carrier. We will assist you with your claim, if requested. When submitting a claim for shipping damage,
request that the carrier inspect the shipping container and equipment. Do not return goods to Koehler without written authorization.
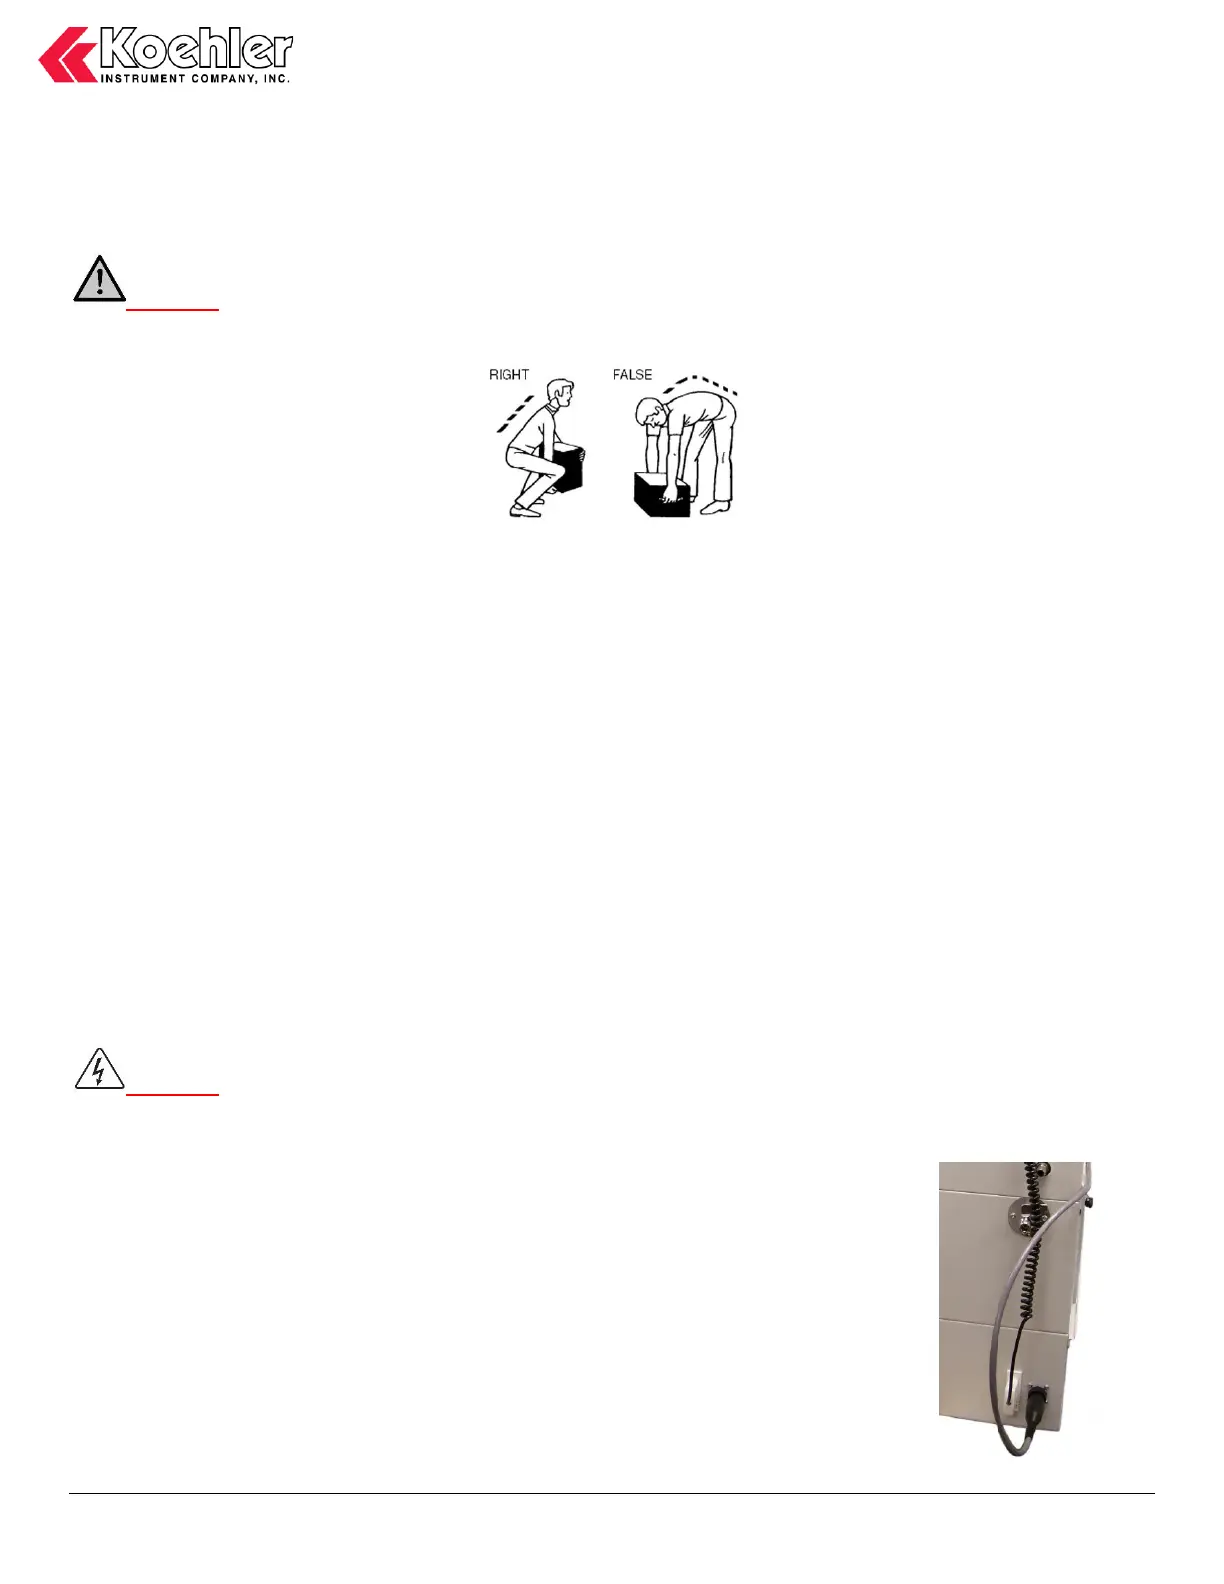
WARNING: Be sure two or more individuals are available for extracting and lifting instrument from box to cart and from cart
to bench. Individuals must lift in accordance to proper technique. See Figure below.
1. Lift instrument from cart and place on bench.
2. Ensure that all parts listed on the packing list are present. Inspect the unit and all accessories for damage. If any damage is
found, keep all packing materials and immediately report the damage to the carrier. We will assist you with your claim, if
requested. When submitting a claim for shipping damage, request that the carrier inspect the shipping container and
equipment. Do not return goods to Koehler without written authorization.
3.3. Setup
Equipment Placement: Place the instrument on a firm, level table in an area with adequate ventilation or in a hood. The unit may
be leveled by making minor turning adjustments to the feet located at the base of the unit. Please note that Koehler does not
supply a level with this equipment
Ventilation. A fume hood or exhaust system is required when operating the unit. Flammable vapors and/or steam are generated
during operation and must not be permitted to accumulate. A canopy-style hood may be used if the height from the top of the unit
to the canopy is 5 feet or less. The exhaust blower should have a rating of 1000 C.F.M. or greater. The unit location should also
be prevented from drafts.
Power. Connect the line cords to properly fused and grounded receptacles with the correct voltage as indicated in section 1.3 or
on the back of the unit.
WARNING: For safety, disconnect the power when performing any maintenance and/or cleaning. Do NOT turn the power
on unless the bath is filled with the proper medium; otherwise, damage may occur to the unit and the warranty will be void. This
bath is equipped with a low fluid protection feature to prevent damage, but caution should always be exercised.
Auto Timer Feature (SV4000 only). For the auto timer feature, connect the liquid level sensor
to the neck of the receiver flask. The arrows on the sensor should align with the 60mL fill line on
the flask. Use standard plastic ties to secure the sensor to the flask. The pin cord to control the
auto timer should be attached to the back of the unit. See figure 1 below. Additional auto timer
boxes should be connected in series to the previous auto timer unit.