9.17
Section 9
Disassembly
9
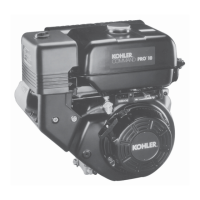
5. Remove the counter gear from the closure plate.
Remove the screw and washer securing the crank
gear and slide the gear off of the crankshaft
splines. See Figure 9-73.
Figure 9-73. Removing Counter Gear and Crank
Gear.
6. Remove the dowel pins and gasket. Clean the
gasket surfaces with a cleaning solvent or aerosol
type gasket remover. Do not nick or scrape the
sealing surfaces. See Figure 9-74.
Figure 9-74. Removing Dowel Pins and Gasket.
7. Check the reduction system bearings for wear or
excessive play. See Figure 9-63. If bearing removal
is required, use an internal bearing puller to
remove the housing bearings. An arbor press
should be used for removal of the others.
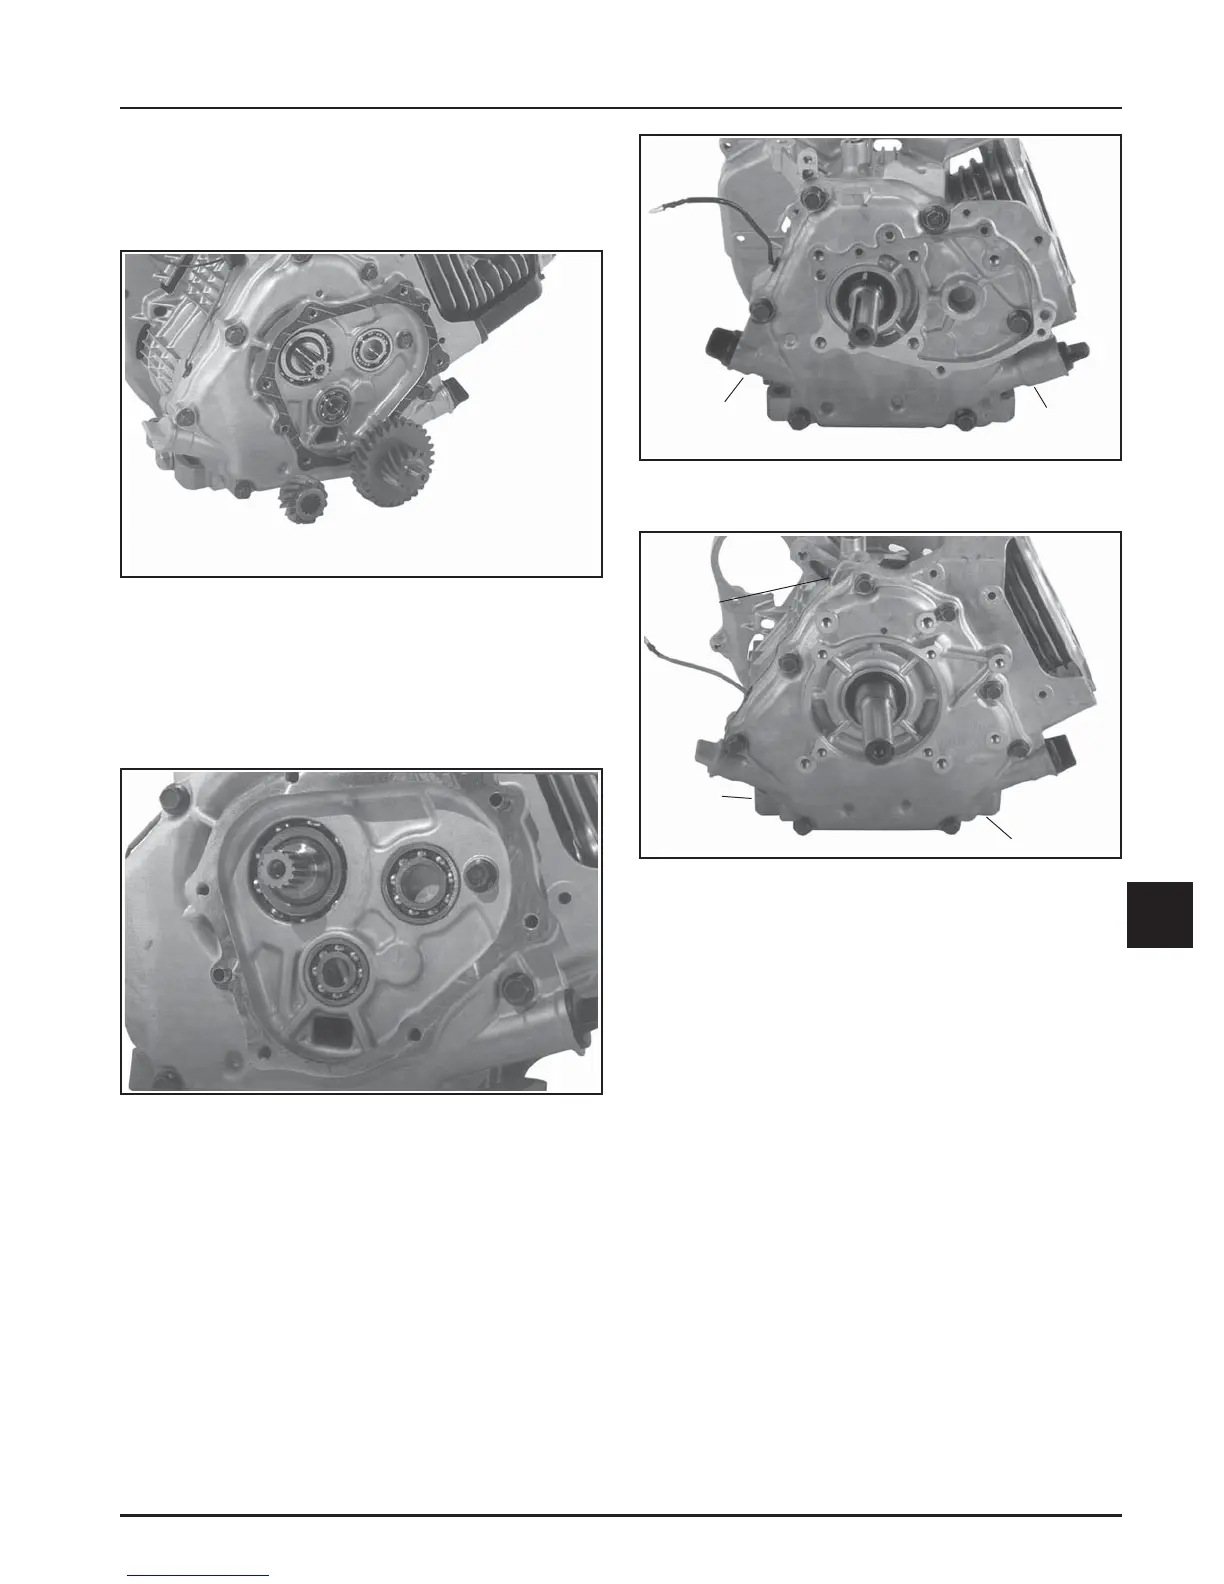
Remove Closure Plate
1. Remove the hex flange screws securing the
closure plate to the crankcase (six on CS4 and
CS6; eight on CS8.5-CS12). See Figures 9-75 and
9-76.
Figure 9-75. CS4, CS6 Closure Plate Mounting
Screws.
Figure 9-76. CS8.5-CS12 Closure Plate Mounting
Screws.
2. Locate the pry/tap pads on the closure plate. See
Figures 9-75 and 9-76. These areas permit
separation of the closure plate from the crankcase
with a flat screwdriver or by tapping lightly with
a plastic hammer.
NOTE: Do not pry on the gasket surface of the
crankcase or closure plate, as this can
cause damage and leakage.
Pry/Tap
Pads
Pry/Tap
Pads
Pry/Tap
Pads
Pry/Tap
Pads
Pry/Tap
Pads