Section 11
Reassembly
11
11.1
Section 11
Reassembly
General
NOTE: Make sure the engine is assembled using all
specified torque values, tightening sequences,
and clearances. Failure to observe
specifications could cause severe engine wear
or damage. Always use new gaskets.
Typical Reassembly Sequence
The following sequence is suggested for complete
engine reassembly. This procedure assumes that all
components are new or have been reconditioned, and
all component subassembly work has been completed.
The sequence may vary to accommodate options or
special equipment. Detailed procedures can be found
in subsequent subsections.
1. Install oil seals and bearings.
2. Install governor cross shaft.
3. Install crankshaft.
4. Install connecting rod with piston and rings.
5. Install camshaft and valve tappets.
6. Install balance shaft assembly (CS8.5-12 only).
7. Install oil sentry gauge and governor gear to
closure plate.
8. Install closure plate assembly.
9. Install reduction assembly (some models).
10. Install stator and wire shield.
11. Install flywheel.
12. Install ignition module.
13. Assemble and install cylinder head.
14. Install push rods, rocker arms, studs, and rocker
shaft.
15. Install valve cover.
16. Install fuel tank supports, throttle lever, wiring
and electrical components.
17. Install governor lever, throttle and governor
springs.
18. Connect electrical leads and install electric starter
(electric starter only).
19. Install blower housing (and electric starter cover
panel).
20. Install carburetor.
21. Install air cleaner base and element.
22. Adjust/Set governor.
23. Install fuel tank and fuel tank support.
24. Install outer air cleaner cover.
25. Install retractable starter.
26. Install muffler.
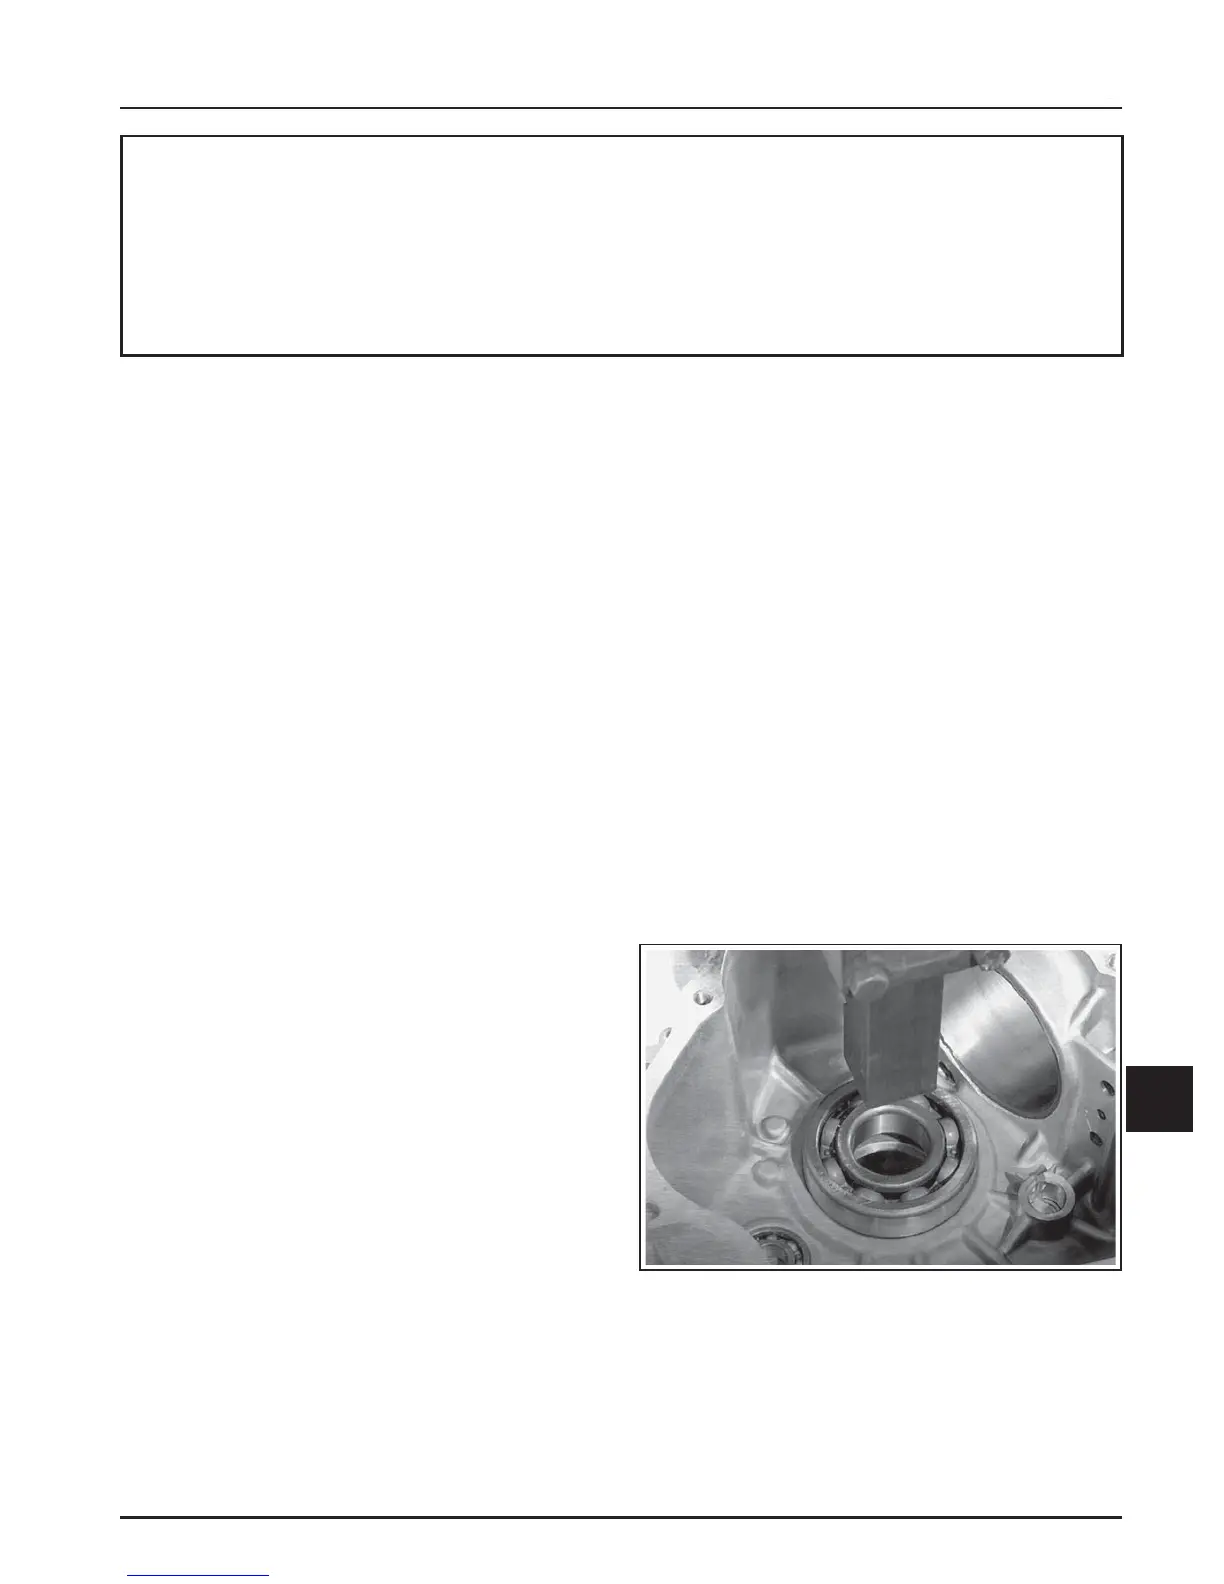
Install Oil Seals and Bearings
1. Make sure there are no nicks, burrs, or damage in
the bores for the bearings. The closure plate and
crankcase must be clean.
2. Use an arbor press to make sure the bearings are
installed straight, into their respective bores, until
fully seated.
NOTE: Install the bearings and oil seals (step 3)
with their manufacturer’s marks or
numbers visible, facing you.
Oil the bearings liberally with engine oil when
installing.
Figure 11-1. Installing Bearings Using a Press.