8.27
Section 8
Electrical System and Components
8
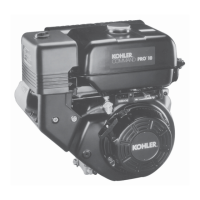
Figure 8-40. Match Marks for Reassembly.
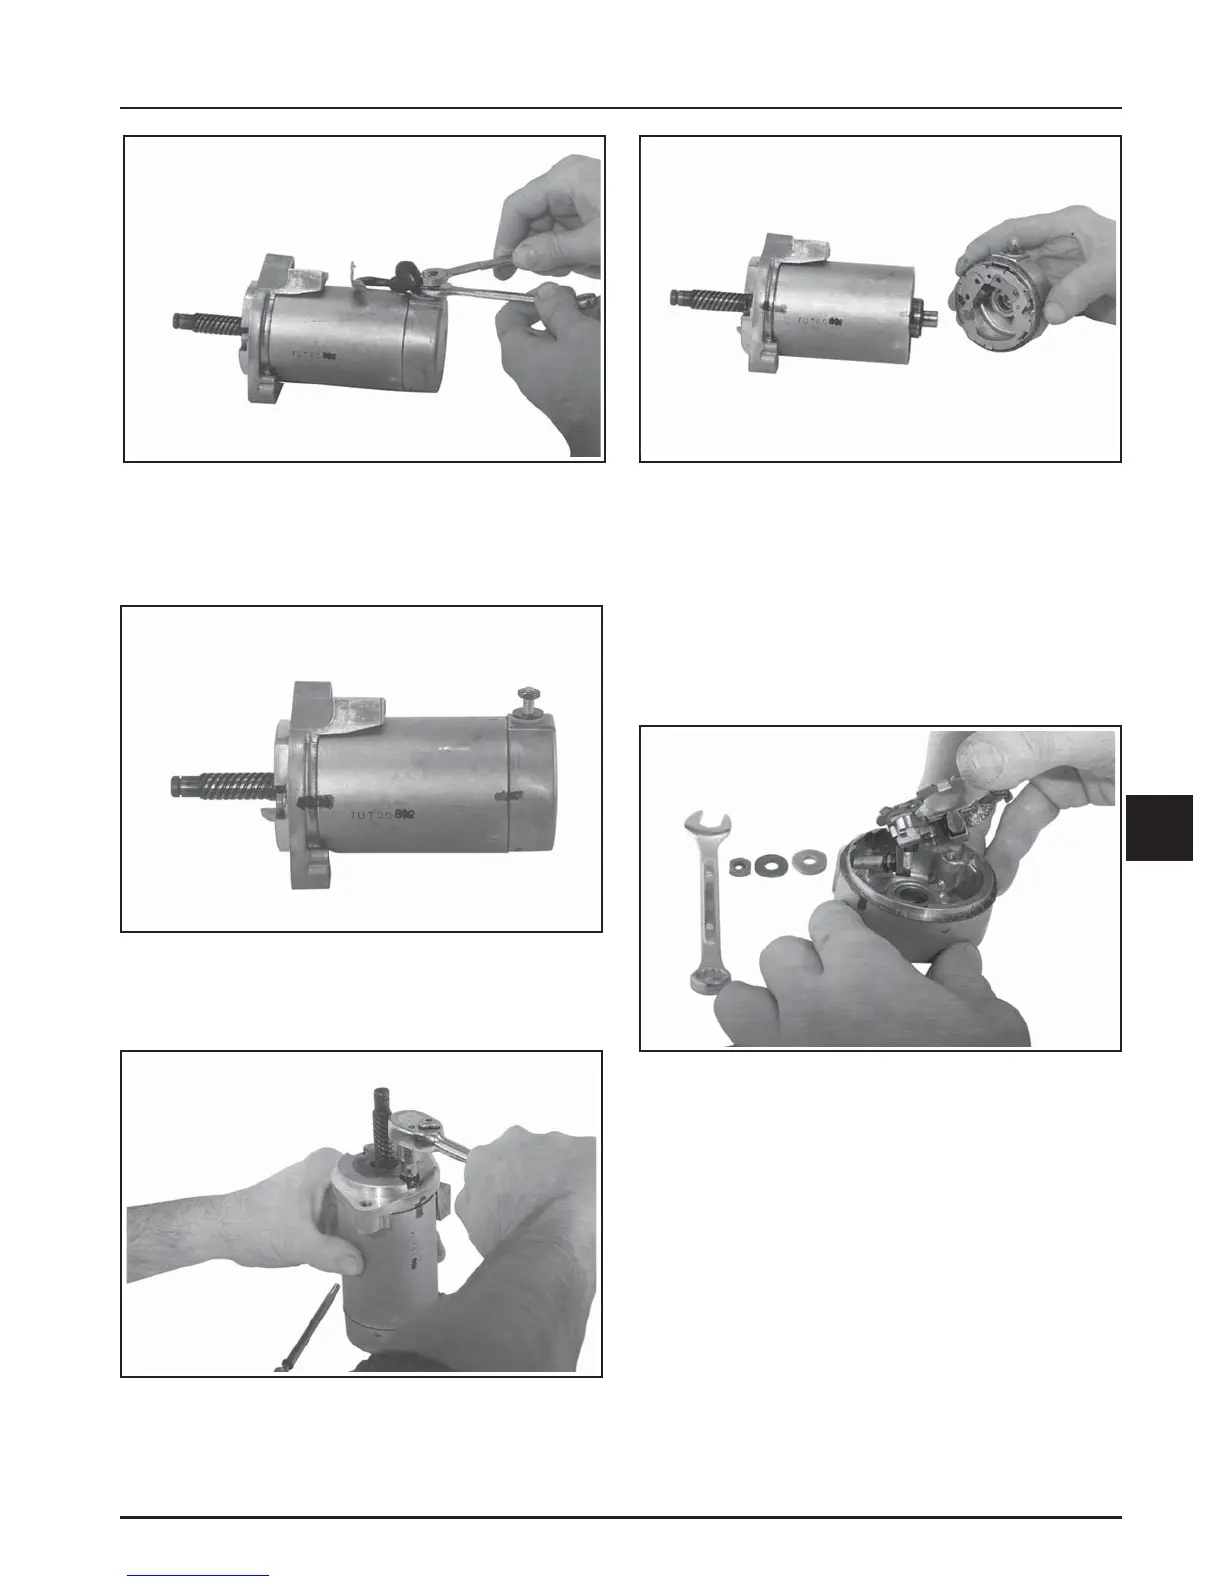
4. Remove the two thru bolts, with sealing O-Rings,
from the starter. See Figure 8-41.
Figure 8-41. Removing Starter Thru Bolt.
5. Remove the commutator end cap and brush plate
assembly. See Figure 8-42.
Figure 8-42. Removing End Cap with Brush Plate.
6. Pull the armature out of the starter frame.
Brush Inspection/Replacement
1. Remove the lower jam nut, metal washer,
insulating washer, and O-Ring from the positive
(+) stud. Carefully push the stud inward to
separate the brush plate assembly from the end
cap. See Figure 8-43.
Figure 8-43. Removing Brush Plate.
Figure 8-39. Removing Solenoid Lead.
3. Scribe or mark a small line from the starter frame
to each end cap to serve as match marks for
reassembly later. See Figure 8-40.