9
1128227-A01-D Date: 13/8/2010
Apply Construction
adhesive to the
Suppor
t Blocks.
B. Option Using Construction Adhesive
• Apply a generous amount of high-quality construction
adhesive to the bottom of the support blocks.
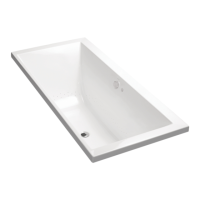
• With help, carefully lift the bath into position.
• Insert the drain tailpiece into the trap. Make sure the
bath is level and resting on all support blocks.
• Remove the protective tape from the rim.
Bath Rim
C. Option Using Silicone Sealant
• With help, carefully lift the bath into position.
• Insert the drain tailpiece into the trap. Make sure the
bath is level and resting on all support blocks.
• Remove the protective tape from the rim. Apply a
continuous bead of high-quality silicone sealant
around the entire rim of the bath.
• Allow the sealant to cure according to the
manufacturer’s instructions.
E. Install the Blower Switch (For Detached Blower Versions Only )
D. Install the pillow rail
(Regatta Bubble Massage Bath Only )
•
Refer to the exploded view for installation
of the pillow rail.
To the blower
Air Switch
Bath Flange
Connect the air tube to the switch and to the blower.
•
Apply silicone sealant to switch and press into hole.
•
Apply Silicon Here
Remove any excess silicone with a rag.
•
 Loading...