4
M8 / S type speed
sensor bracket X 1
1-1
Accessories
3
D6 X 5L mm magnet X 6
2
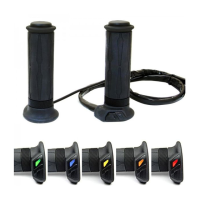
Speed sensor X 1
Mid-way connector X 10
11
1
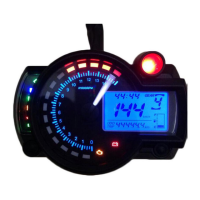
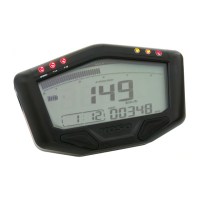
Meter X 1
7
Meter bracket X 1
6
M5 X 5L mm Hexagon
screw X 2
M10 / S type speed
sensor bracket X 1
5
8
M5 X 12L screw X 2
1-2
Optional accessories
5
Meter bracket
10
M5 washer X 2
9
M4 X 10L screw X 2
1
Active speed sensor
4
Meter bracket
32
Disc magnet screw
L TYPE speed sensor
backet
Attention!
● For installation, please follow the steps described. Any damage caused by wrong installation shall be imputed to the users.
● To avoid a short circuit from occuring do not pull or modify the wires during installation.
● Do not disassemble or change any parts. Opening and dissassembling this unit will void any warranty.
● Maintenance and repairs should be executed by our professionals only.
◎ Symbol description:
NOTE
WARNING!
Some procedures must be followed to avoid damages to the instrument.
Certain procedures must be followed to avoid damages to yourself, to the vehicle or others.
LIGHT ONFLASH
HOLD THE
BUTTON 3
SECONDS
HOLD THE
BUTTON ONE
SECOND
Thank you for purchasing our product. This product is a multifunction meter and is easy to install. Before using, please read the instructions
carefully and retain them for future reference.
●