Do you have a question about the Koso RX2N and is the answer not in the manual?
General notices regarding meter operation and explanation of symbols used in the manual.
Describes the meter's self-diagnostic startup process.
Details the meter's size and mounting measurements.
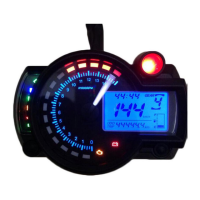
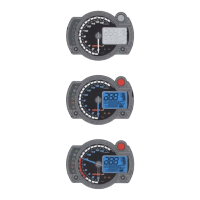
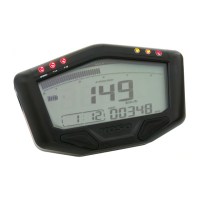
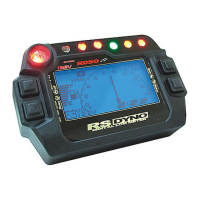
Explains the meaning and function of various indicator lights.
Details the operation and display ranges of speed and RPM.
Describes how temperature and fuel levels are displayed and warned.
Explains the usage and display of odometer and trip meters.
Details the RPM shift light and maximum RPM recall features.
Covers settings for speedometer units and odometer display.
Details setting trip meters, speeding, and overheat warnings.
Explains configuration for tire size, RPM input, and various timers.
Covers setting the clock, calendar, and adjusting display brightness.
Lists effective voltage, temperature range, and meter standards.
Explains the core functions of the Select button.
Details multi-press and long-press functions of the Select button.
Explains the core functions of the Adjust button.
Details multi-press and long-press functions of the Adjust button.
Details entering setting screen with Select & Adjust.
Describes returning to main screen from setting/power test.
Describes entering setting screen and returning from power test.
Explains how to cycle through display combinations using the Select button.
Details using Select button for 3 seconds to switch temperature units.
Details switching between ODO, Trip A, Trip B, and Max. record.
Details using Adjust button for 3 seconds to reset data.
Details using Select button to check oil temperature record.
Details setting displayed odometer and real odometer record.
Details setting backlight brightness and perpetual calendar.
Details setting the clock time.
Details setting speeding warning light.
Details setting fuel gauge resistance and insufficient fuel warning.
Details setting RPM shift light.
Details setting overheat warning lights for water and oil temperature.
Details setting target speed timer and target distance timer.
Details setting tire circumference and sensor point.
Details setting RPM input pulse and signal impulse.
Details the process to set the speed limit for the warning light.
Explains how to set the RPM for the shift light and pre-shift light.
Details how to configure the warning for high water temperature.
Details how to configure the warning for high oil temperature.
Details setting the speed range for the target speed timer.
Details setting the distance for the target distance timer.
Explains how to input the tire circumference for accurate speed.
Details how to configure the number of sensor points.
Sets the engine pulse type for accurate RPM readings.
Sets the signal impulse (positive/negative) for RPM detection.
Configures the resistance value for the fuel sender unit.
Sets the fuel level percentage for the low fuel warning.
Details the process for setting the time on the meter.
Explains how to set the calendar date and day of the week.
Details how to change the screen's brightness.
Explains how to check the total distance recorded by the meter.
Details how to set the current displayed odometer value.
Explains how to access different test screens (speed, distance, top speed).
Details how to measure time to reach a specific speed.
Details how to measure time to cover a specific distance.
Details how to conduct and interpret the top speed test.
Addresses issues related to the meter not powering on or showing incorrect information.
Diagnoses problems with speed, tachometer, temperature, and fuel readings.
Troubleshoots incorrect clock time and odometer accumulation.
| Display | LCD |
|---|---|
| Trip Meter | Yes |
| Fuel Gauge | Yes |
| Gear Indicator | Yes |
| Clock | Yes |
| Voltmeter | Yes |
| Type | Digital |
| Power Supply | 12V |
| Odometer Range | 0 - 99, 999 km |
| Functions | Speedometer, Tachometer, Odometer, Trip Meter, Fuel Gauge, Gear Indicator, Clock, Voltmeter |