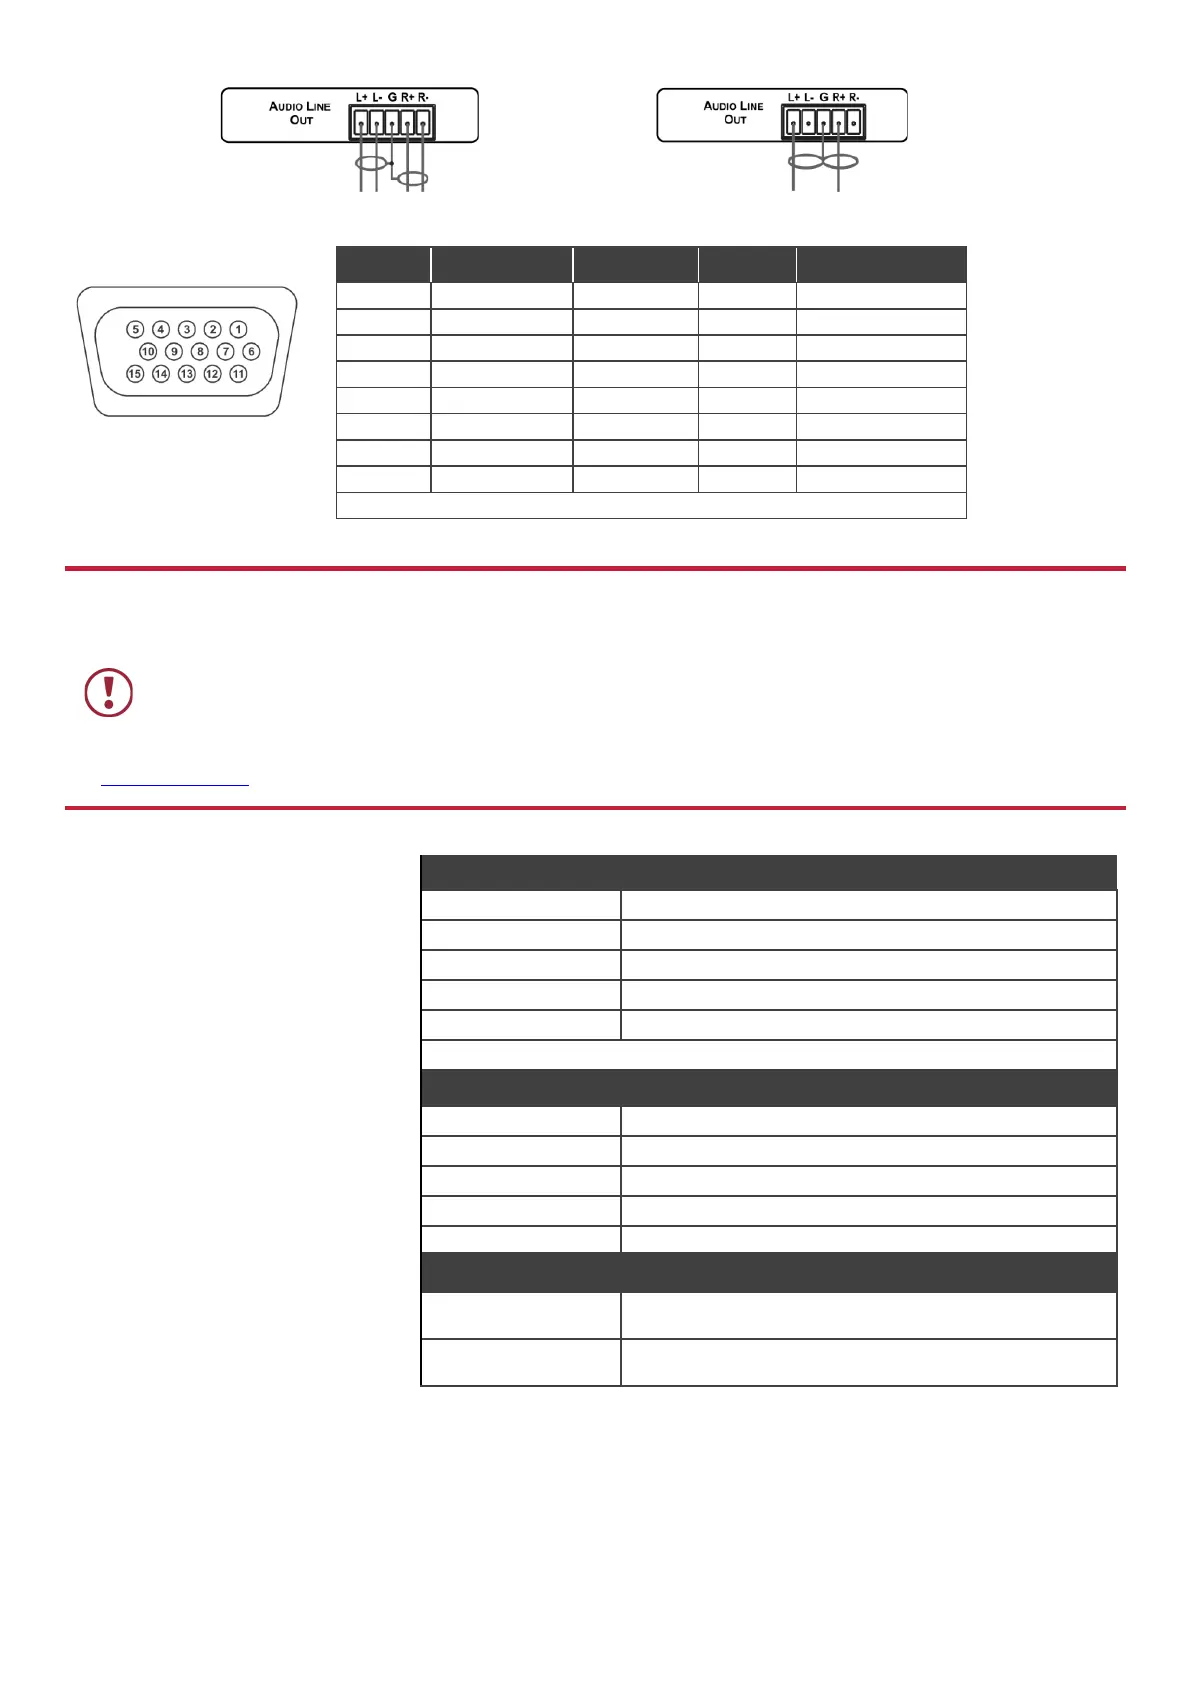
Connect the audio output
To a balanced
stereo audio
acceptor:
To an
unbalanced
stereo audio
acceptor:
Universal connector pinout
PIN # VGA COMP s-Video CV
Note that PINs 5, 6, 7, 8 and 10 are GND
Step 5: Connect the power
Connect the power cord to VP-734 and plug it into the mains electricity.
Safety Instructions
There are no operator serviceable parts inside the unit.
Use only the power cord that is supplied with the unit.
Do not open the unit. High voltages can cause electrical shock! Servicing by qualified personnel only.
Disconnect the power and unplug the unit from the wall before installing.
See www.KramerAV.com for updated safety information
Step 6: Operate the VP-734
Operate VP-734 via:
• Front panel buttons
• OSD menu
• Remotely, by RS-232 serial
commands transmitted by a
touch screen system, PC, or
other serial controller
• Remotely, using the IR remote
control transmitter
• Embedded web pages via the
Ethernet
RS-232 Control / Protocol 3000
Example (switch input to UNIV2): Y 0 92 1<CR>
Default Ethernet Parameters
Full Factory Reset
Go to: Menu-> Setup -> Factory Reset -> press Enter to
confirm
Front panel buttons Press the Reset to XGA/720p Button while plugging the
power to reset the machine

 Loading...