Adding a Sacrifi cial Fence
10
3 Simple Steps to Break-away the Flipstop...
Kreg Flipstop With
Break-away Feature
The new design of the Kreg Flipstop will allow the system to perform perfectly with
the addition of a sacrificial board attached to the fence. Sacrificial boards afford
a renewable surface to support the workpiece resulting in a smooth crosscut that
minimizes tear-out.
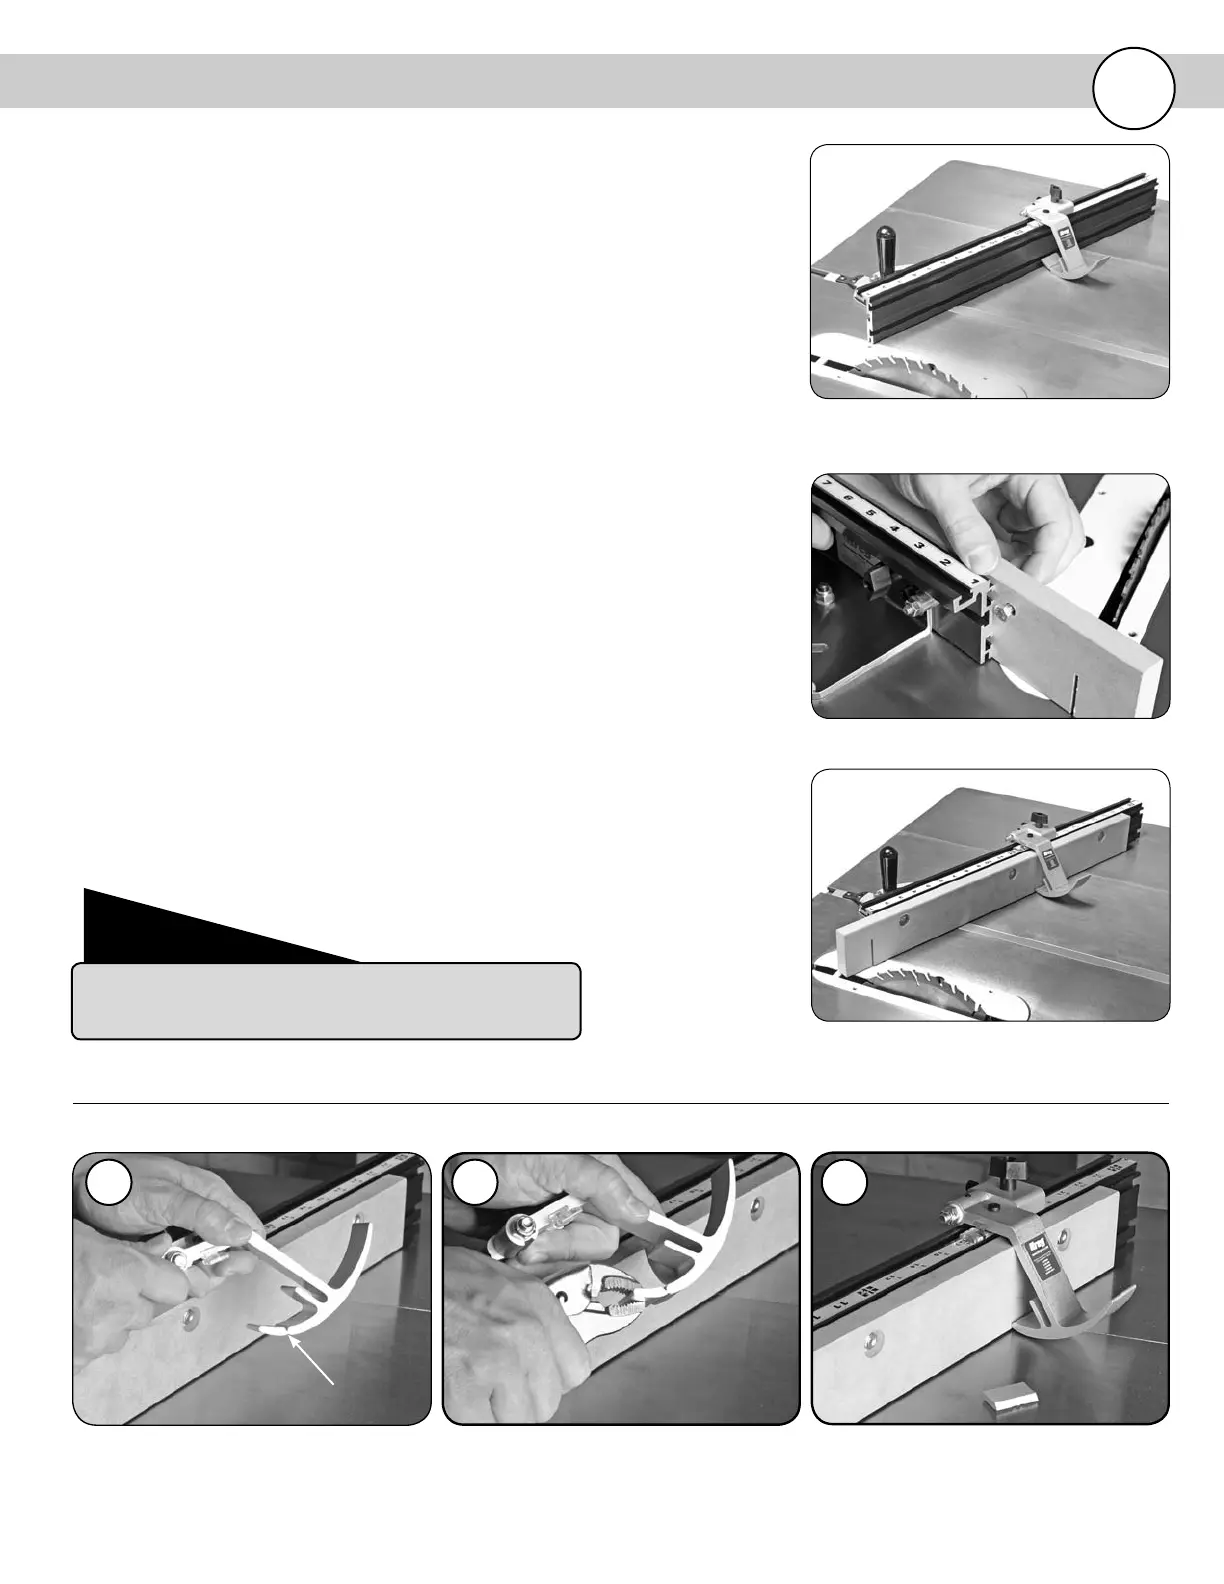
The sacrificial board can be constructed from any material you choose. The board
must be 3/4” in thickness and not exceed 2-5/8” in height; choose a length that
best suits your application. Attach the board to the Miter Gauge Fence with 1/4”
diameter, 3/4” long bolts and nuts. Drill oversized through holes with counter-bores
on the face to facilitate the use of washers. Using this arrangement the sacrificial
board may be moved along the fence independent of the Measuring Tape attached
to the fence; thus eliminating the need to recalibrate the measuring system each
time you want to renew the backing surface.
Changes to the design of the Flipstop Arm make it fully compatible with the addition
of a sacrificial board to the aluminum fence. A groove has been incorporated in the
top and bottom surfaces of the Flipstop Arm. These grooves have been added to
provide a simple means to shorten this portion of the Flipstop Arm for use with a
sacrificial board. Remove the break-away portion of the stop by simply gripping that
portion of the Flipstop Arm to be removed with pliers and “snap” the piece from
the remainder of the Flipstop Arm. We suggest using a file or sandpaper to smooth
the rough edge of the Flipstop Arm after breaking it away. Please follow the
information on page 8 of this Instruction Manual for remaining steps required for
Flipstop assembly.
First, hold the Flipstop arm firmly in your
hand or vise.
Second, use pliers to grip the break-away
portion of the Flipstop and simply “snap”
that piece off.
Third, file or sand off the rough edge of
the Flipstop.
1. 2. 3.
Once the Flipstop has been altered, it can only be used with the
sacrificial fence on the Miter Gauge. It will not work correctly if
used without the sacrificial fence.
Warning
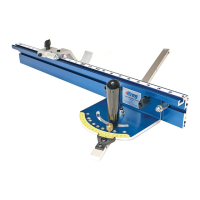
Miter Gauge shown before the sacrificial
fence and altered Flipstop are added.
T-Slot in fence accepts head of hex bolt.
Break Line
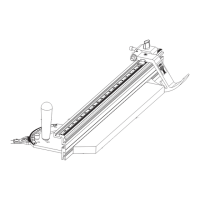
Miter Gauge shown with sacrificial fence and
Flipstop altered to work with new fence.