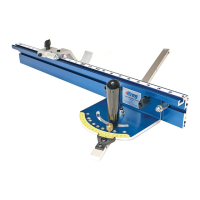
Setting-up the Miter Gauge
11
Our Precision Miter Gauge offers two options for setting the
cutting angle. You can either use one of the preset holes or use
the scales.
Using the Preset Holes
Most of the time when you use a miter gauge you are cutting
one of just a few different angles. Frankly, you will use it to cut a
90 deg. on a board a lot more than anything else. Therefore it is
important that you can quickly and accurately set your miter gauge
to these commonly used angles.
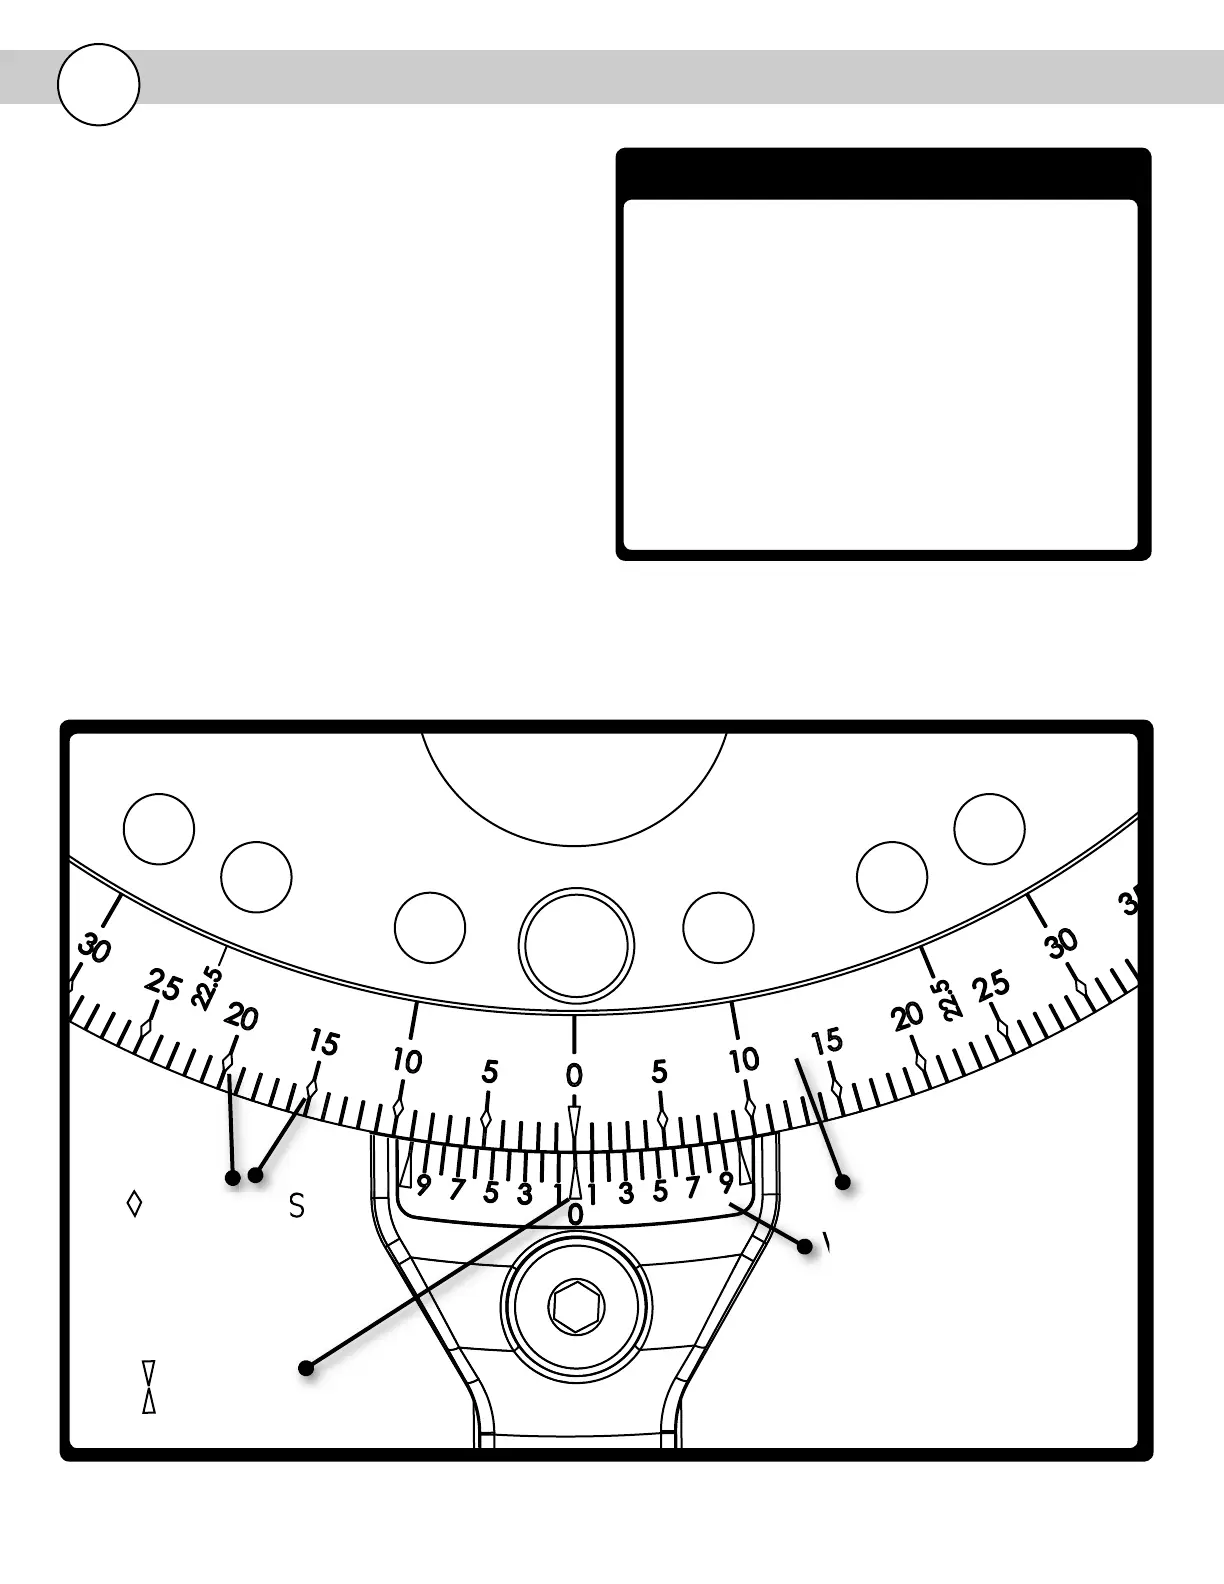
The Kreg Precision Miter Gauge has preset holes drilled at 0 deg.,
10 deg., 22.5 deg., 30 deg., and 45 deg.
Simply drop the brass pin in the hole to set the desired angle. The
brass pin is tapered so when it goes into the hole, it will set the
angle exactly. Remember to lock your setting in place by twisting
the handle down tight.
Preset holes at 0, 10, 22.5, 30 and 45 degrees.
Using the Scales
Below is a key to understanding the markings on the scales
Degree Scale - Used to set angle to nearest degree.
Vernier Scale - Used to set angle to nearest 1/10 degree .
Arrows at 0 deg. - The arrows at 0 degrees make it fast and easy
to locate the center of the scale.
Diamonds - There are diamonds every 5 degrees. The diamonds
make it quick and easy to find the degree setting you need.
DEGREE SCALE
VERNIER SCALE
DIAMONDS
ARROWS