2626
2626
26
Steps to Building an Angled Joint
1. Plane stiles to same thickness, rip to width and cut square to length.
Place desired angle on inside edge of one stile.
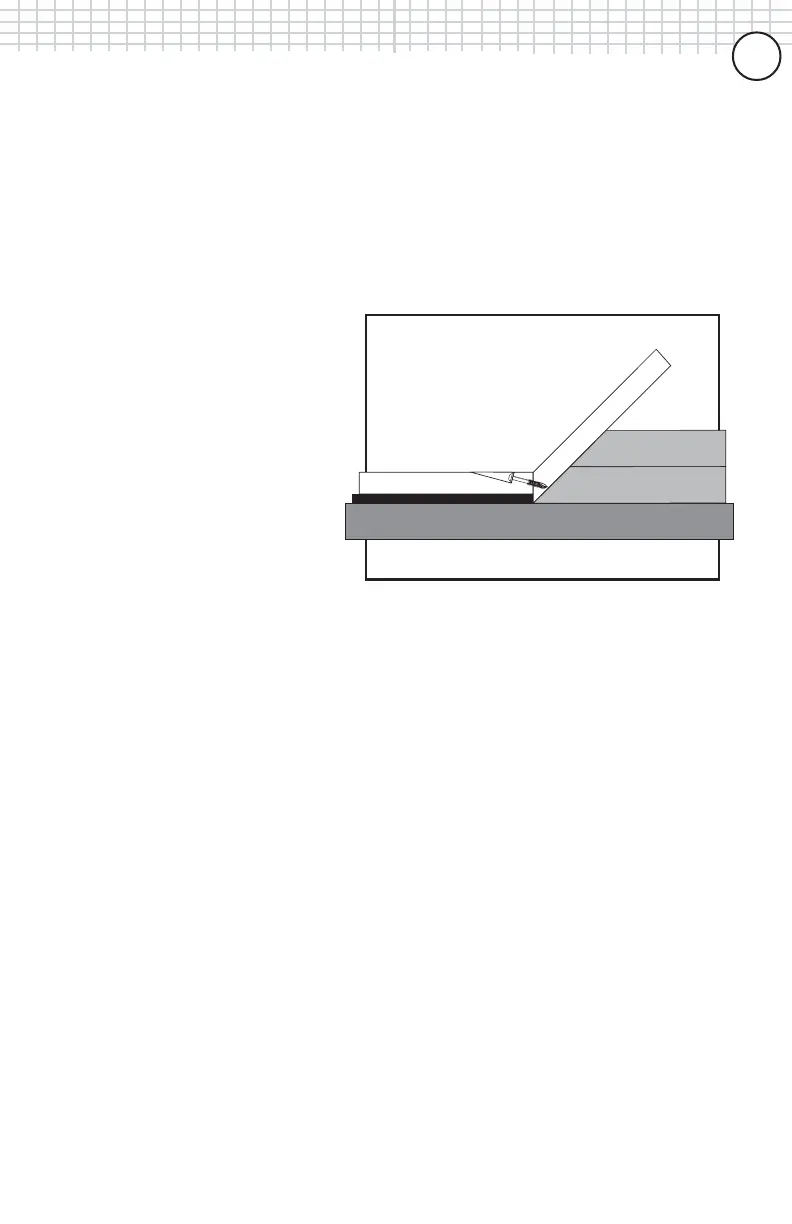
2. Build an assembly jig from scrap stock.
We recommend that you first
cut a plywood base 8” by
12”. Next laminate two 3/4”
x 4” x 12” hardwood pieces
together with glue and then
cut the block on an angle that
will complement your desired
assembly angle. Mount this
angled piece to the plywood.
Lastly, take your workpieces
to be assembled, align them
on their inside edges and
measure the overhang that
occurs. Make a shim the same height as the overhang measurement and attach
this to the plywood base so that the edge butts up with the angled piece.
3. Drill pocket holes into the edge of the 90 degree stile.
Prepare the pocket hole jig you will be using to center the screw in the material
thickness being joined and set your depth collar accordingly (see jig instructions).
We recommend that you place pocket holes every 6-8 inches along the length of
the stile. Test the drill depth and screw penetration in scrap workpieces that are
the same thickness as your actual stock before final assembly. If the screw tip
protrudes too far into the second workpiece you can simply set the depth collar
closer to the step of the drill bit to create a shallower hole.
4. Position stiles and drive screws.
Apply glue at this time if desired. Work from one end as you slide the stiles
across the assembly jig you have created. Press down onto the angled stile as
you assemble to create a uniform overhang.
5. Remove overhang from the front edge.
Remove the overhang from the front edge of the workpieces with a jointer,
sander or hand plane once assembled (if you don’t have a jointer, you can tip our
table saw blade to 45 degrees, cut it close and then finish with a belt sander).
3/4" x 4" x 12" before
ripping at 45 deg.
3/4" x 4" x 12" before
ripping at 45 deg.
3/4" x 8" x 12" plywood
SHIM