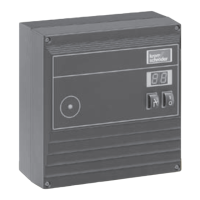
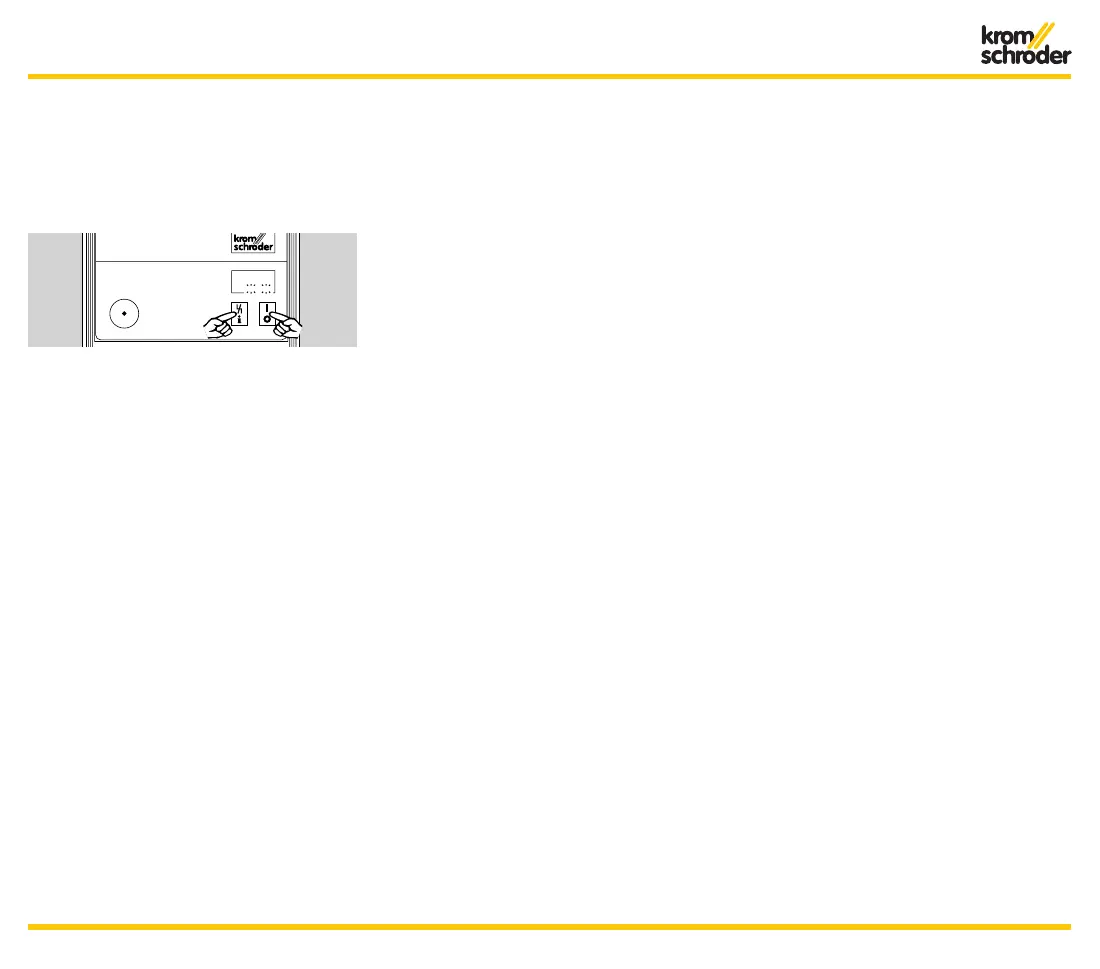
• Apply voltage to terminals #1
and #5.
• Switch on the BCU and at the
same time, press the Reset/
Information button for 2 sec
-
onds.
➔ Both dots on the display flash.
➔ If there is a flame signal at start,
the display shows this instead
of the program status to make
burner adjustment easier.
• Press button for 2 seconds.
➔ The BCU opens the air valve and
indicates P.0. (purge mode).
• Press the button for 2 seconds.
➔ The BCU opens valve V1 and
OCS-valve (for BCU..O/POC-ver-
sion) and ignites the burner. The
display changes to 0.2. or 0.3.
• Press button for 2 seconds.
➔ The BCU opens valve V2 (if
not POC-version). The display
changes to 0.4.
➔ Within three seconds the display
shows the flame signal instead
of the program status to make
burner adjustment easier.
• Press button for 2 seconds.
➔ The BCU returns back to stand-
by position.
• Press button again for two sec
-
onds to repeat the procedure.
➔ If a fault occurs, the current pro-
gram status flashes on the dis-
play.
• Briefly press the button.
➔ The BCU is reset and returns
back to standby position. The
display indicates 0.0. The burner
can be placed back into opera
-
tion.
➔ The BCU either remains in manu-
al mode or closes the valves and
returns to standby position, five
minutes after the last time the
button was pressed, depend
-
ent on parameter 34 (see Table
Parameter settin
g). The display
indicates 0.0.
• To terminate manual mode:
Switch off BCU.
Operation
 Loading...