SET‑UP 3
2.1Unpacking and setting up the vehicle
B00095-01
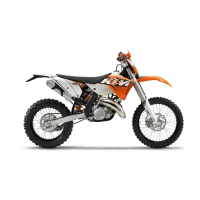
– Remove the box and the plastic packaging.
Info
To avoid damaging the motorcycle during assembly, leave the protective
plastic on the vehicle until you have finished.
– Check the vehicle for transport damage.
– Remove the separate enclosure and unpack it. Check that the scope of delivery is
complete on the basis of the enclosed packing list.
B00096-10
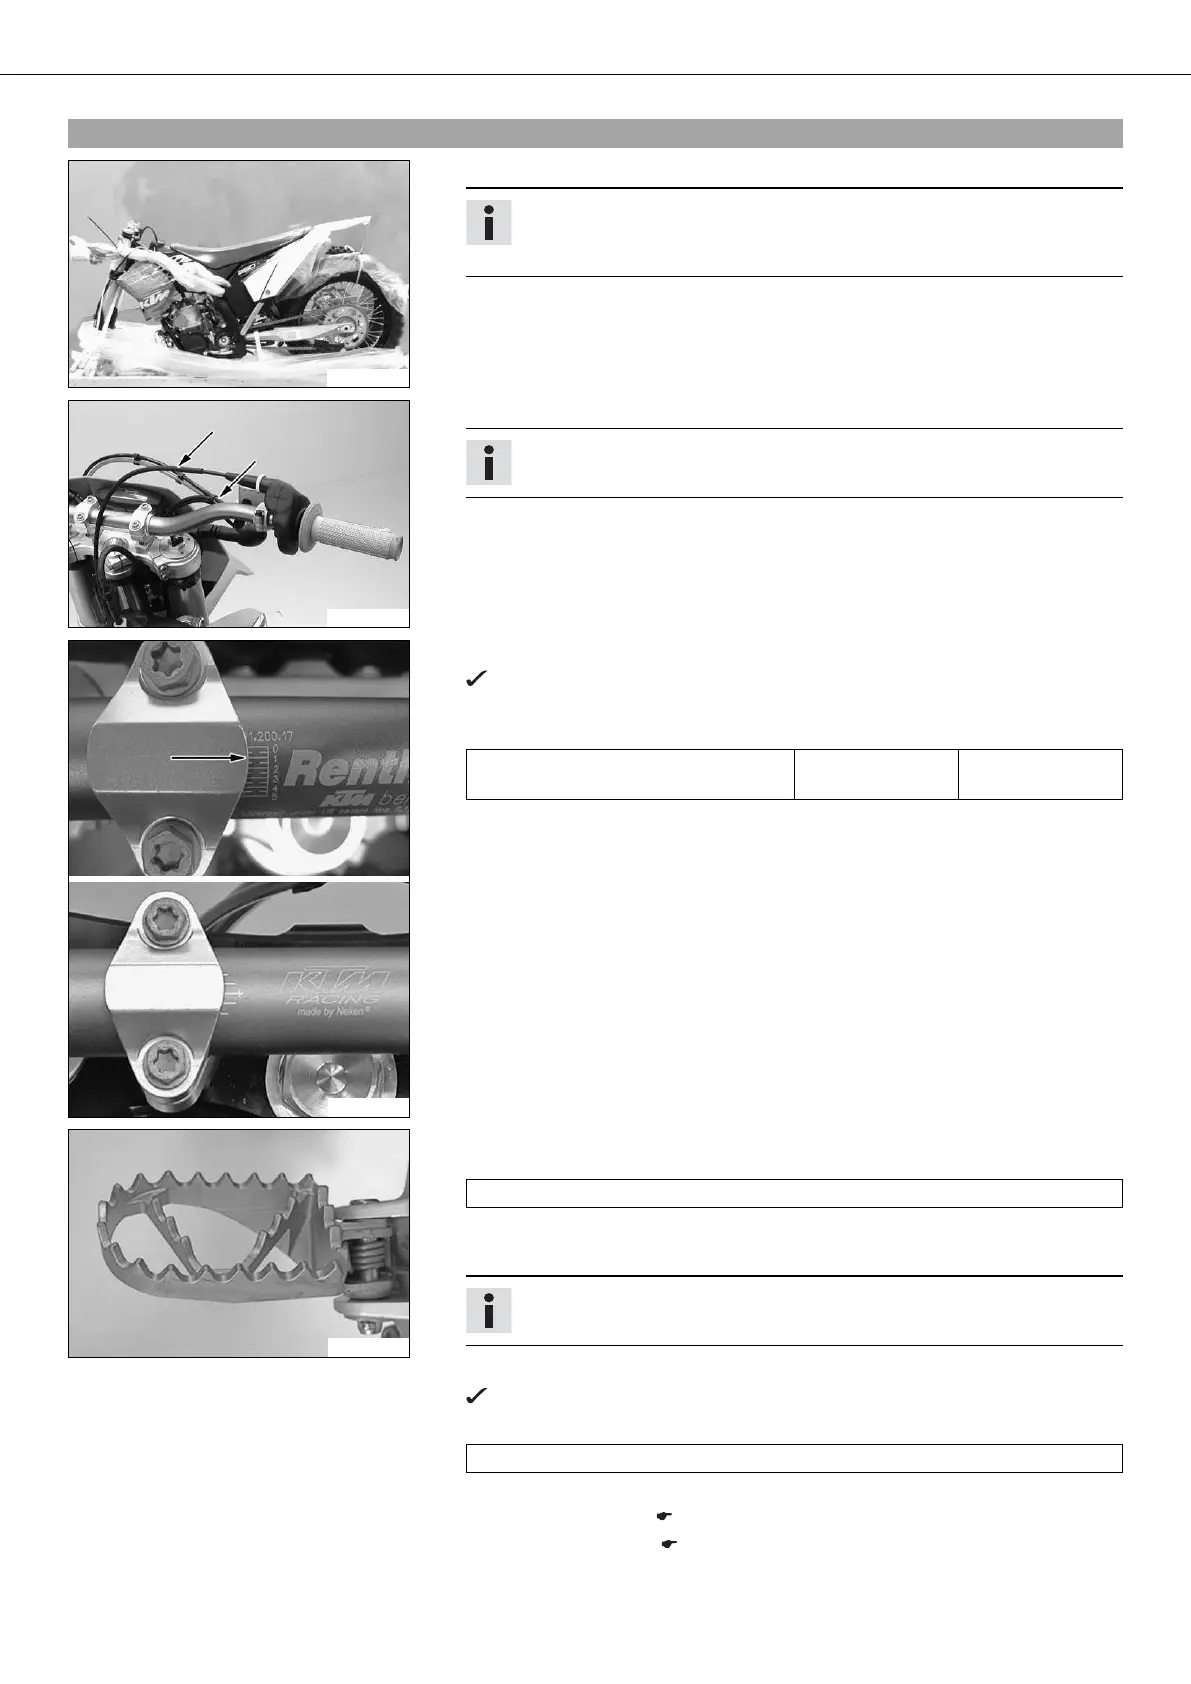
– Position the controls on the right half of the handlebar.
Info
The routing of the cables and throttle cables can be seen in the figure.
600824-10
– Position the handlebar.
The scale on the handlebar should be in the center of the handlebar clamp.
– Position the handlebar clamp. Mount and evenly tighten the four screws.
Guideline
Screw, handlebar clamp M8 20 Nm
(14.8 lbf ft)
800042-10
– Mount the footrests with the springs and bolts. Secure the bolts using the washers
and pins.
Plier for footrest spring (58429083000)
– Remove the protective plastic.
– Carefully loosen and remove the tension belt over the link fork.
Info
An assistant prevents the motorcycle from falling over.
– Carefully loosen and remove the tension belts around the lower triple clamp.
The vehicle is released at the front.
– Set up the work stand.
Work stand (54829055000)
– Together with an assistant, take the vehicle off the palette.
– Install the front wheel. ( p. 5)
– Install the front fender. ( p. 6)
 Loading...