10-11
Troubleshooting > Using the Maintenance Menu
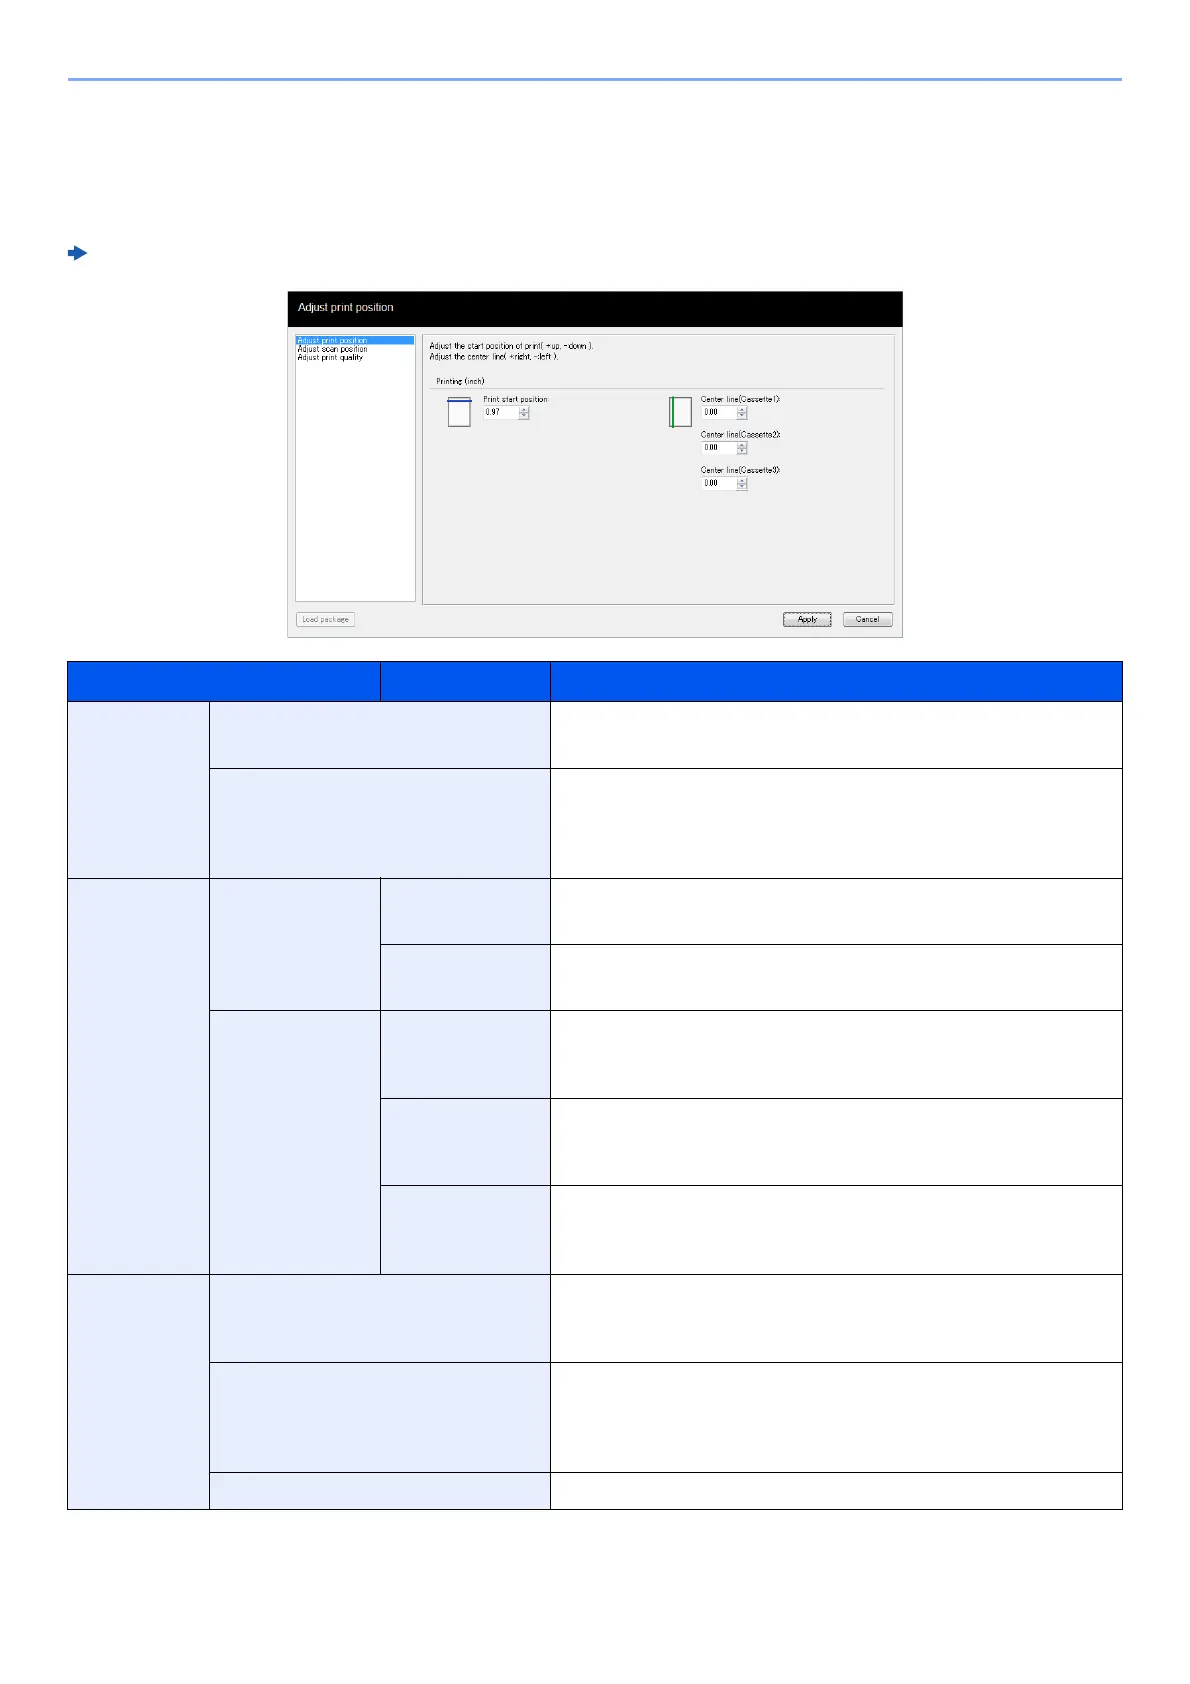
Using the Maintenance Menu
You can use the [Maintenance Menu] to adjust the print position and scan position, and maximize the print quality for
the elevation of your location.
Maintenance Menu User Guide
Item Description
Adjust print
position
Printing start position Enter or select the top margin start position for printing.
Value: 0 to 300 mm (in 5 mm increments)
Center Line Enter or select the left margin start position for printing for each
available paper source. This setting is available for each cassette
when optional paper feeders are installed.
Value: -25 to 25 mm (in 5 mm increments)
Adjust scan
position
Platen Scanning start
position
Enter or select the top margin scan start position for the platen.
Value: -45 to 45 mm (in 5 mm increments)
Center Line Enter or select the left margin scan start position for the platen.
Value: -50 to 50 mm (in 5 mm increments)
Document
Processor
Scanning start
position
With a document processor installed, enter or select the top margin
scan start positions for front and back.
Value: -25 to 25 mm (in 5 mm increments)
Scan end
position
With a document processor installed, enter or select the bottom
margin scan end positions for front and back.
Value: -25 to 25 mm (in 5 mm increments)
Center Line With a document processor installed, enter or select the left margin
scan start positions for front and back.
Value: -50 to 50 mm (in 5 mm increments)
Adjust print
quality
Drum charge setting When print quality has deteriorated, the output of the main charger
can be changed to restore print quality.
Value: 1 to 7
Altitude setting If you are using the machine at an altitude of 1,000 m or higher and
print quality has deteriorated, the Altitude setting can be used to
restore print quality.
Value: Normal, 1001 - 2000m, 2001 - 3000m, 3001 - 3500m
Drum refresh Perform Drum refresh when images show streaking with white lines.
 Loading...