Do you have a question about the Kyocera FS-1800 and is the answer not in the manual?
Lists items included in the TK-60 toner kit for compatible printers.
Details items included in the initial toner kit supplied with the printer.
Instructions to open the printer's top cover fully for toner replacement.
How to release the old toner container using the green toner release lever.
Guidance on gently removing the old toner container to avoid spillage.
Instructions for placing the old toner container in a plastic bag for disposal.
Instructions to shake the new toner container to loosen and mix toner.
How to carefully pull the sealing strip off the new toner container.
Lowering the new toner container into the printer.
Firmly pushing the top of the new toner container to lock it into position.
Instructions to close the printer's top cover after toner installation.
Instructions for responding to 'Replace Toner Clean Printer' messages.
Guidance on replacing the waste toner bottle when changing the toner container.
Instructions to open the printer's side cover to access the waste toner bottle.
How to remove the old waste toner bottle by pressing the lock lever.
Instructions for capping and placing the old waste toner bottle in a plastic bag for disposal.
How to install the new waste toner bottle into the printer until it locks.
Ensuring the waste toner bottle cap does not obstruct the top of the bottle.
Closing the side door to ensure the waste toner bottle is kept securely inside.
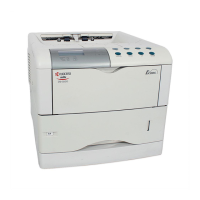
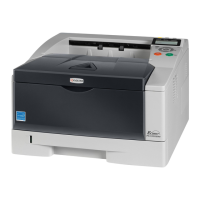
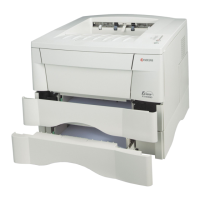
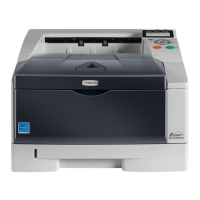
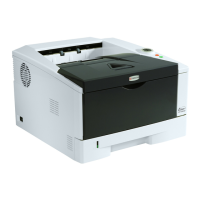
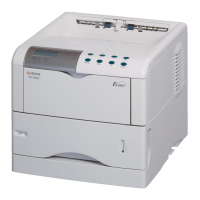
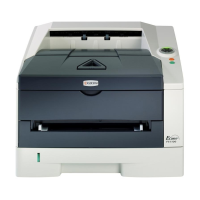
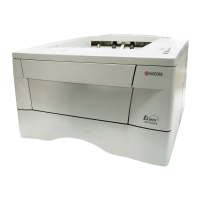
This document outlines the toner replacement procedure for several Kyocera printer models, including the FS-1800(+), FS-1900, FS-1920, FS-3800, FS-3820, and FS-3830. The process involves replacing both the toner container and the waste toner bottle to ensure optimal printer performance and print quality.
The primary function of this procedure is to replenish the printer's toner supply and manage waste toner. Toner is the dry powder used to form text and images on paper, and its replacement is crucial for continuous printing. The waste toner bottle collects excess toner that is not transferred to the paper during the printing process, preventing internal contamination and maintaining print quality. Regular replacement of both components ensures that the printer can continue to produce clear, high-quality prints without interruption due to low toner or a full waste container.
The toner replacement process is designed to be user-friendly, guiding the user through a series of straightforward steps.
Opening the Top Cover: The process begins by fully opening the printer's top cover, providing access to the internal components. This initial step is intuitive and ensures that the user can safely interact with the toner container.
Releasing the Old Toner Container: To remove the old toner container, a green release lever must be slid to the right. This mechanical lock ensures that the toner container remains securely in place during operation but can be easily released for replacement.
Removing the Old Toner Container: The old toner container should be gently removed, keeping it as level as possible to prevent any toner spillage. This step emphasizes cleanliness and careful handling to avoid mess.
Disposing of the Old Toner Container: A plastic bag is provided in the toner kit for the disposal of the old container. This thoughtful inclusion simplifies the disposal process and promotes environmental responsibility by containing residual toner. The document explicitly states that the toner cassette can be safely disposed of in a rubbish bin, indicating that it is designed for general waste disposal after being bagged.
Preparing the New Toner Container: Before installation, the new toner container needs to be prepared. It should be removed from its bag and shaken thoroughly (ten or more times) with the label side down. This action loosens and mixes the toner inside, ensuring an even distribution and optimal print quality from the start. An arrow on the diagram indicates the direction of shaking, providing clear visual guidance.
Removing the Sealing Strip: A protective sealing strip must be carefully pulled off the new toner container. This strip prevents toner leakage during shipping and storage. The instruction to keep the container level during this step again highlights the importance of preventing spillage.
Installing the New Toner Container: The new toner container is then lowered into the printer. Correct installation is confirmed by firmly pushing the top of the container at designated 'push here' points until it locks into position. This tactile feedback ensures that the container is properly seated and ready for use.
Closing the Top Cover: Once the new toner container is installed, the top cover of the printer is closed, completing the toner container replacement part of the process.
Replacing the Waste Toner Bottle (Optional but Recommended): The document strongly recommends replacing the waste toner bottle whenever the toner container is replaced. This proactive approach prevents the waste toner bottle from becoming full and potentially causing printer errors or reduced print quality.
Opening the Side Cover: To access the waste toner bottle, the printer's side cover must be opened. This provides a separate access point for this specific component.
Removing the Old Waste Toner Bottle: While holding the waste toner bottle, a lock lever must be pressed, allowing the bottle to be gently removed. This mechanism ensures the bottle is secure during operation but easily removable for maintenance.
Disposing of the Old Waste Toner Bottle: Similar to the toner container, a cap should be securely fitted onto the old waste toner bottle, and it should be placed into a provided plastic bag for safe disposal in the bin. This reinforces the clean and responsible disposal practice.
Installing the New Waste Toner Bottle: The new waste toner bottle is taken from the toner kit and installed into the printer. It will lock into place, providing a secure fit.
Ensuring Proper Waste Toner Bottle Placement: It is crucial to ensure that the waste toner bottle cap does not obstruct the top of the bottle. This detail prevents potential issues with waste toner collection.
Securing the Waste Toner Bottle: The document clarifies that the waste toner bottle does not "lock" into place in the same way the toner container does. Instead, closing the side door ensures that it is kept securely inside the printer. This design choice simplifies the installation of the waste toner bottle while still ensuring its stability.
The toner replacement process is a key maintenance activity designed to keep the printer functioning optimally.
Comprehensive Kit: The TK-60 (and its variants for different models) toner kit includes not only the toner container but also a waste toner bottle, a lint-free wiper cloth, a grid cleaner, two plastic bags for disposal, and instructions. This comprehensive kit provides all necessary items for a complete and clean replacement process, minimizing the need for additional tools or supplies. The inclusion of a wiper and grid cleaner suggests that the printer design anticipates the need for occasional cleaning of specific internal components during toner replacement, although the instructions provided in this document do not explicitly detail their usage.
Disposal Provisions: The provision of plastic bags for both the old toner container and waste toner bottle highlights a focus on clean and convenient disposal, preventing toner dust from spreading and simplifying the cleanup process for the user.
Error Message Handling: The document addresses potential printer messages related to toner replacement. If the printer previously displayed 'Replace Toner Clean Printer,' it will subsequently display 'Clean printer Press CONTINUE' after the toner change. This indicates that the printer's internal system recognizes the toner replacement and may require a confirmation step to clear the message and potentially initiate a cleaning cycle. Pressing the 'continue' key after cleaning the printer is a crucial step to finalize the maintenance process and resume normal operation. This feature guides the user through post-replacement actions, ensuring the printer is ready for use.
Preventative Maintenance: The strong recommendation to replace the waste toner bottle concurrently with the toner container is a preventative maintenance measure. It ensures that the printer does not run out of waste toner capacity before the next toner replacement, thereby avoiding potential downtime or service calls.
Clear Instructions and Visual Aids: The step-by-step instructions, combined with clear diagrams and labels (e.g., "Lock Lever," "New Toner Container," "Protective Seal," "Side Cover," "Old Waste Toner Bottle"), make the maintenance process accessible even for users who are not technically inclined. The visual cues help in identifying the correct parts and understanding the actions required.
In summary, the toner replacement procedure for these Kyocera printers is designed for ease of use, cleanliness, and efficient maintenance, ensuring continuous high-quality printing with minimal user effort.
| Print Technology | Laser |
|---|---|
| Standard Paper Capacity | 250 sheets |
| Standard Memory | 8 MB |
| Network Interface | Optional |
| Weight | 9.5 kg |
| Connectivity | USB |
| Standard Paper Input | 250 sheets |
| Paper Sizes | A4, Letter, Legal |
| Memory | 8 MB |
| Interface | USB 2.0 |
| Supported OS | Windows, Linux |