Do you have a question about the La Crosse Technology WS6282 and is the answer not in the manual?
Guide for setting up the main unit and connecting to the outdoor sensor.
Details on the DCF radio control time receiving mode and signal status indicators.
Step-by-step instructions for manually setting the time and date.
Instructions for configuring Alarm1 and Alarm2, including repeat periods and snooze time.
Methods to stop the alarm sound once it begins ringing.
How to activate the snooze mode when the alarm sounds.
Process for receiving temperature and humidity data from the remote sensor.
How to view and reset recorded temperature and humidity maximum/minimum values.
Explanation of how the weather forecast is calculated and its limitations.
Information on the automatic display of the current lunar phase.
Details on the ice alert symbol and temperature thresholds.
How to set and manage upper and lower limit alerts for outdoor temperature.
Explanation of humidity levels and their corresponding comfort indicators.
System symbols that suggest opening or closing windows based on humidity.
Information on how temperature, humidity, and pressure trends are shown.
How to adjust backlight brightness when using adapter or battery power.
Important safety and usage instructions for the power supply and device.
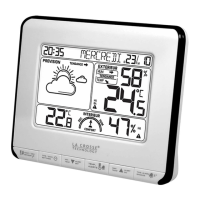
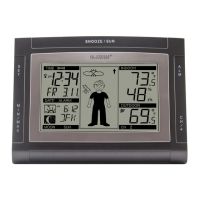
This document describes the WS6282 Weather Station, a device designed for home use to provide various environmental readings and time-related functions.
The WS6282 Weather Station offers a comprehensive set of features, including:
Temperature:
Humidity:
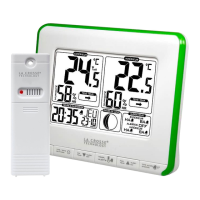
Wireless Outdoor Sensor:
Barometric Pressure:
Power Supply:
Initial Operation:
Reception of Radio Signal:
Manual Time Setting:
Setting Daily Alarms:
Turning OFF Alarm Sound:
Snooze Function:
RF Transmission Procedure:
Maximum/Minimum Numerical Value of Memory:
Weather Forecasting Function:
Moon Phase Display:
Ice Alert:
Outdoor Temperature Alert:
Comfort Level:
Window Opening and Closing Prompt:
Trend Displaying:
Background Lighting:
About AC/DC Power Supply:
General Maintenance and Safety:
Environmental Responsibility:
Disclaimer:
| Brand | La Crosse Technology |
|---|---|
| Model | WS6282 |
| Category | Weather Station |
| Language | English |