Section 4: Maintenance & Lubrication
Table of Contents
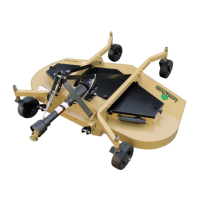
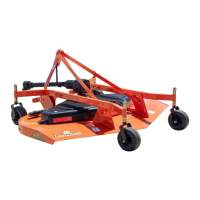
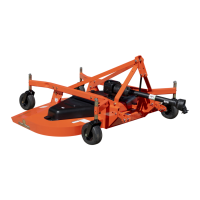
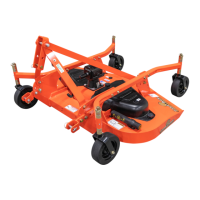
11/7/18FDR3690 Rear Discharge Grooming Mower 310-447M
20
Section 4: Maintenance & Lubrication
Maintenance
Proper servicing and adjustments are key to the long life
of any implement. With careful inspection and routine
maintenance, you can avoid costly downtime and repair.
Check all bolts and pins after using the unit for several
hours and on a regular basis thereafter to ensure they are
tight and secured. Lubricate components on schedule.
Replace worn, damaged or illegible safety labels by
obtaining new labels from your Land Pride dealer.
DANGER
!
To avoid serious injury or death:
• Always secure equipment with solid, non-concrete supports
before working under it. Never go under equipment
supported by concrete blocks or hydraulics. Concrete can
break, hydraulic lines can burst, and/or hydraulic controls
can be actuated even when power to hydraulics is off.
• All V-belt guards must be in good working condition and
installed before power take-off is engaged. Never allow
fingers, hands, or other body extremities to come near a
moving V-belt or pulley. Doing so can result in server bodily
injury or death.
WARNING
!
To avoid serious injury or death:
• Perform scheduled maintenance. Check for loose
hardware, missing parts, broken parts, structural cracks,
and excessive wear. Make repairs before putting implement
back into service. Serious breakdowns can result in injury
or death.
• Do not alter implement or replace parts on the implement
with other brands. Other brands may not fit properly or
meet OEM (Original Equipment Manufacturer)
specifications. They can weaken the integrity and impair the
safety, function, performance, and life of the implement.
Replace parts only with genuine OEM parts.
• Always shut tractor down using “Tractor Shutdown
Procedure” provided in this manual before servicing,
adjusting, cleaning, or maintaining this implement.
• Always wear eye protection and gloves while inspecting,
removing, sharpening, and replacing mower blades.
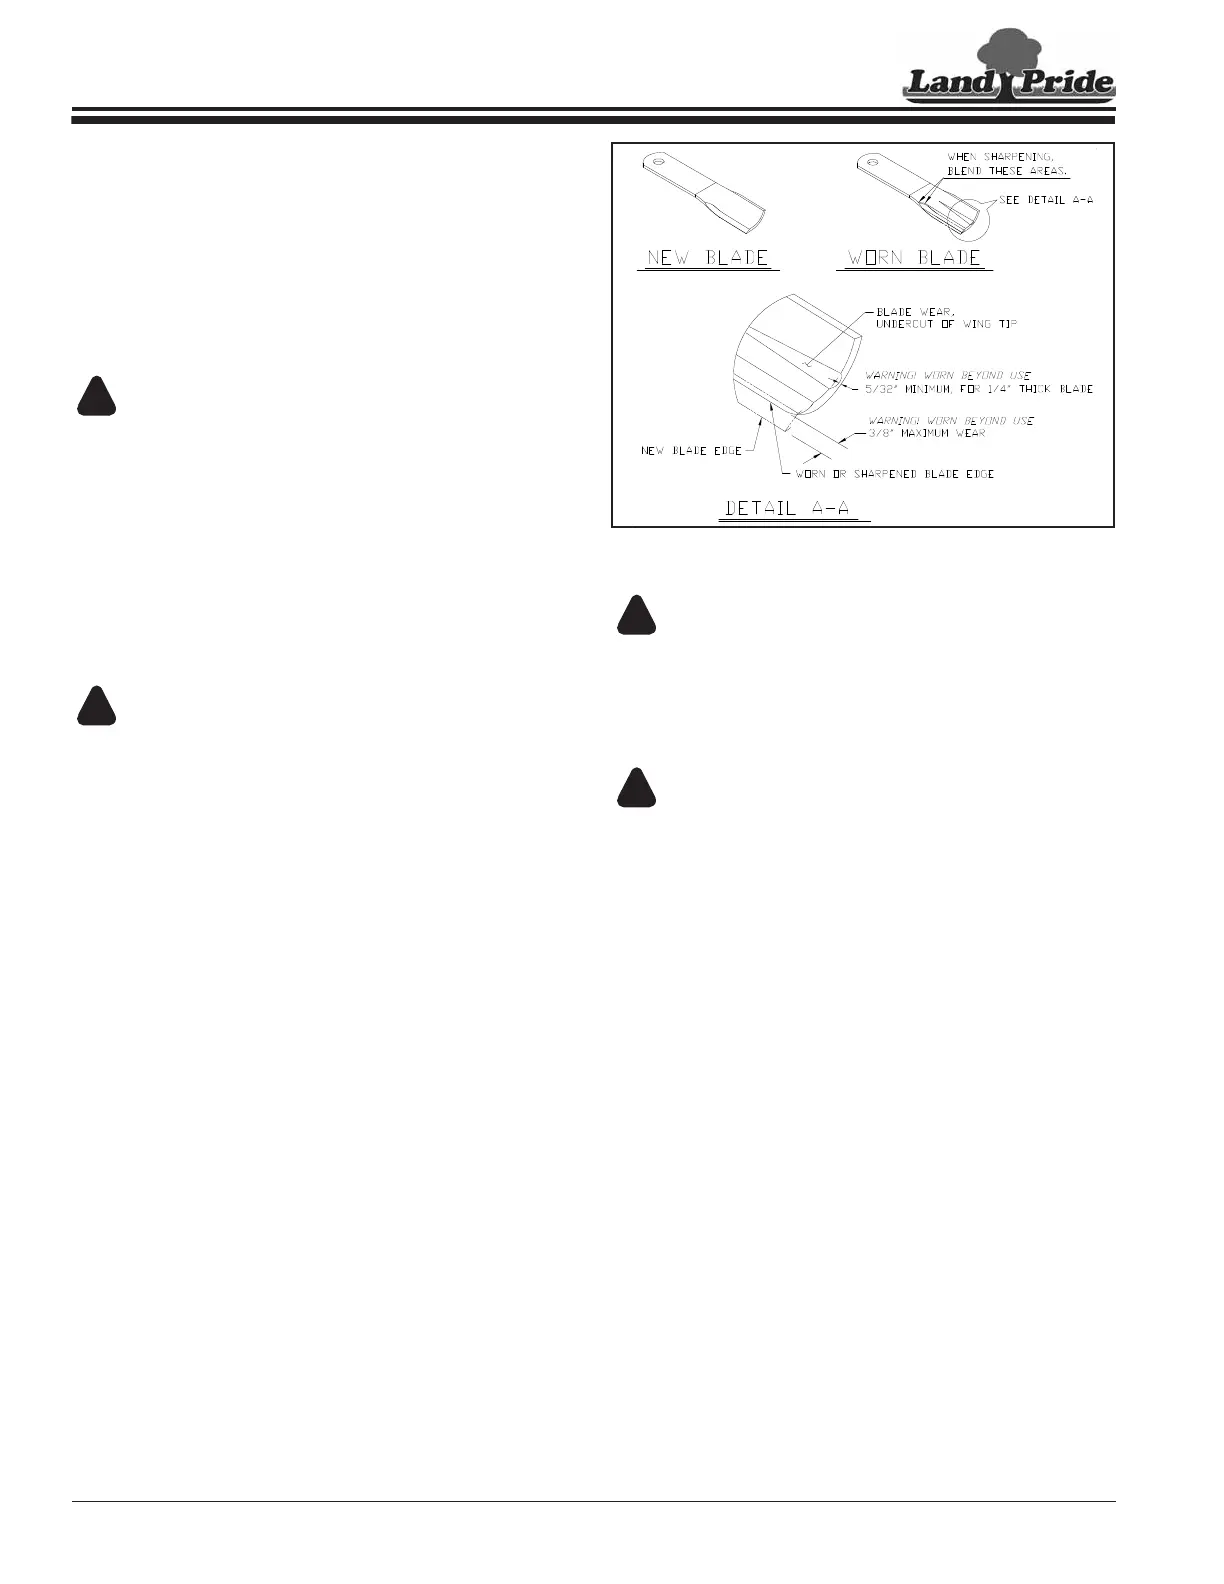
Blade Inspection
Refer to Figure 4-1:
Always inspect cutting blades before each use. Make
certain they are properly installed and in good working
condition. Replace any blade that is damaged, worn,
bent, or excessively nicked. Never try to straighten a bent
blade! Small nicks can be ground out when sharpening.
Inspection of Blades & Sharpening
Figure 4-1
DANGER
!
To avoid serious injury or death:
Bent, Deformed or Split Blades should be removed from unit
and discarded. Never weld a broken or cracked blade. DO
NOT attempt to straighten or reuse such blades. ALWAYS
replace with a new OEM blade to assure safety.
WARNING
!
To avoid serious injury or death:
Do not attempt to modify a blade, such as straightening, hard
surfacing, heat or cold treating, or by any other method. Never
weld a broken or cracked blade. ALWAYS replace blades with
new OEM blades to assure safety.
1. Check blades for wear. Blade performance will be
reduced as blades wear and are resharpened.
2. Check blades to see if they are bent, deformed, or
split. DO NOT attempt to straighten or weld blades for
reuse. They should be removed and discarded.
3. If the blade cutting edge is dull or nicked, it should be
sharpened or replaced if worn out.
Blade Removal
Refer to Figure 4-2 on page 21:
Remove cutting blades to sharpen or replace as follows:
1. Place tractor gear selector in park, set park brake,
disengage power take-off if operating, shut engine
off, remove switch key and wait for blades to come to
a complete stop before dismounting from tractor.
2. Disconnect main driveline from tractor power take-off
and secure cutter deck in the up position with solid
supports before servicing underside of mower.
3. Remove blades by grasping the end of blade using a
rag or a thick padded glove, while loosening and
removing cotter pin (#4), hex slotted nut (#3), blade
bolt (#2), and mower blade (#5).
33510