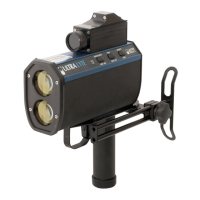
Section 6 - Dendrometer Functions
Page 21
¶ The inclination appears in both the in-scope LED and the
external LCD, and is continuously updated as long as you hold
the TRIGGER button.
¶ Upon release of the TRIGGER button, the in-scope LED flashes
the locked inclination measurement.
7. Press-and-hold the TRIGGER button again and scan up the
tree from the base. Release the Trigger button at any given tree
height to lock the inclination measurement, for example 4.5 feet
(or 1.3 meters).
¶ While you are tracking up the tree stem, the tree height is
dynamically updated in both the in-scope LED and the external
LCD.
¶ When you release the TRIGGER button, the tree diameter is
shown in both the in-scope LED and the external LCD. This
value is based upon the width of the illuminated in-scope LED
Measurement Scale.
¶ Now use the SCALE ADJUST (+) AND (-) buttons to align the
edges of the bar scale with the edges of the target tree,
simultaneously changing the displayed diameter value.
Once the measured tree diameter is shown in the displays:
• To download a serial data string through the serial port to an external
data collector, press the DOWN button.
• To display the height on the tree again, or move to another height
position for a diameter measurement:
1. Press-and-hold the TRIGGER button again to activate the tilt sensor
and dynamically display tree heights.
2. Scan to the desired tree height.
3. Release the TRIGGER button to lock the inclination measurement
and show the diameter at the given tree height point.
4. Repeat the diameter measurement step (#7) above.
L
• In most situations, you will find that the Gap Bar Scale works best
in the Diameter Mode. However, you can toggle the illuminated
in-scope LED measurement scale from Solid to Gap (page 13).
• For increased accuracy at further distances from the tree, attach
the Magnifier (page 15).