PAGE 6
Inside
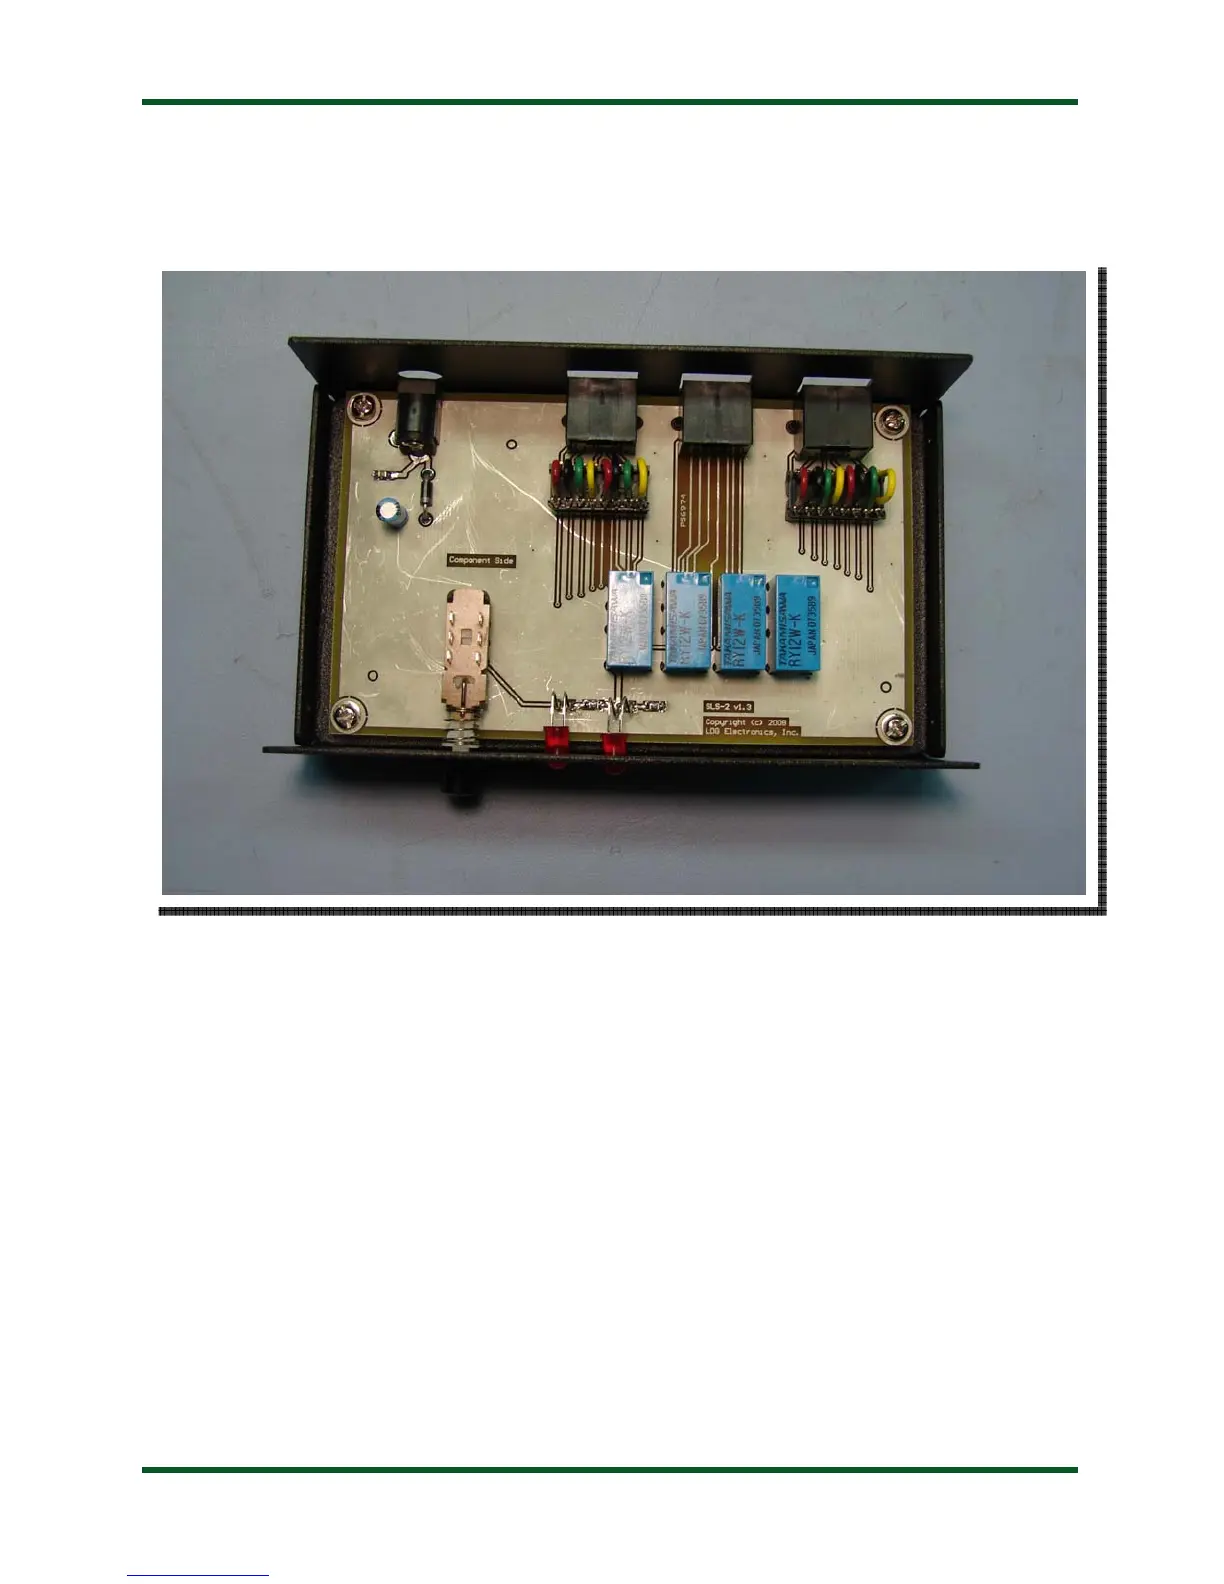
Inside the SLS-2 are two headers with wire jumpers, which allow you to rewire the two switched
ports if desired. The factory wiring is “straight-through”, or 1-to-1 wiring, so that pin 1 of each
switched port connects to pin 1 of the common port, pin 2 to pin 2, and so forth.
The wire jumpers are color coded for convenience; however, the color scheme does not convey
any fixed meaning. If wiring other than straight-through is desired, you will need to desolder the
wire jumpers and re-solder to meet your specific needs. This feature of the SLS-2 allows you to
adapt two similar devices with different pinouts to connect to the same equipment. Be sure to check
the manufacturer’s data sheets of both devices to be certain that the signal levels are compatible, if
you choose to use this feature of the SLS-2.
If you open the case of the SLS-2 in order to rewire the jumper headers, take care not to splash
solder on any exposed traces, potentially causing a short circuit. Also take care to ensure no foreign
objects are left inside the case when re-assembling the lid to the case.
INSTALLATION
Installation of the SLS-2 is fairly straightforward in most cases. Plug one end of an RJ45 cable
into the common port and connect the other end to the piece of equipment you are sharing. Next,
plug an RJ45 cable into each of the switched ports and connect them to each of the two devices
you’d like to switch between. Connect a DC power plug to the DC power jack, making sure the