PAGE 9
Failure to take these precautions could damage the connected equipment! LDG assumes no
responsibility for damage to your equipment caused by attempting to connect two pieces of
incompatible equipment.
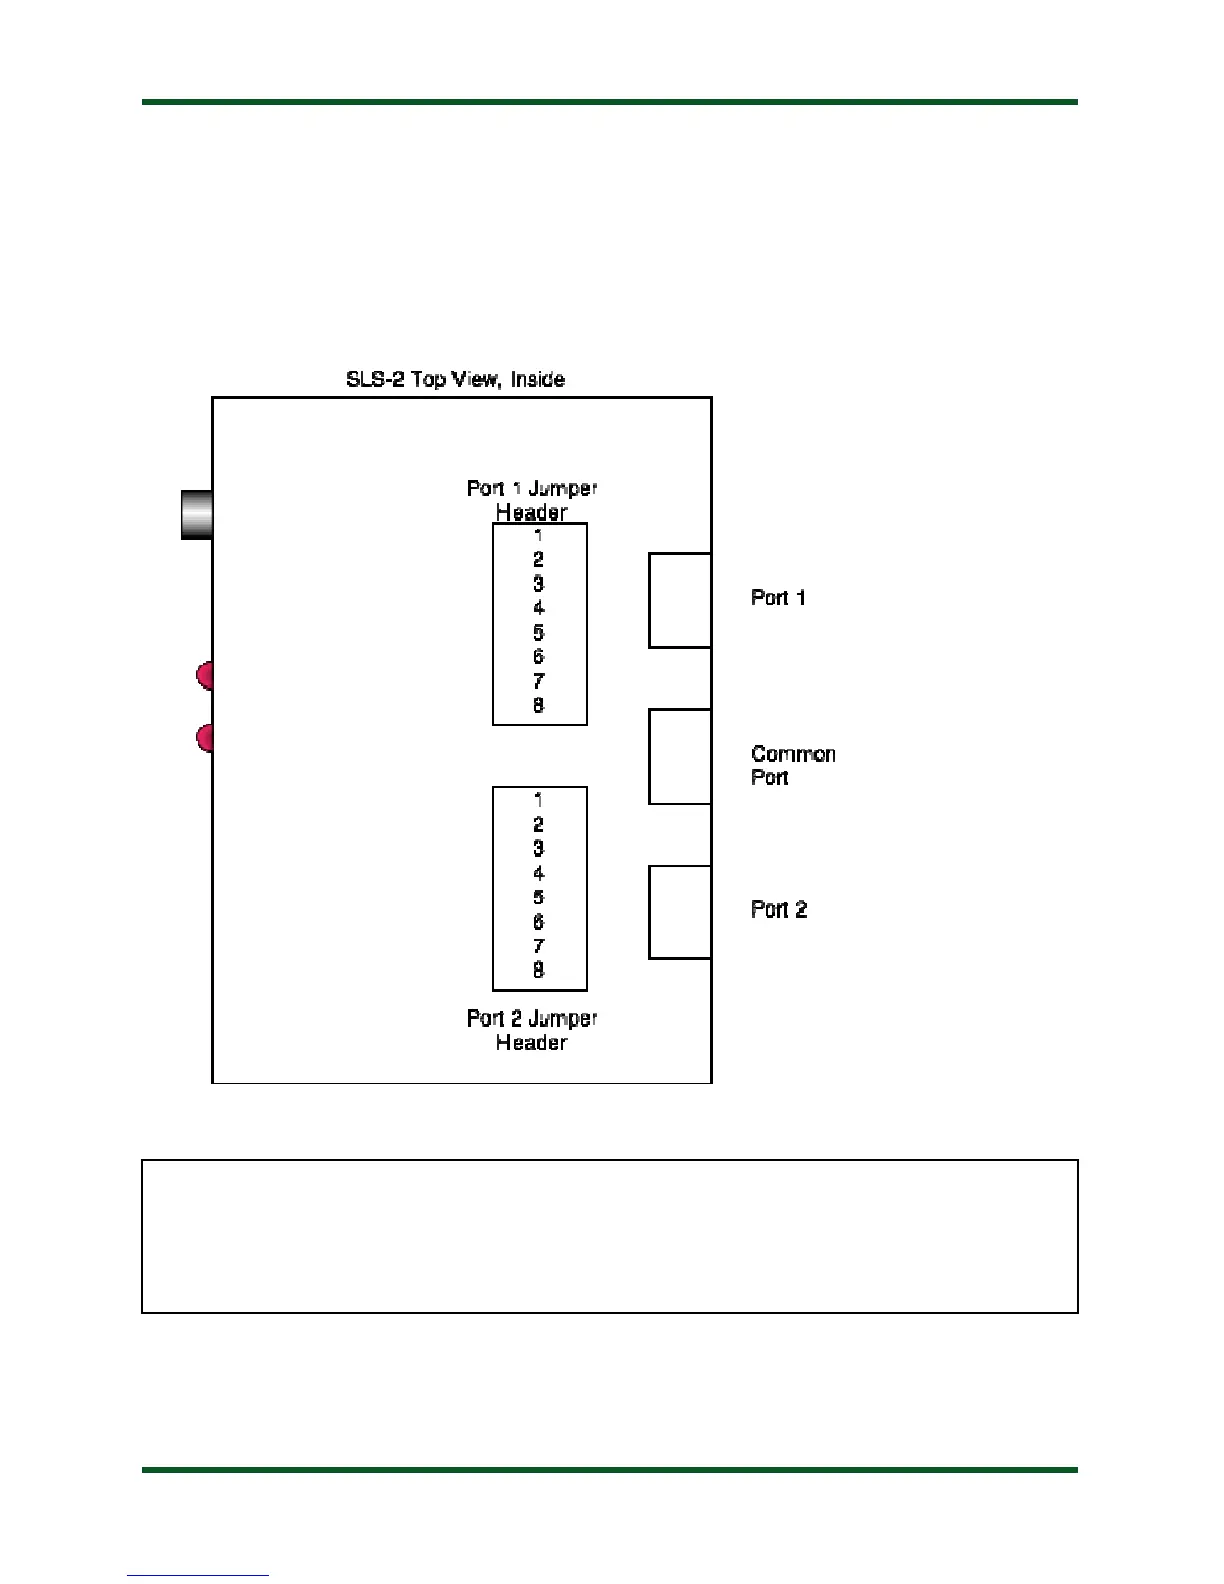
Re-wiring the jumper headers in the SLS-2 requires you to open the case of the SLS-2. To do so,
locate the four screws on the side of the case, and remove them. Lift off the lid. Inside, you will find
the wiring jumper headers. The following diagram shows how the wires on the headers correspond
to the pinout of the RJ45 jacks on the rear.
Any rewiring you perform will require you to de-solder the wires on the jumper headers and re-
solder in a different configuration.
NOTE: If you choose to use this feature of the SLS-2, it would be a good idea to label
each of the two ports as to what it is wired for, so that you do not accidentally plug the
wrong type of mic or radio into the rewired port!