Group 8 Job editor Page 288
Release R2.0 LEIBINGER JET3
Note: For a new object the input fields <Position X/Y> (6) shows automatically
the next possible position for the object after an already existing object.
The first object within a job will have the position X=2 and Y=1. For
adjusting the position of a selected object you can use the input fields for
the x and y position (6). Inputs can be carried out stepwise with the arrow
keys or with the number keypad that shows up by selecting one of the
input fields. Please consider that objects can be positioned on top of each
another. Use the editing window to check the correct positions of all
objects.
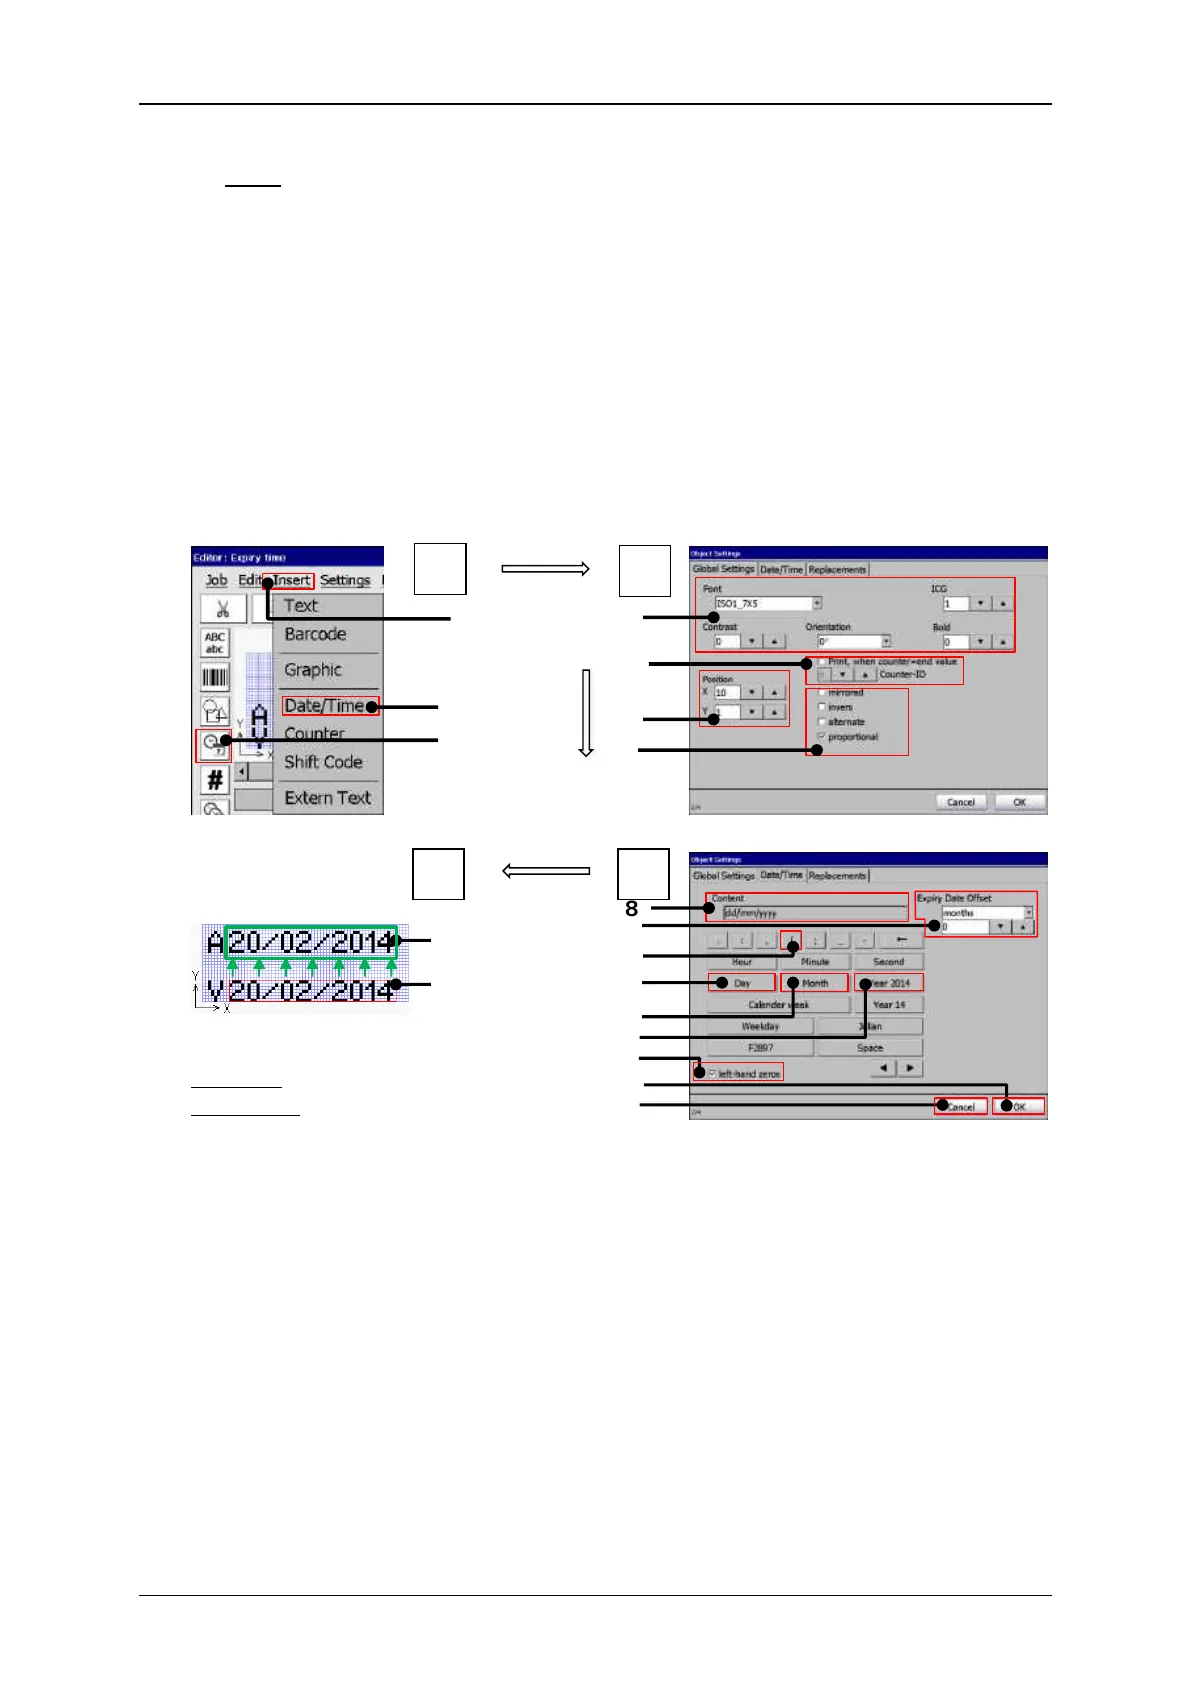
Print elements (Date/time input (Part 1)
Example – Global objects settings
Moving the inserted date object
in its final position.
Red frame: insertion position
Green frame: final position
2 – Drop-down menu item <Date/Time>
3 – Direct button for <Date/Time> object
5 – Counter assignment settings *
14 – Checkbox <left-hand zeros>
6 – Arrow keys for object <Position X/Y>*
7 – Object display settings.*
8 – Display field <Content>
17 – Final position of the date object
9 – Settings <Expiry date offset>
18 – Position of the date object
* Please see chapter “Object settings” for details.
 Loading...


