77
7. Start-up
7.10 Adjusting the Light Sources
Transmitted-light axis (TL) with lamp housing
107/2
The lamp housing 107/2 with a 12V 100W halo-
gen lamp is fixed. Centering the lamp is not re-
quired.
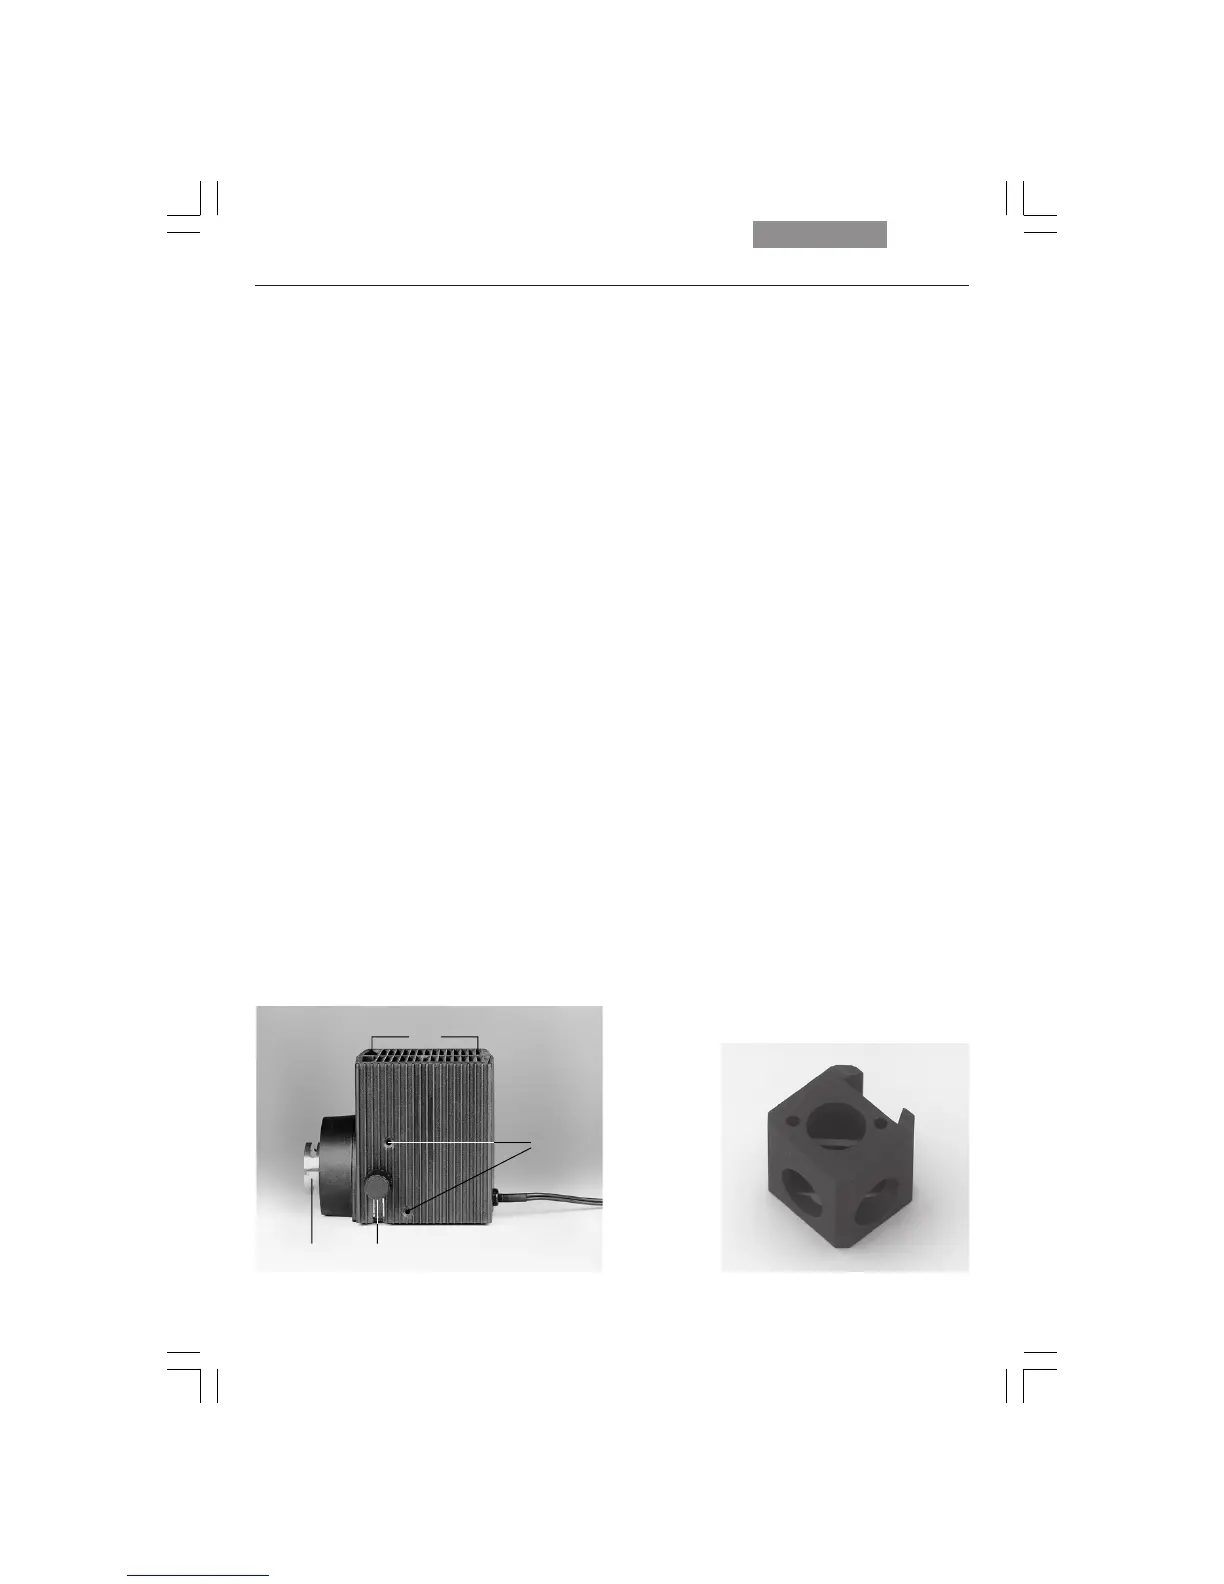
Lamp housing 107 L
for 12V 100W halogen lamp
The lamp can be adjusted using the screws
(98.2) and the button (98.3).
• Place a sheet of white paper under the field
diaphragm.
• Adjust the lamp to create an evenly bright
spot on the paper.
Incident-light axis (IL) with lamp housing 106 z
(Leica DMI4000B and Leica DMI6000B)
• When a supply unit is used, it is turned on
first.
• Activate the incident-light axis with the TL/IL
function button. FLUO will appear on the
LeicaScreen.
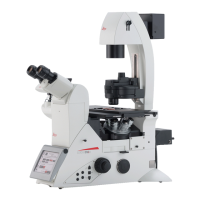
• Insert the lamp adjustment reflector (Fig. 99)
in the filter turret in place of a filter cube.
Make a note of the designation of the re-
placed filter cube.
•Turn the reflector into the beam path.
The reflector is correctly positioned when the
LeicaScreen shows the designation of the re-
placed filter cube.
Fig. 99 Reflector cube for lamp adjustment
4
12
3
Fig. 98 Lamp housing 107 L
1 Mounting for housing
2 Screw for vertical adjustment
3 Button for horizontal adjustment
4 Collector focusing



 To Next Page