3. After storing of the measurement of the rst backsight, the
foresight screen is displayed. Before measuring a foresight, you can
measure intermediate points or set out heights, height differences
and distances.
☞
You can dene an individual point ID for the next point
measured. Refer to Apply an individual point ID during
measurements (within 7.1.3 Point ID & Incrementation).
4. Measure the foresight. The procedure for aiming and measuring is
the same as described for the rst backsight.
5. After storing of the measurement of the foresight, the next back-
sight screen is displayed. You can continue to measure backsight
and foresight points.
Focus
To automatically focus the tele-
scope (only LS15).
Rec
To save the measured values and
switch to the foresight screen.
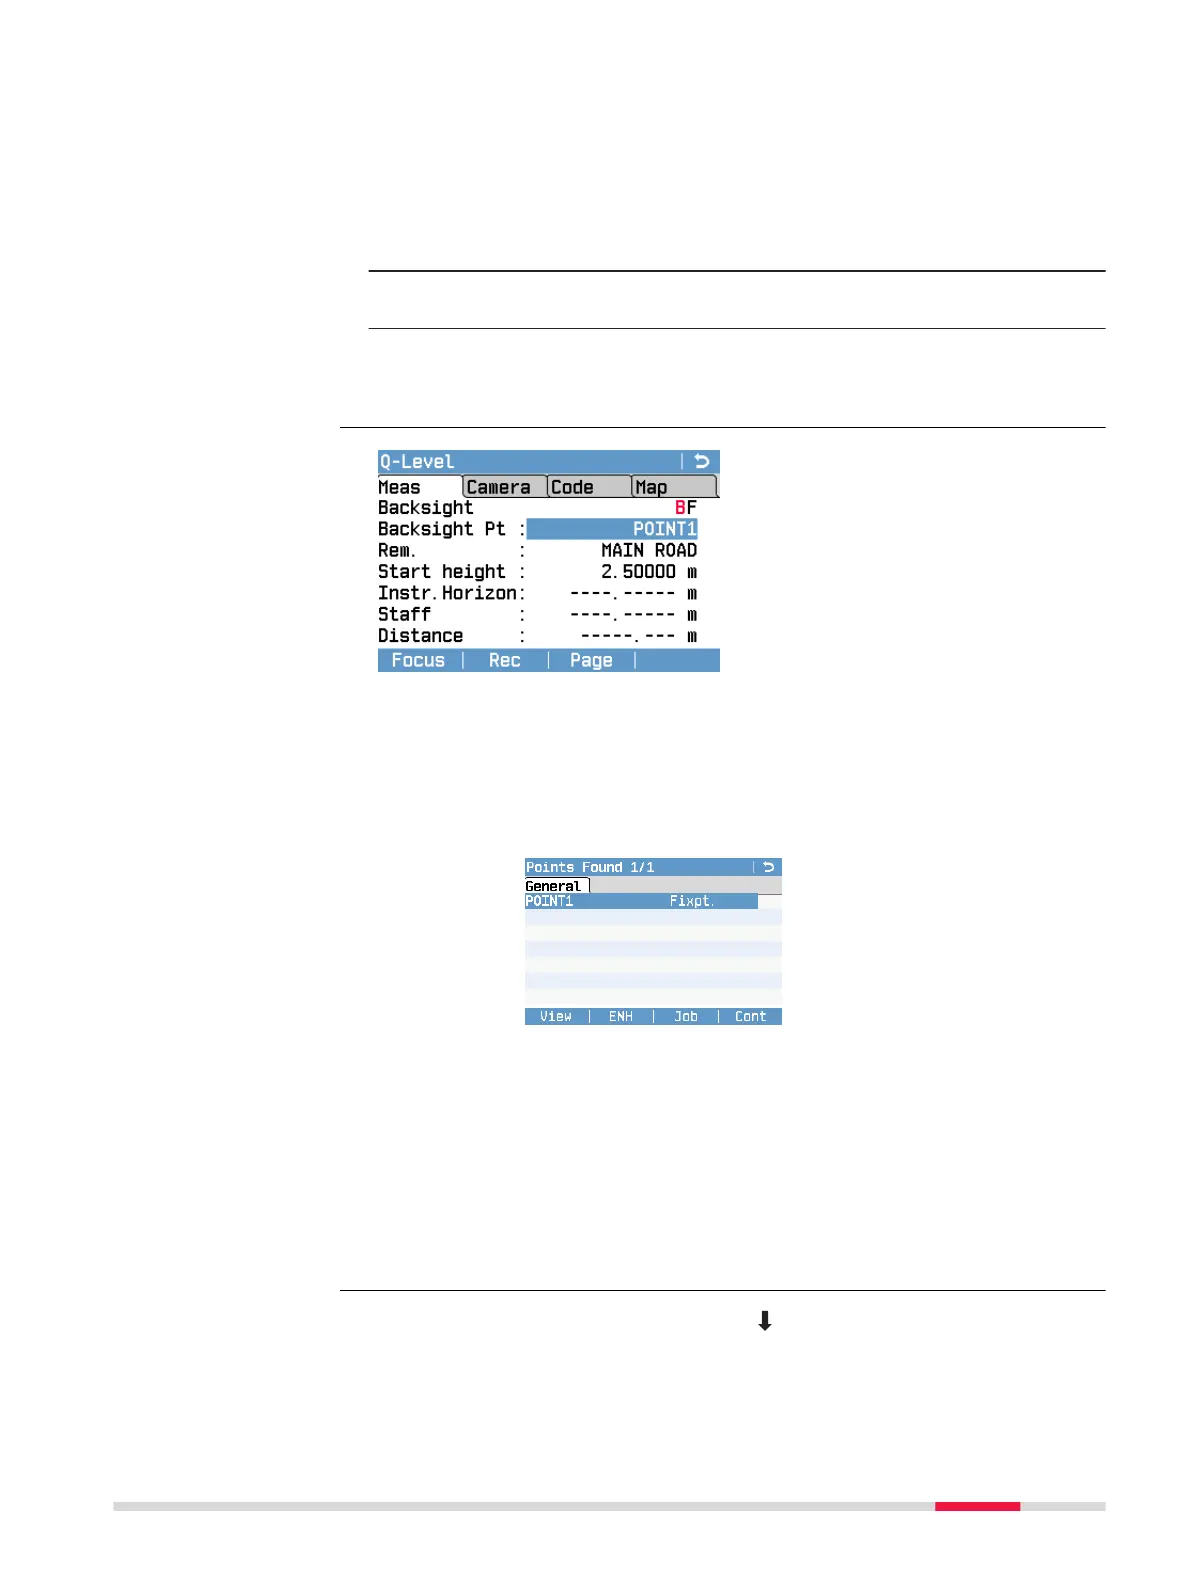
Before measuring the rst backsight point, you can edit the following elds:
Backsight Pt ID of the starting point (rst backsight). Default value is
“A1”.
To search for xpoints, enter a start point ID and conrm
with the ENTER key. For more details on point search refer
to 7.1.2 Point Search.
If one or more xpoints with this ID are already stored in the
current job, all available xpoints are displayed in the Points
Found screen. Select the desired xpoint and press Cont to
return to the rst backsight screen.
Rem. Additional Remarks concerning the measurement (optional).
Start height Height of the starting point. Default value is 0.00000 m.
If you select an already stored xpoint as starting point, the
eld Start height is automatically set to the height of the
xpoint.
To switch to the INT to BS display, press and the INT softkey.
Starting screen (rst
backsight)
Survey intermediate
points
Programs 53
 Loading...