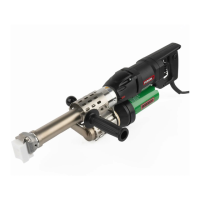
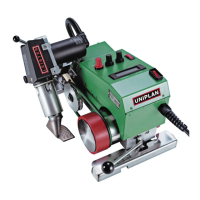
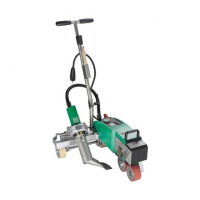
5 Welding shoe
17 Welding shoe holder
18 Clamp screws
19 Extruder nozzle
20 Fastening screw
21 Pre - heating nozzle
Danger of getting burned!
Work with temperature resistant gloves only.
•
The welding shoe must only be changed when the tool has attained its operati
ng temperature.
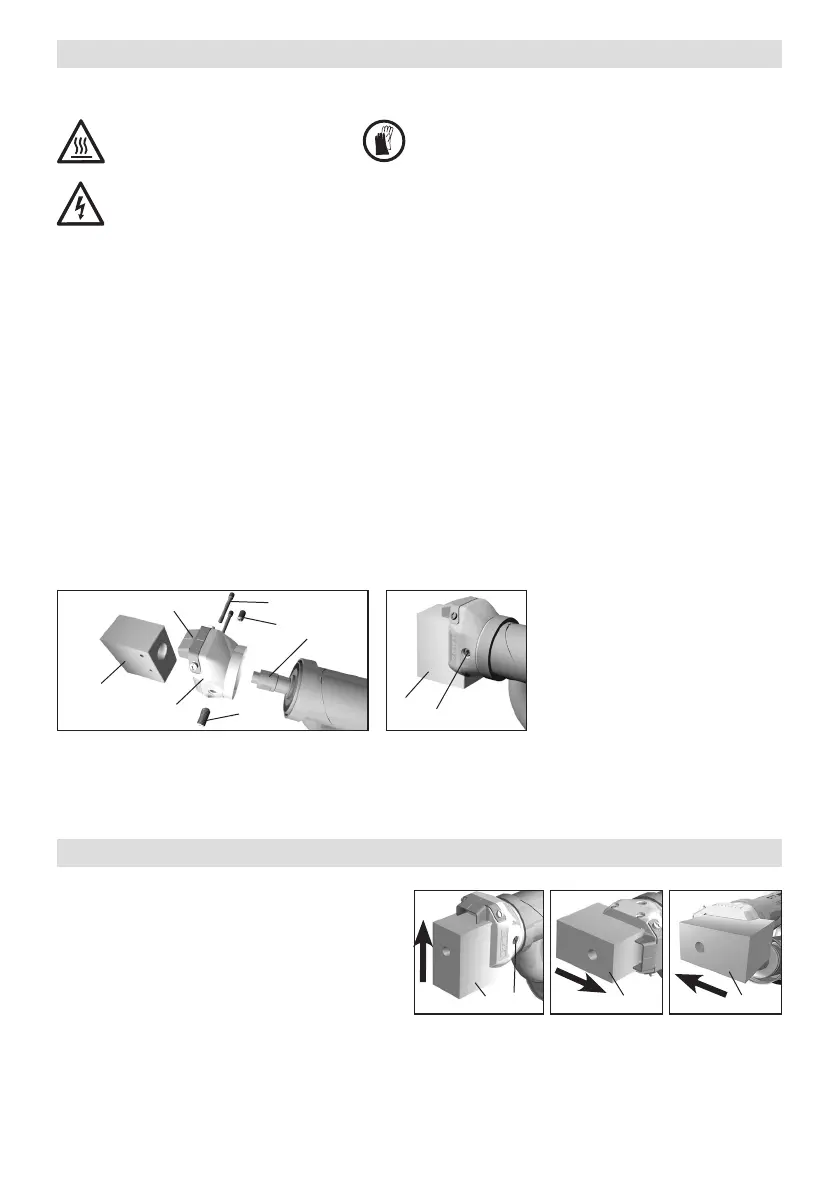
Changing the welding shoe
• Disassembly
– Remove the welding shoe (5) with the welding shoe holder (17) by unfastening the clamp screws (18)
from the extruder nozzle (19).
– Every time the welding shoe is changed, clean the extruder nozzle (19) of welding residue and make sure
that it is screwed in tightly.
– Remove welding shoe (5) from the welding shoe holder (17) by unfastening the fastening screws (20).
• Assembly
– Fasten a welding shoe (5), appropriate to the welding seam, onto the welding shoe holder (17) with
fastening screws (20).
– The welding shoe (5) and welding shoe holder (17) must be tightened properly with the clamp screws (18)
• The welding shoe (5) can be turned infinitely to
the desired welding direction by loosening the
clamp screws (18).
• The clamp screws (18) must be tightened well
again afterwards.
Switch o the hot tool and disconnect it from the mains supply.
Welding direction
18
5
5
21
19
17
18
18
20
5
5
5
18
 Loading...