7
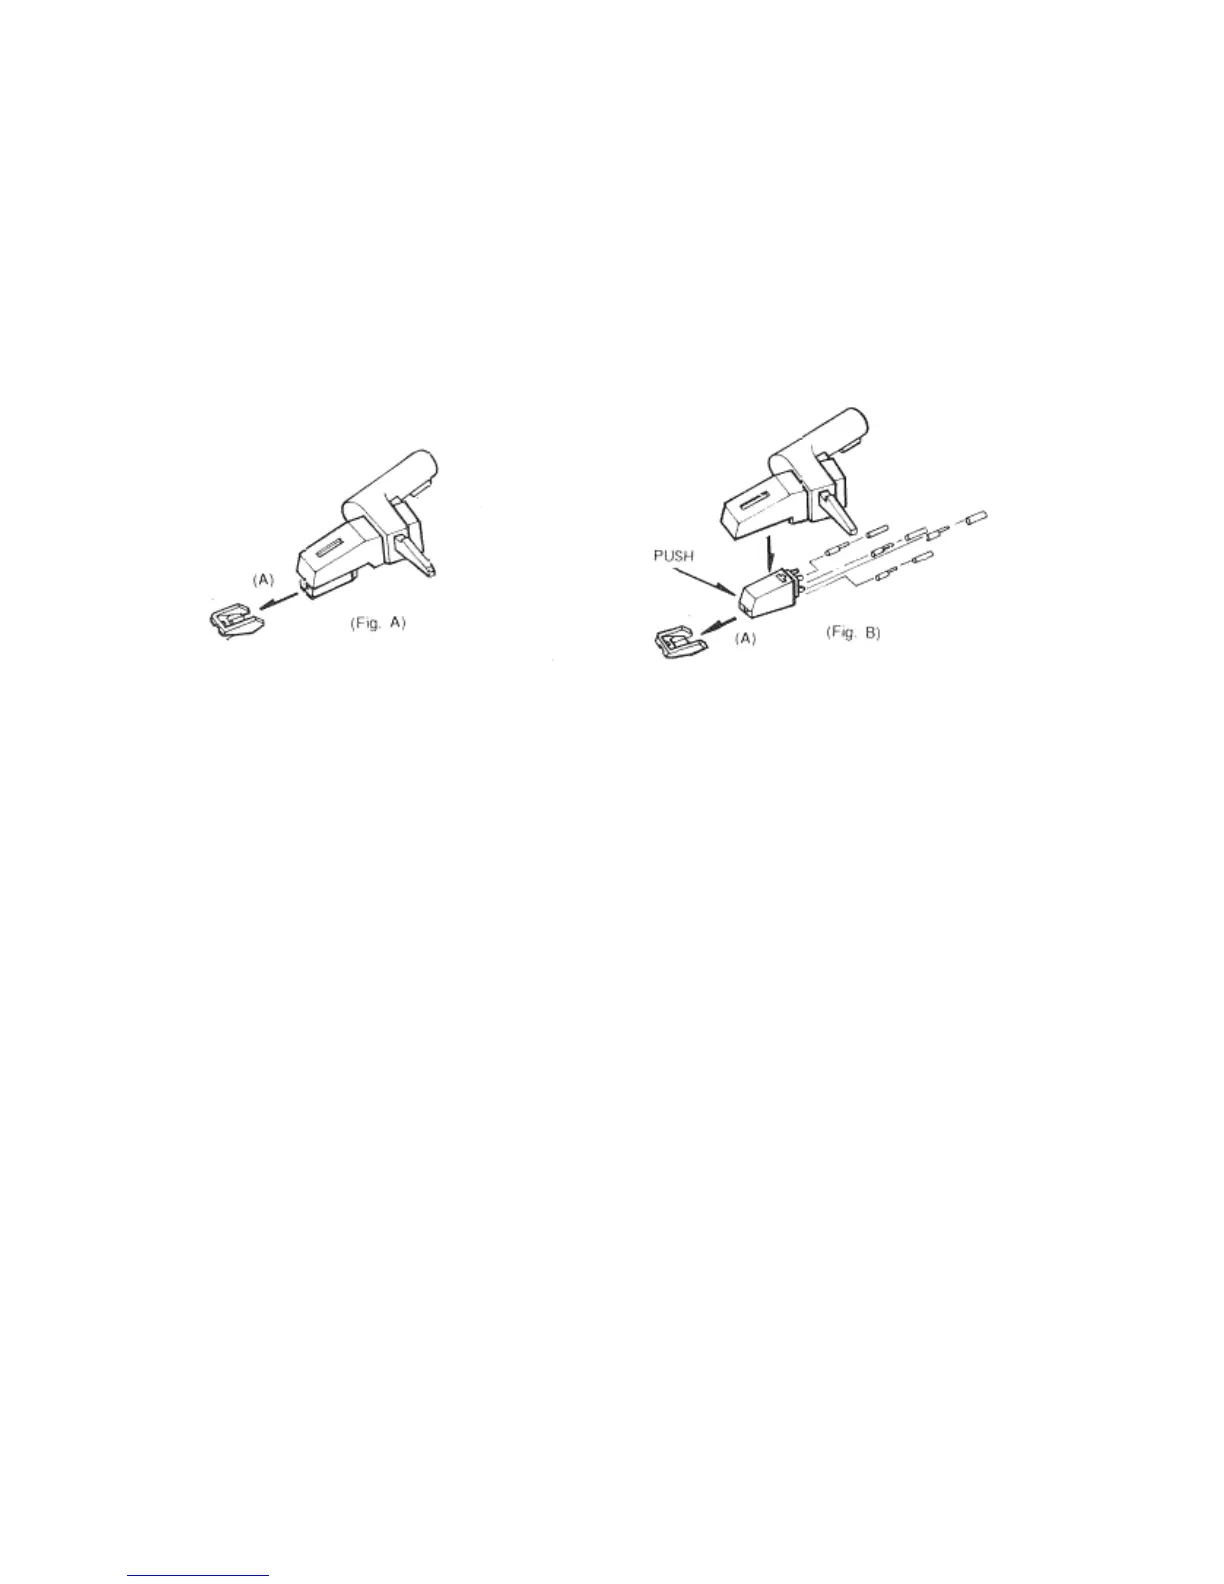
To install a new cartridge
Connect the three link wires as shown in figure.
Push the cartridge into headshell
Re-position the stylus
To adjust the needle pressure
Remove the dustcover.
At the back side of the arm there is a “crosshead screw”, turn it in right direction
to increase the needle pressure and turn it in left direction to decrease the needle
pressure.
IMPORTANT RECOMMENDATIONS
We advise you to clean your records using a rag impregnated with an anti static
product to ensure the quality and lifetime of your records. For the same reason the
stylus should be replaced periodically (approximately every 250 hours).
Dust the stylus from time to time using a very soft brush dipped in alcohol (brushing
from back to front of the cartridge)
When transporting your turntable do not forget to:
Replace the protective cap on the stylus.
Use the tone arm lock clip to lock the tone arm.
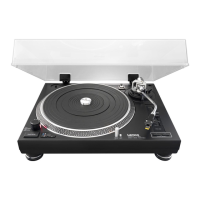
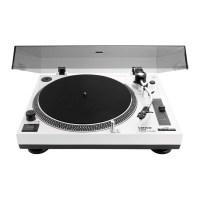
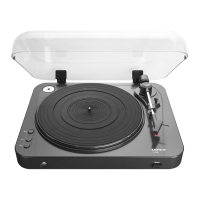
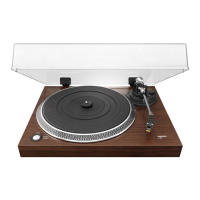
Basic operation
Playing a record
1. Remove the Dust cover from the turntable.
2. Place the record of your choice on the turntable. If it is a 45 rpm, do not forget to
place the adaptor on the record spindle.
3. Choose the desired playing speed:
33 rpm-> Release the 33/45RPM button.
45 rpm-> Press the 33/45RPM button.
4. Release the tone arm lock.
5. Push in the arm lift button (tone-arm will go up)
6. Place the cartridge vertically over the first track of the record the turntable starts
turning
7. Push out the arm lift button (tone-arm will lower and the record starts playing)
8. When the record is over, the tone-arm returns to its rest and the turntable stops
turning.
 Loading...