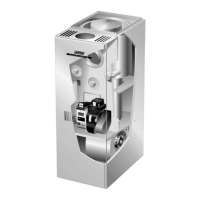
Page 39
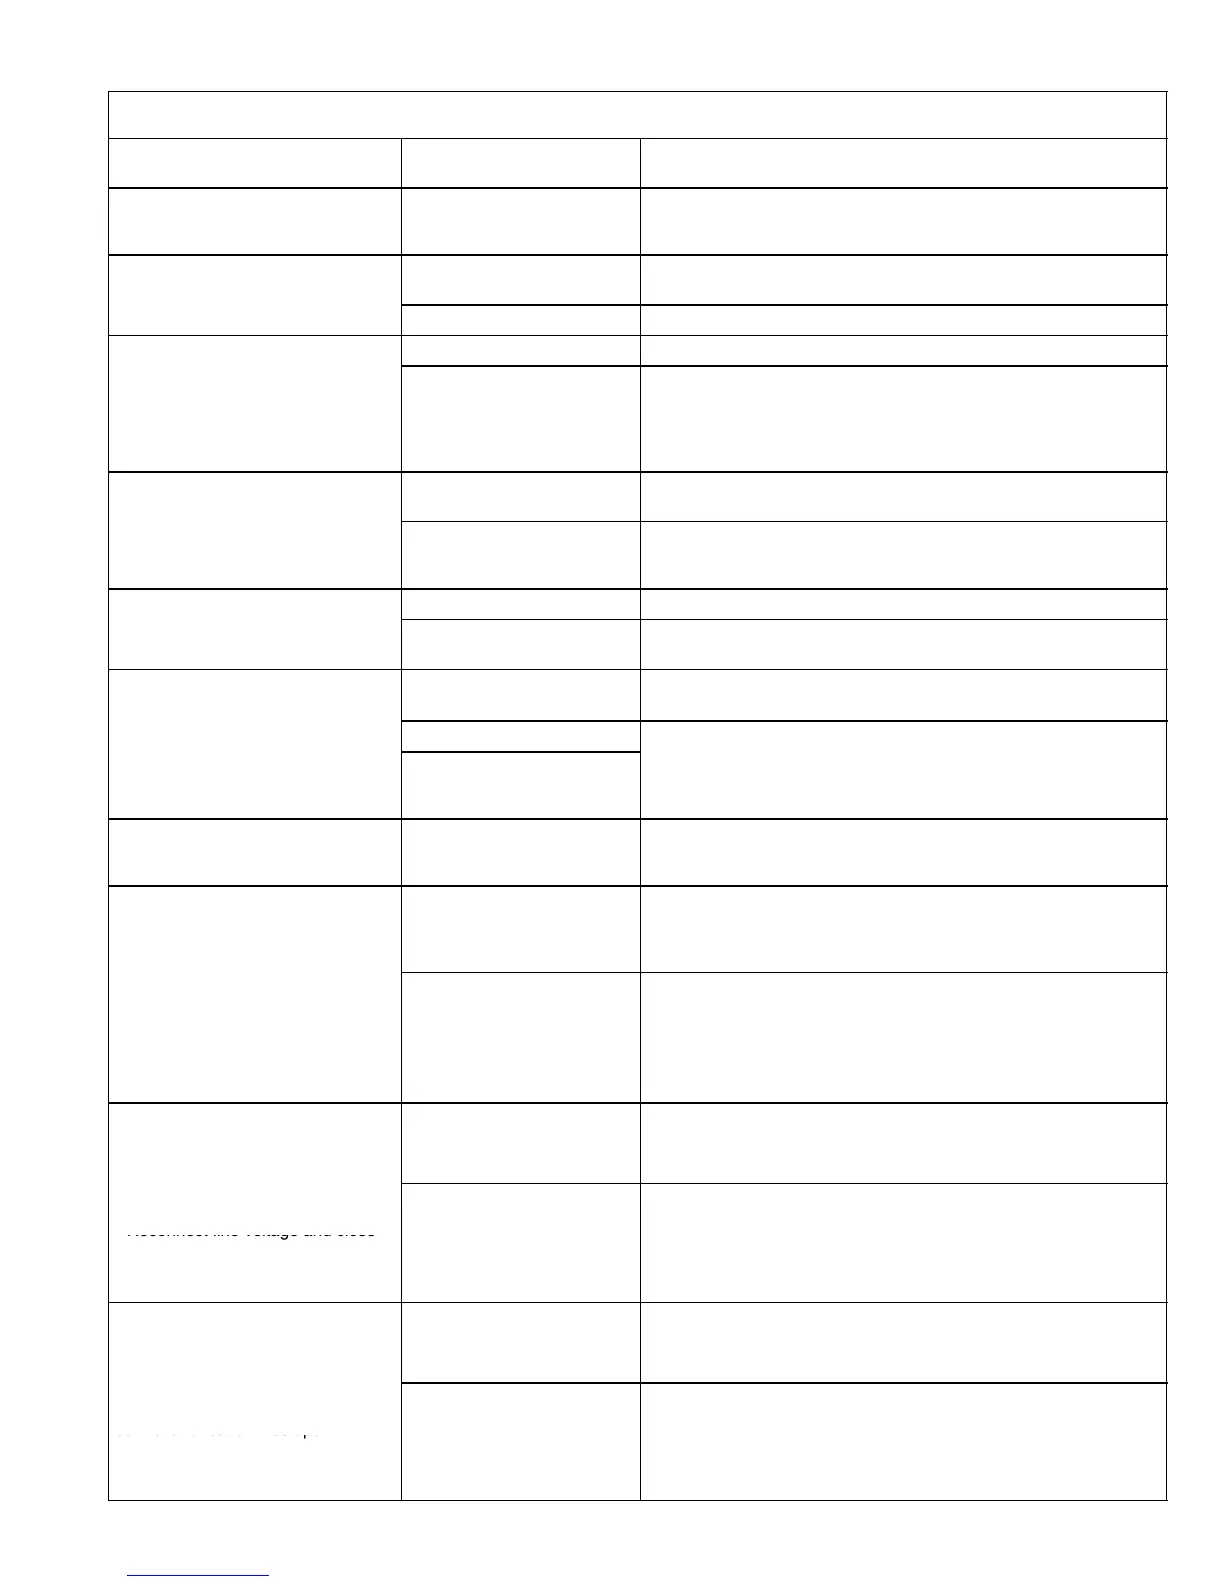
Troubelshooting O23 / OHR23 / OF23 −5 Units Cont.
CONDITION 2: BURNER STARTS, THEN LOCKS OUT ON SAFETY WITH LED FLASHING 1/2 SECOND ON
1/2 SECOND OFF
2.1 Check limit switch contacts are
closed and clean.
Clean contacts. Replace limit switch if necessary.
2.2 Check for line votage at oil pri
mary control. Voltage should be
120V
Check primary voltage source. Take appropiate measures to cor
rect if necessary.
2.3 Check LED light with burner off,
no call for heat (no flame)
LED is on
Cad cell or control is bad. Control sees external light or connections
are shorted. See step 2.4.
no ca
or
eat
no
ame
LED is off See step 2.5.
LED is off Eliminate exteranl light or shield light from cad cell
2.4 Sheild cad cell from external
light
LED stays on
Replace cad cell and recheck.
If LED stays on remove cad cell lead wires from burner control
and recheck.
If LED turns off, replace cad cell bracket assembly.
If LED stays on replace buner control
2.5 On warm air systems, Remove
one thermostat lead and jumper
Burner energizes
Trouble in thermostat or limit circuit. Check thermostat or limit wir
ing connections.
one t
ermostat
ea
an
umper
thermostat (T to T) terminals on
burner control.
Burner does not energize
Disconnect line voltage power and open line switch
Check all wiring and tighten any loose connections. Recheck
If burner does not energize replace burner control
2 6 Hit reset button on burner con
LED stops flashing See step 2.7.
2.6
t reset
utton on
urner con
trol
LED continuse to flash
Verify burner control is not in restricted mode.
(1/2 second flash)
Ignitor could be bad Check line voltage at ignitor terminals If line
Ignition is off
gn
or cou
e
a
.
ec
ne vo
age a
gn
or
erm
na
s.
ne
voltage is present replace burner control
vo
tage
s present, rep
ace
urner contro
2.7 Listen for spark after burner en
ergizes (after 2 second delay)
Ignition is on
ergizes (after 2 second delay)
Ignition is on but no oil is
sprayed to combustion cham
ber
Wait for 15 second pre−purge to complete. Check oil valve, oil valve
wiring, pump and oil supply.
2.8 Check LED after flame is estab
lished, but before buner control
lockcs out.
LED is on until the burner
control locks out and starts
flashing during lock out.
Replace burner control
2.9 Check cad cell sighting for view
of flame
Disconnect line voltage and open
line switch
Unplug cad cell and clean cad cell
Burner locks out See step 2.10
Unplug cad cell and clean cad cell
face with soft cloth. Check sighting
for clear view of flame. Place cad
cell back in socket.
.
Reconnect line voltage and close
line switch.
Start burner
urner cont
nuse to run
ystem
s
.
2.10 Check cad cell.
Disconnect line voltage and open
line switch
Re
lace cad cell with new cad cell
LED is on. Go back to step 2.6
Disconnect all wires from thermo
stat to prevent a call for herat.
Reconnect line voltage and close
line switch.
Expose new cad cell to bright light,
such as a flash light
s o
.
ee step 2.11
2.11 Check cad cell bracket assem
bly.
Disconnect line voltage and open
line switch
LED is on. Replace cad cell assembly.
Remove cad cell wires from quick
connect connectors on the burner
control and leave wires open.
Apply power to buner control.
Place jumper across cad cell termi
nals after buner motor is energized.
s o
.
ep
ace
urner contro
.
 Loading...